Hi guys! Hope you're having a great week so far! And for my American friends, hope it's not too busy!
I am so excited to share this next tutorial with you! It's a knock-off of this Anthro tote:
I am so excited to share this next tutorial with you! It's a knock-off of this Anthro tote:

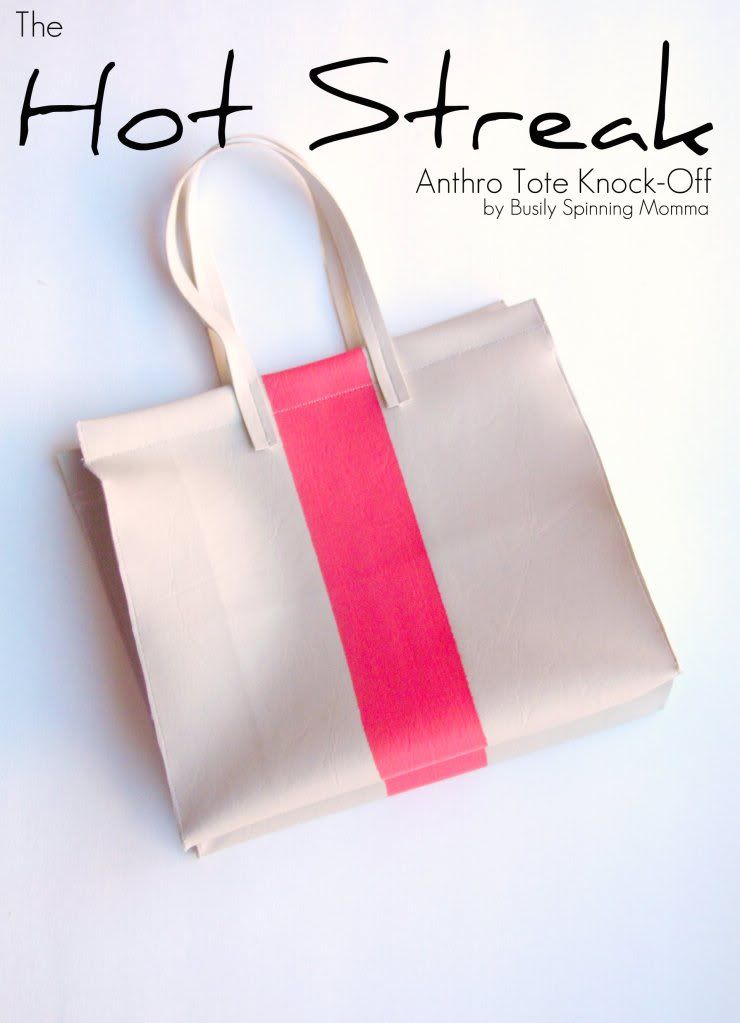
It's called the Hot Streak Tote and it.is.GORGEOUS. I love it's simplicity, the almost masculine air it has with it's modern lines and yet, the very feminine streak of color. And oh-my-goodness THAT color! I am in love with that HOT pinky/salmon-y color. It's seriously one of my absolute favorite color around! And while looking at the Anthro bag online, it occured to me that they PAINTED the streak on. Hmm...gave me an idea.
And so, I bring to you:


I used a different color "leather" (FAKE! and I got it from the remnant bin so it's smaller, but it was a LOT cheaper too!). But for the record, had I found that color (on sale) I would have bought that instead of the one I got 'cuz it's absolutely beautiful!
So onto to the tutorial!
YOU WILL NEED:
- some leather or fake leather
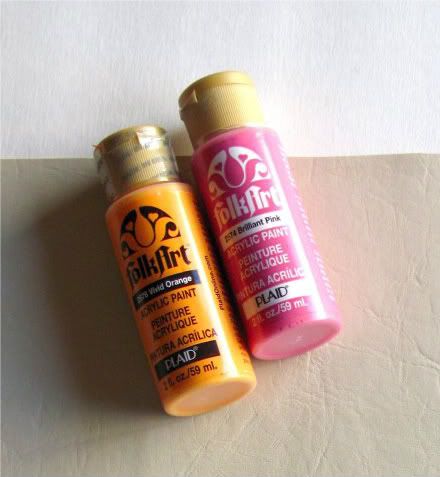
-pink paint
-orange paint
-paint brush
-painter's tape
-newspaper
-pins
-sewing machine/thread
***NOTE: we will NOT be working with seam allowance, except where otherwise noted :)
HERE WE GO!
You will need to cut your leather (for the sake of ease, I will just call it leather even if you use something else, mmkay?) into a rectangle.
Mine was 24 inches long and 9.5 inches wide. You can make yours any size, just keep in mind: you will need one extra inch (the ONLY seam allowance on this bag) at the both end of your bag (length wise), and add for the bottom.
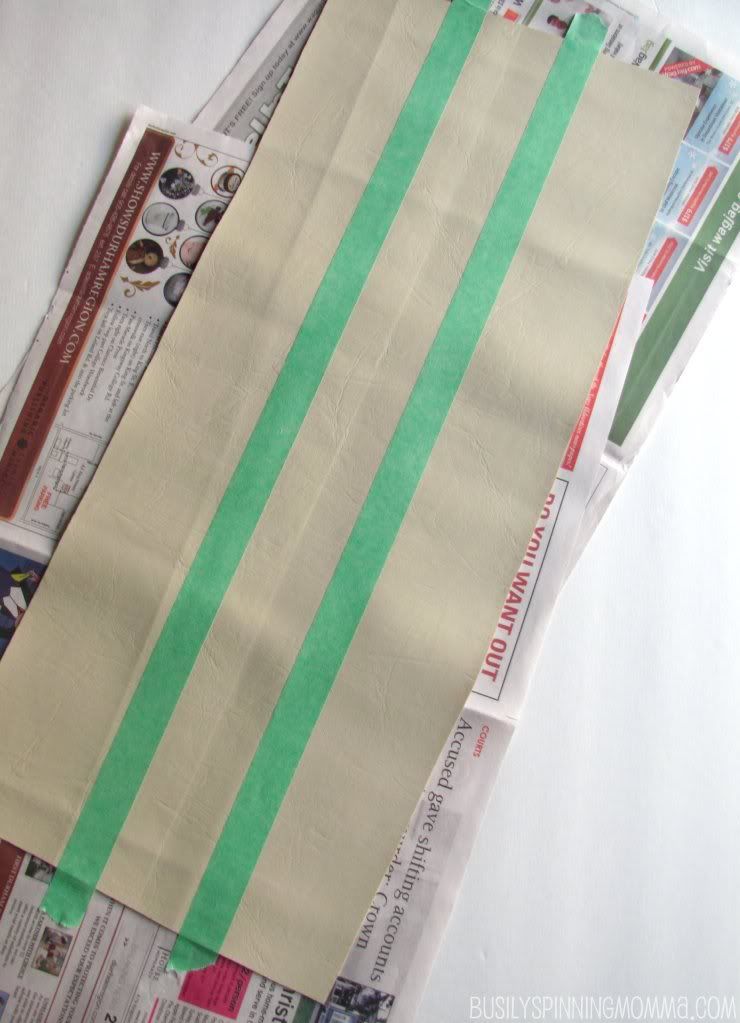
Once you've cut, fold the leather in half length wise, to make a crease:
the extra creases with the "X" over them are not intentional, nor part of the tute :)
Tape about one inch away from either side of the crease. (if you make your bag bigger, you may want to add more distance to where you place your tape)
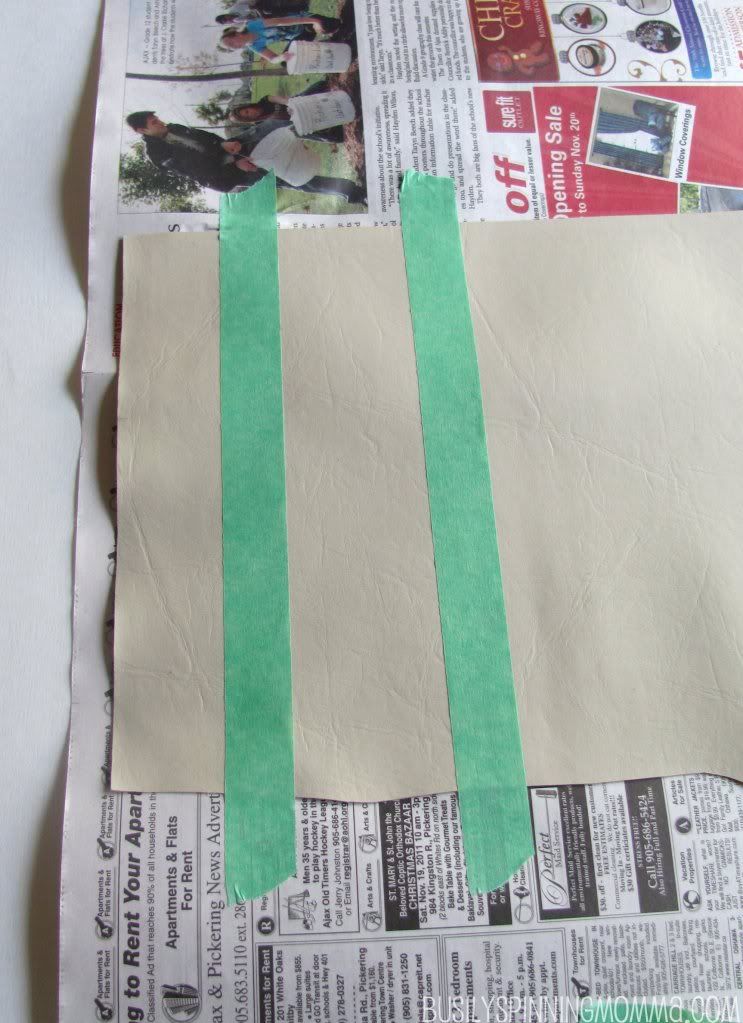
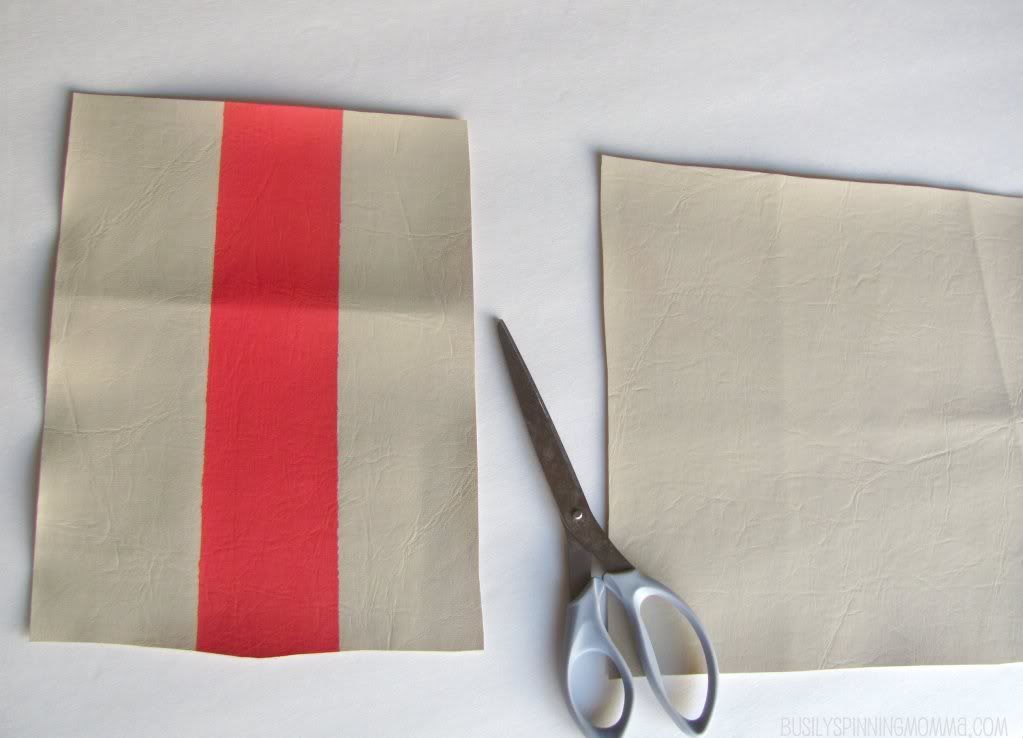
Now you need to tape off a separate smaller piece of leather:
(mine was 9 inches long, and ignore the width, we're going to be cutting it down)
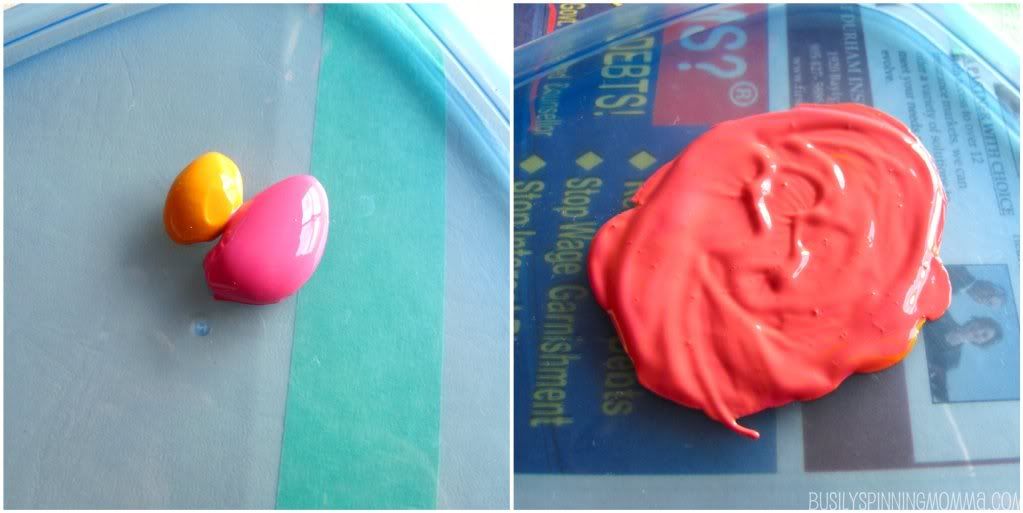
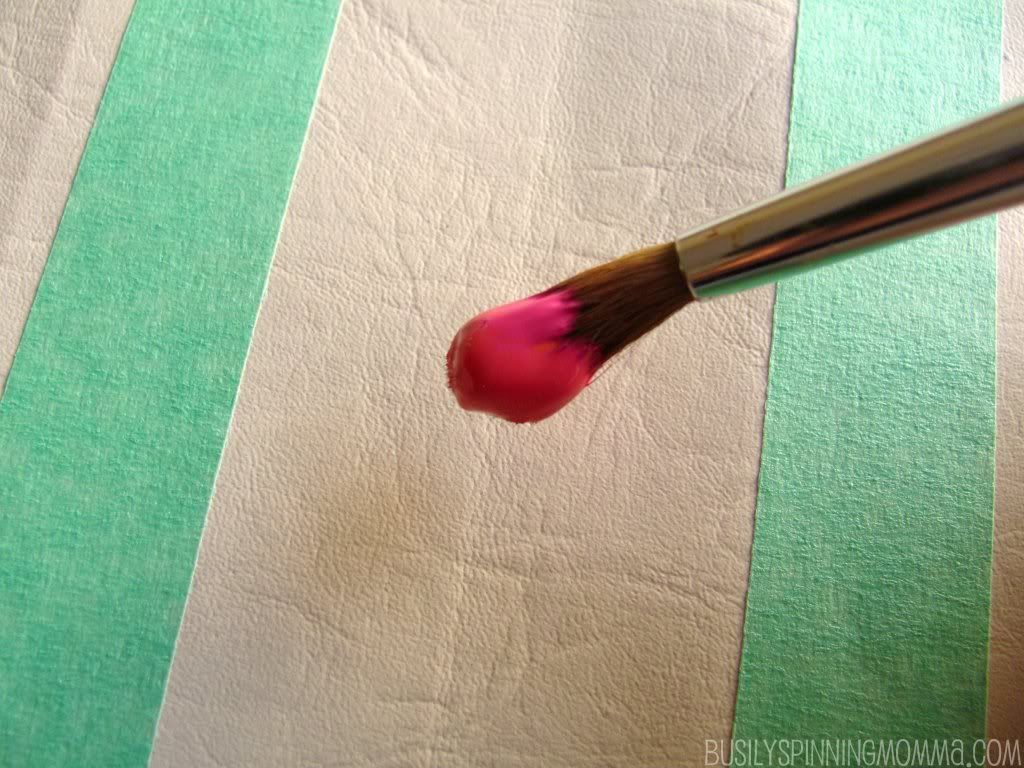
Mix your paint (unless you already have a color you like). I used 2 parts pink to 1 part orange.
Now, paint your leather:
Paint two coats to get a really rich color:
I don't know why the color looks different here, because it was the exact same color!
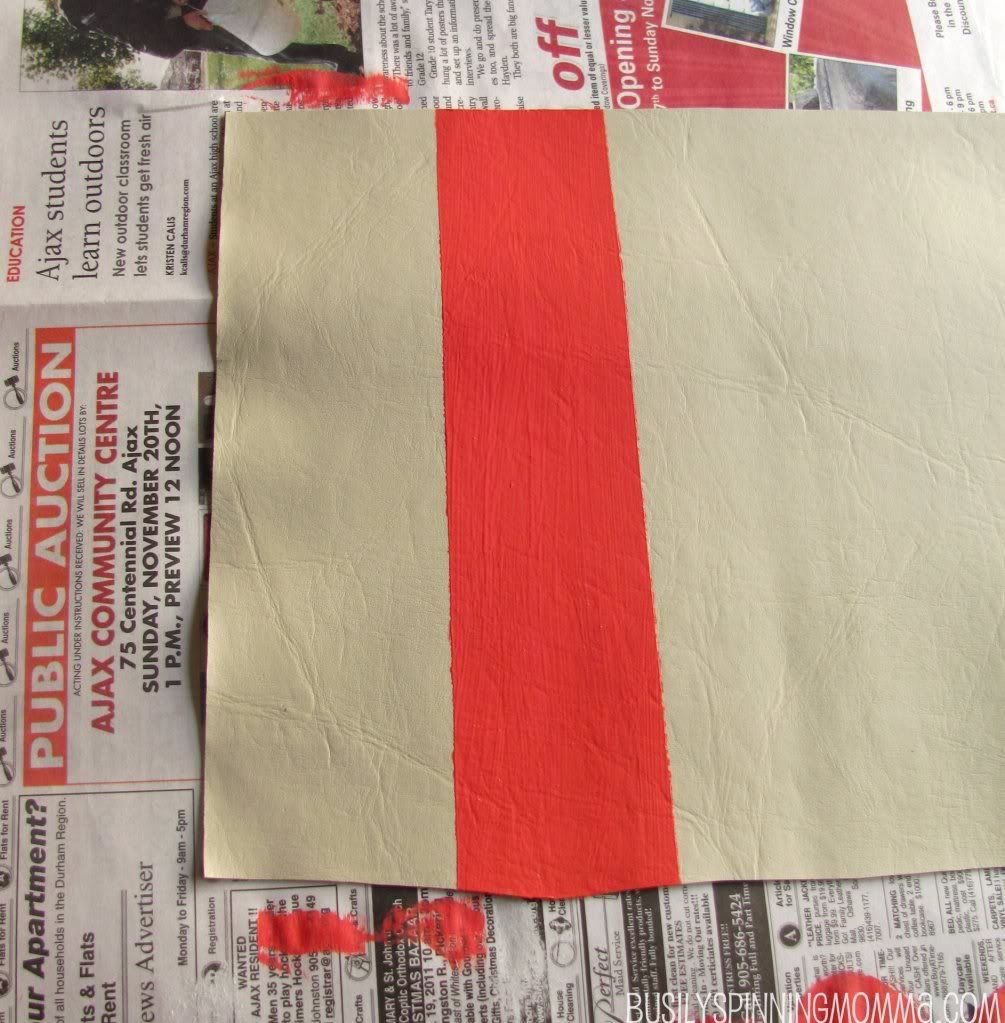
When you've painted, it'll look something like this:
All uneven and streak-y...in a bad way.
BUT, don't worry, it'll dry like this:
smooooooth :)
Now, you have to let it dry. I left it alone for the night and continued the next morning.
***NOTE: The paint doesn't crack or scratch off (so far!) and is very pliable. I used:
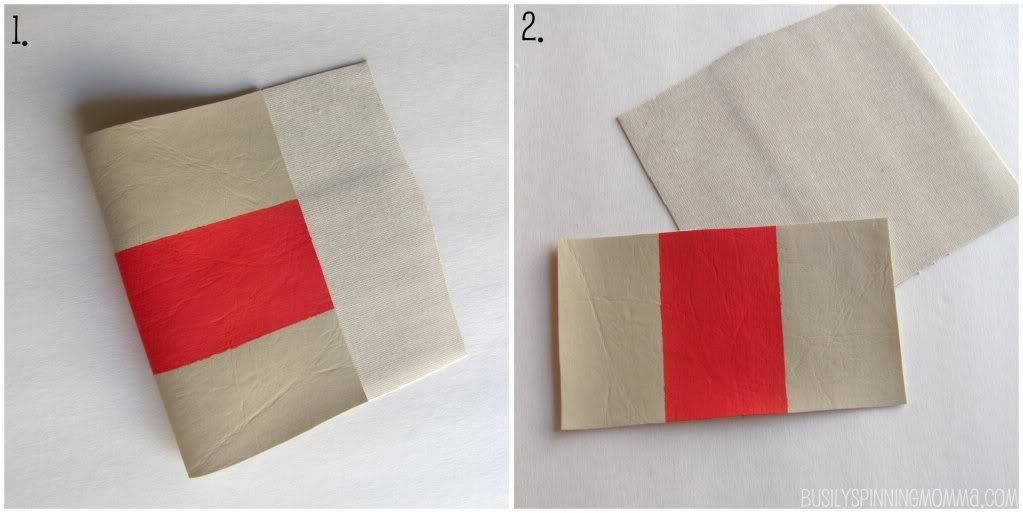
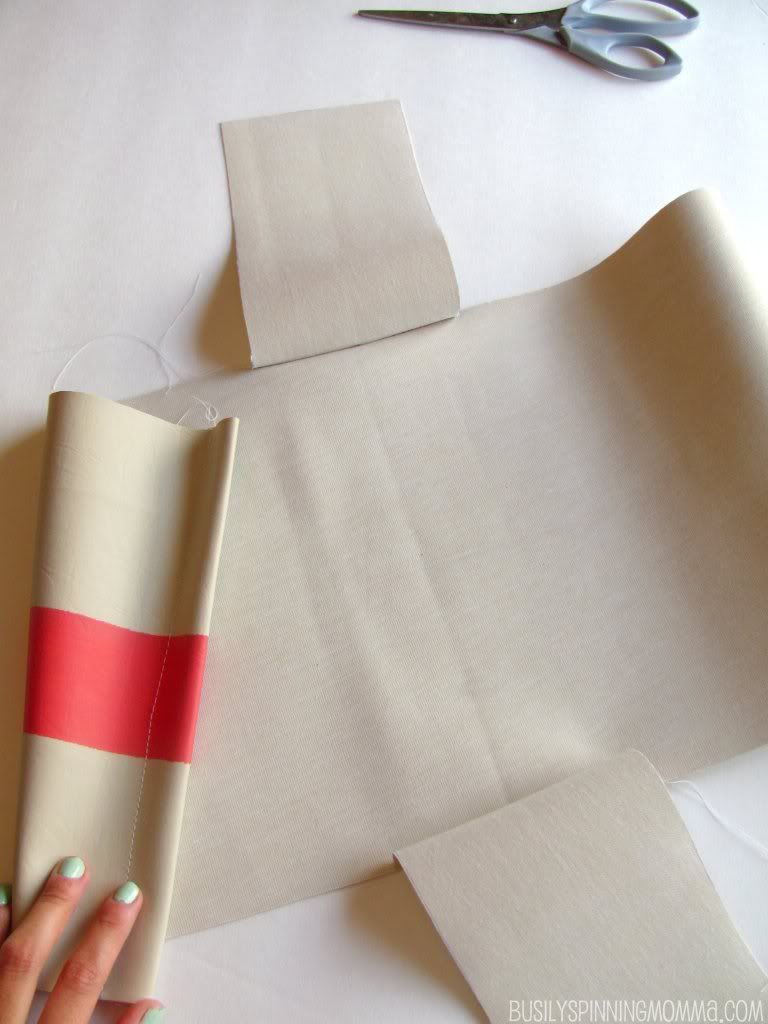
Once it's dried, take your smaller piece and cut off to make it 6 inches wide with your hot streak right in the middle. Leave the length.
1.)Fold it like so:
at 3 1/4 inches.
2.) Cut at the fold.
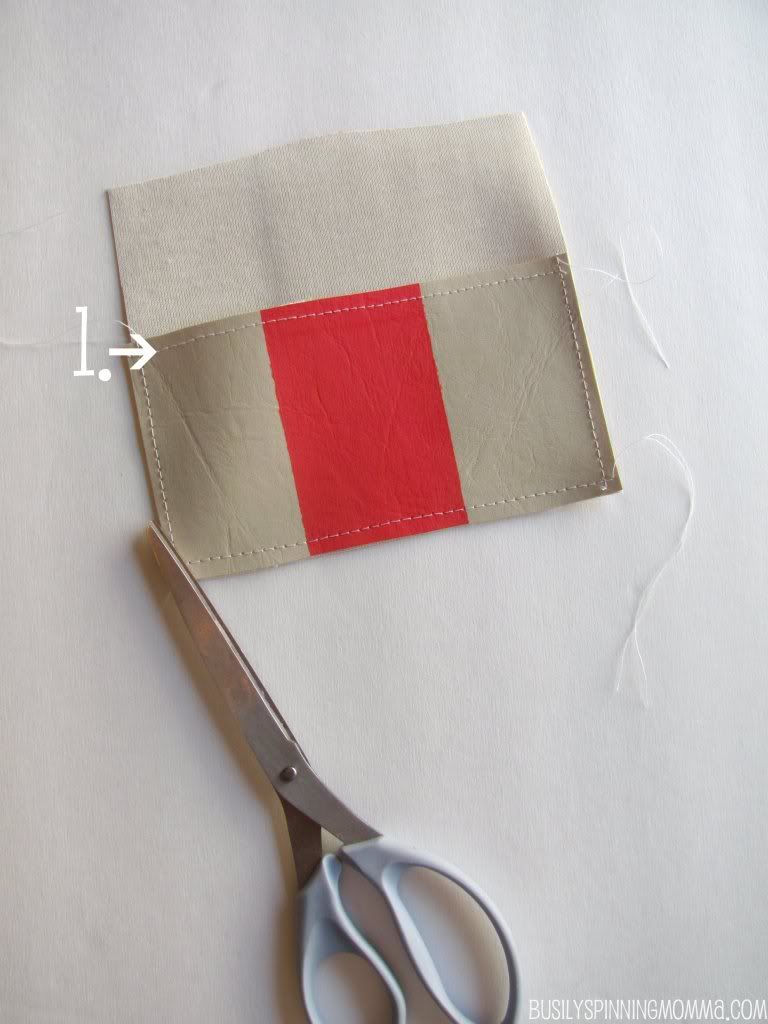
Now sew a straight stitch along the top of the shorter piece you just cut (shown as #1 in pic)
Then pin to the other piece (on the wrong side, where you can't see the hot pink streak) and sew across the bottom and up the sides, leaving the top open to make a pocket.
THIS is when that extra inch at the top comes in!
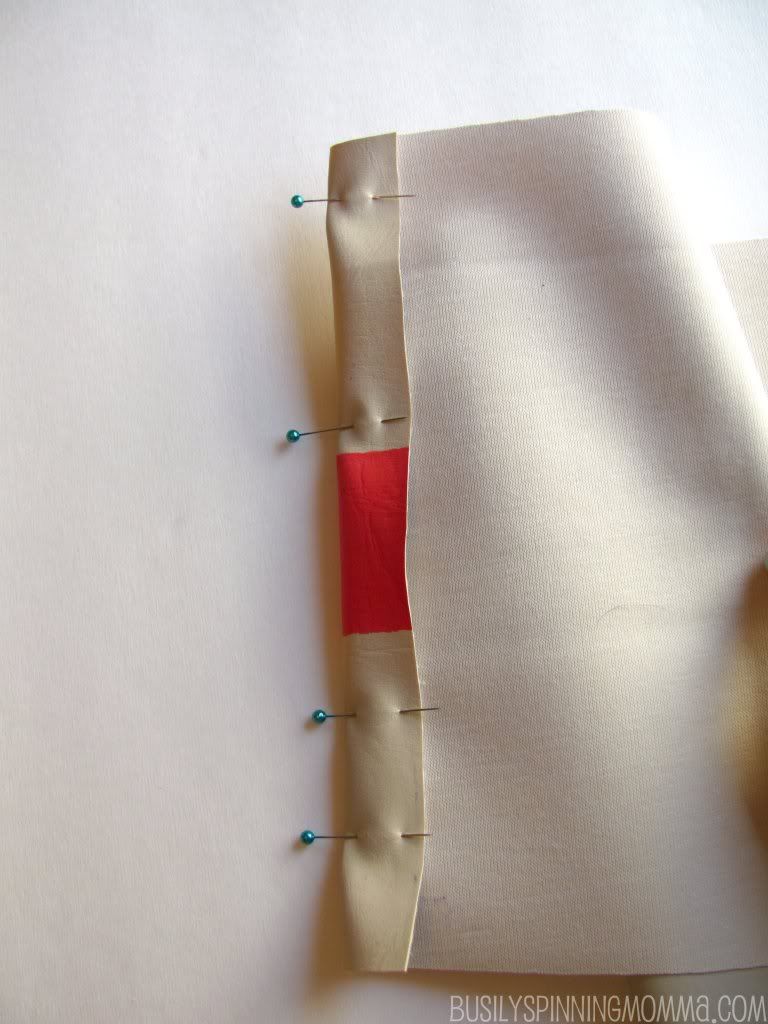
Grab your longer piece and fold at the top, inch down. Insert newly created pocket into the hem and pin down:
Sew a straight stitch across it:
***NOTE: I found it much easier to stitch with a short stitch length rather than a long one. I had to use my seam ripper a couple times, due to using the longer stitch lengths!
Do the same to the other end of the bigger rectangle piece, fold one inch down, pin and sew:
Now to make the sides! Cut out smaller rectangles. Mine were 7 inches tall and 3.5 inches wide.
*next steps not pictured*
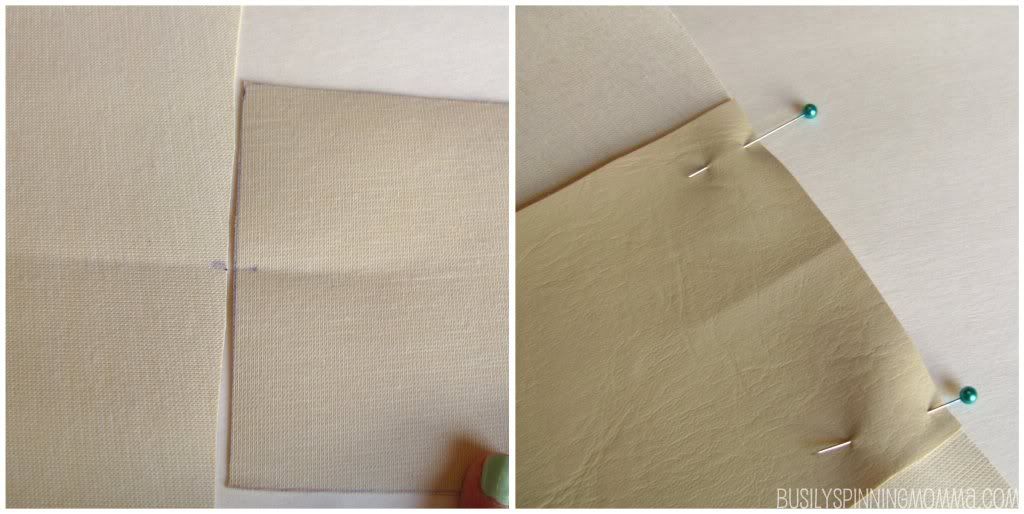
1.)Fold your longer piece (the piece with the pocket sewn on) in half. Mark the crease (only at the very edge!) with tailor chalk or dissolving ink pen. Do that to both sides.
2.)Fold your 7x3.5 rectangles in half LENGTHWISE and mark the edge of the crease as well. Do to both of the smaller rectangles.
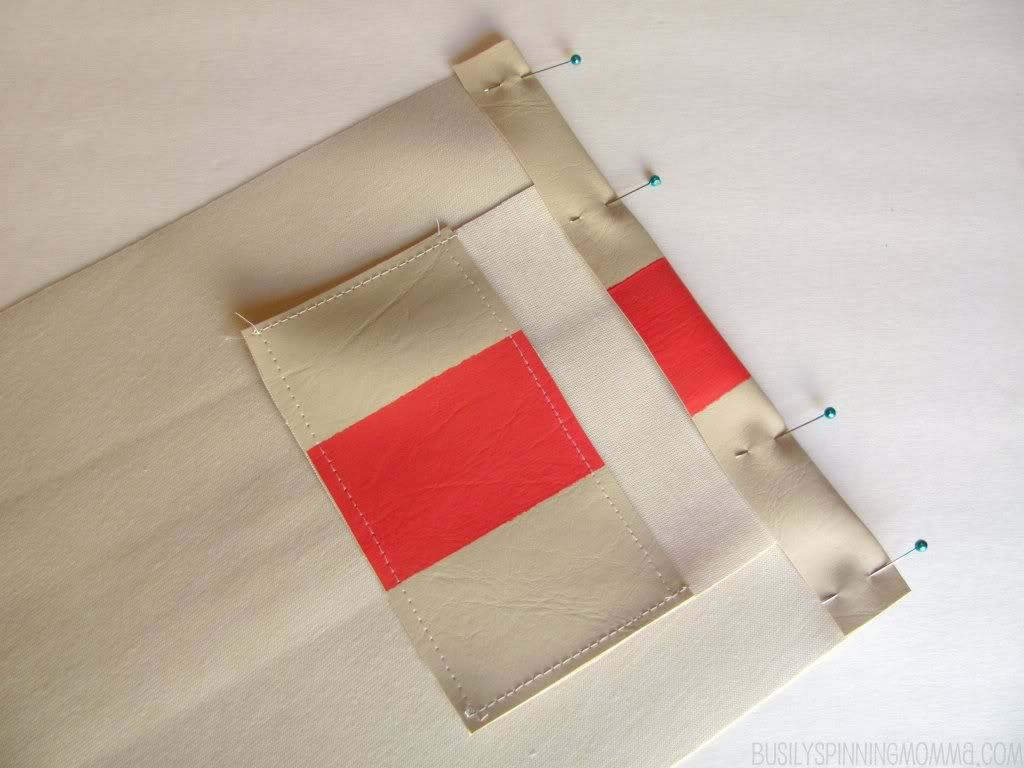
Use those as indicators for the middle of the bag. (see first picture):
Pin wrong sides together. So you can see the leather-y side facing up (see second picture above).
Sew. Do that for both sides.
You should have this:
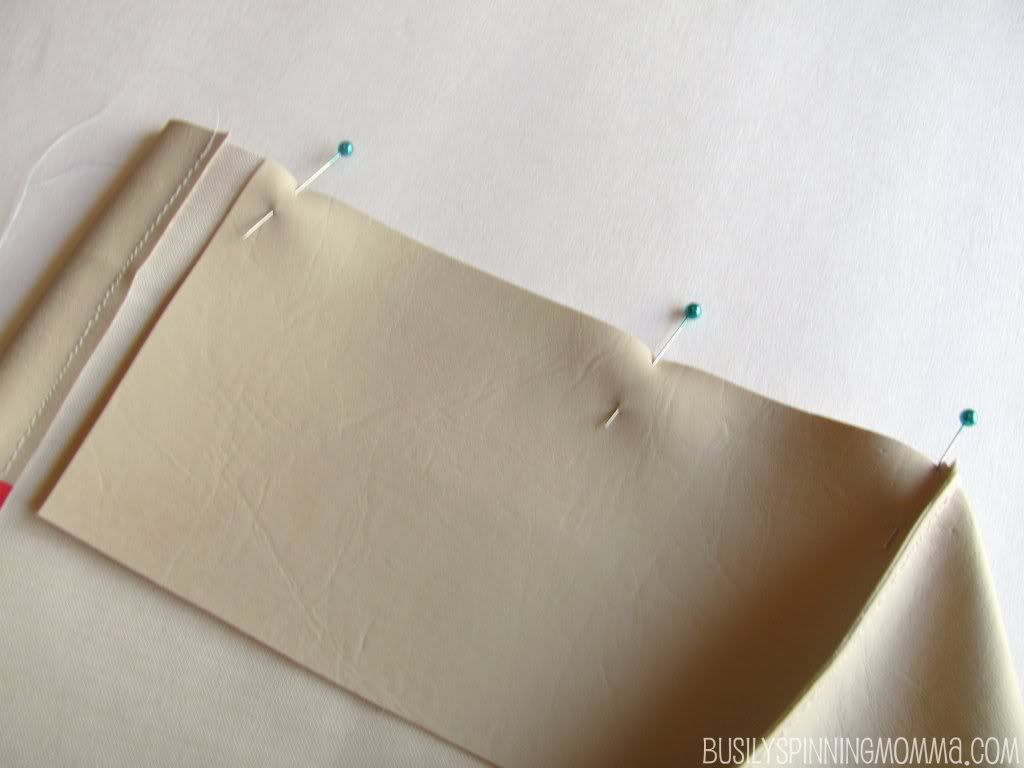
Now, you will have to sew up the sides.
Bring smaller rectangle up and pin to the side:
Sew. Do that for the other edge of the same rectangle.
Keep in mind to sew ALL the way to the top. Not to the hem.
Do it all over again for the other side of the bag.
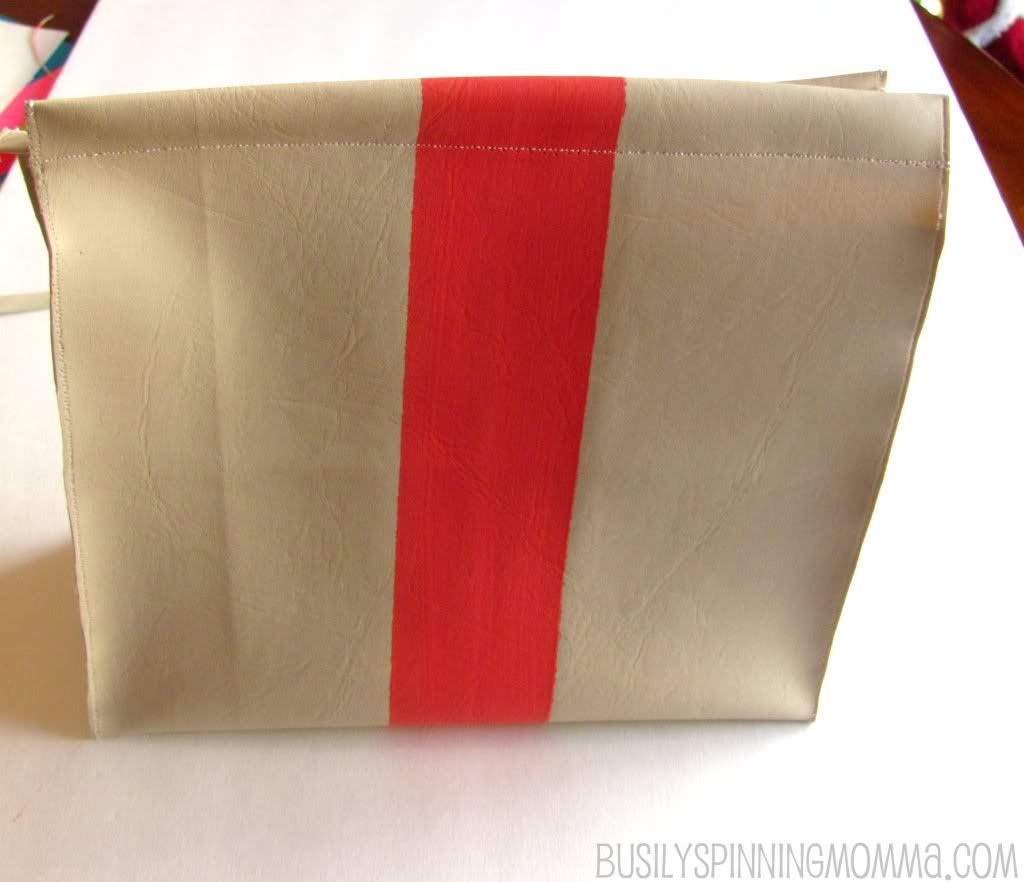
You will have this:
Your bag is done! Now for the straps...
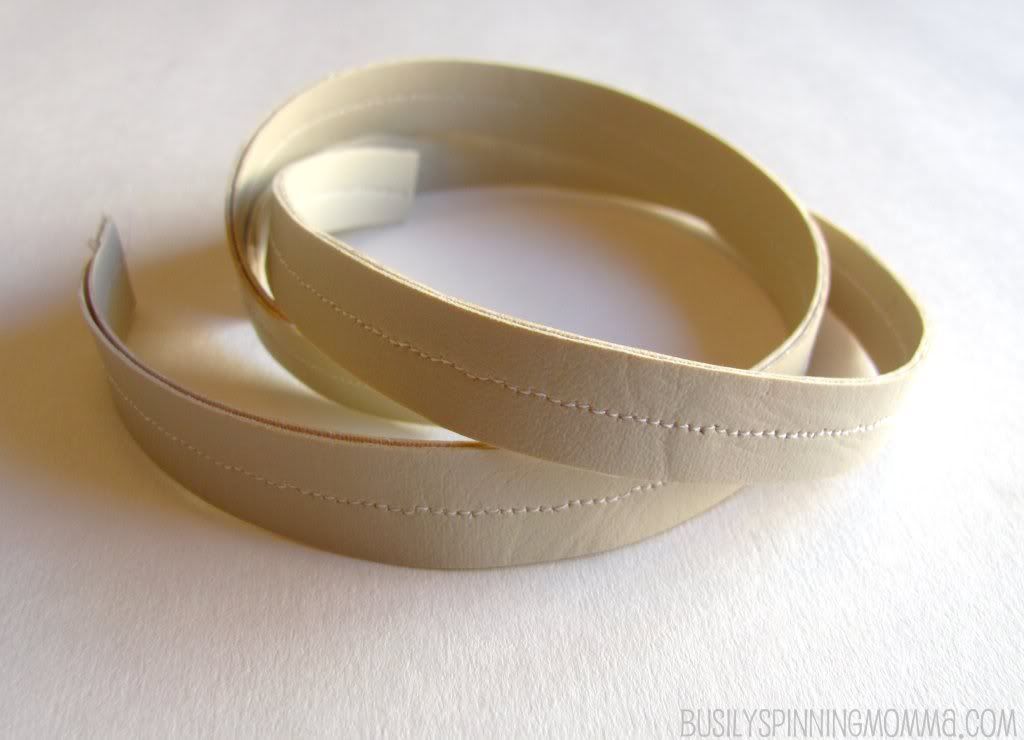
Cut off a strip of leather 14 1/2 inches long and about 1 inch wide. Pin to a piece of leather of the same length but not width.
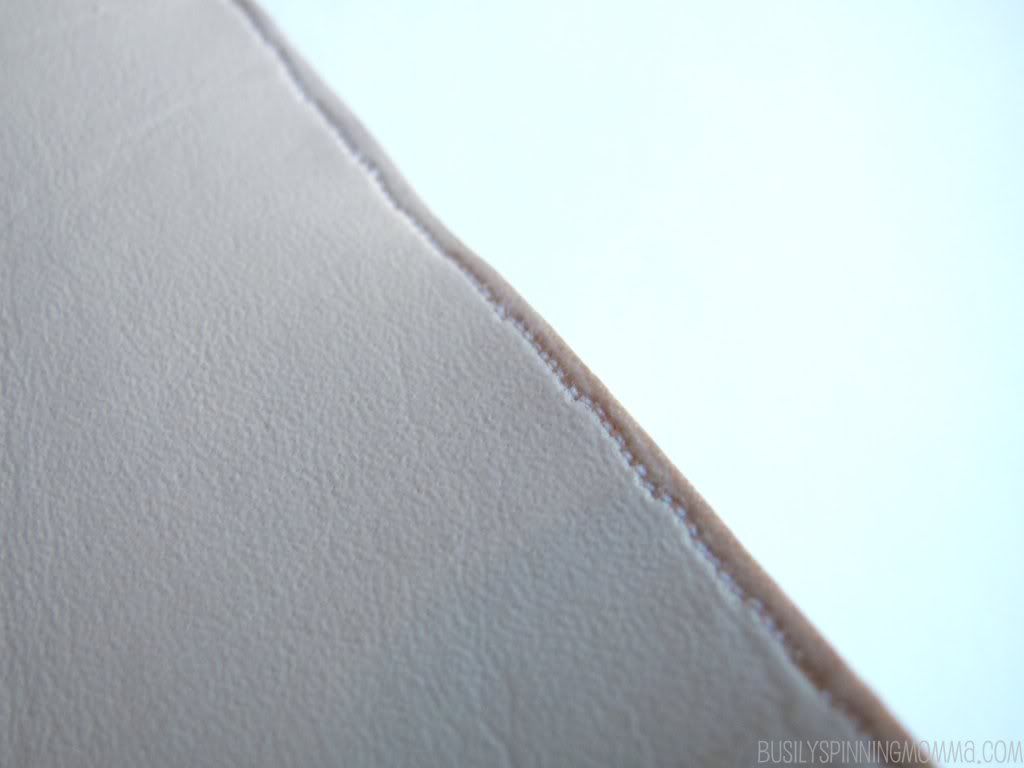
Sew:
Looks gross and sloppy. Cut out strip on either side of your stitch 1/2 cm on each side. Strap should be 1 cm wide. Do that again from the beginning for a second strap.
You will have this:
looks like bracelets. no? I love how they look and you KNOW I'm already working on some bracelet ideas!!!{with tute! :)}
Now attach strap to bag. Pin strap onto the front of the bag to either side of your streak.
Sew over your previous stitch:
Back stitch at the beginning, and at the end, to reinforce. (Back stitch mean to literally push your "backwards" petal down and go back onto what you have just sewn)
Now do that for the back of the bag.
And you're done!
That's it! No messy lining, no hidden seams! All exposed sewing! Easy as can be!
mine's a bit messy...I was in a hurry :(
The interior should look like this:
Remember how I said mine was a lot smaller than the Anthro version because I used remnant fabric? Well, it is. BUT...it's still big enough to carry a bunch of stuff I use all the time.
Here are some examples...
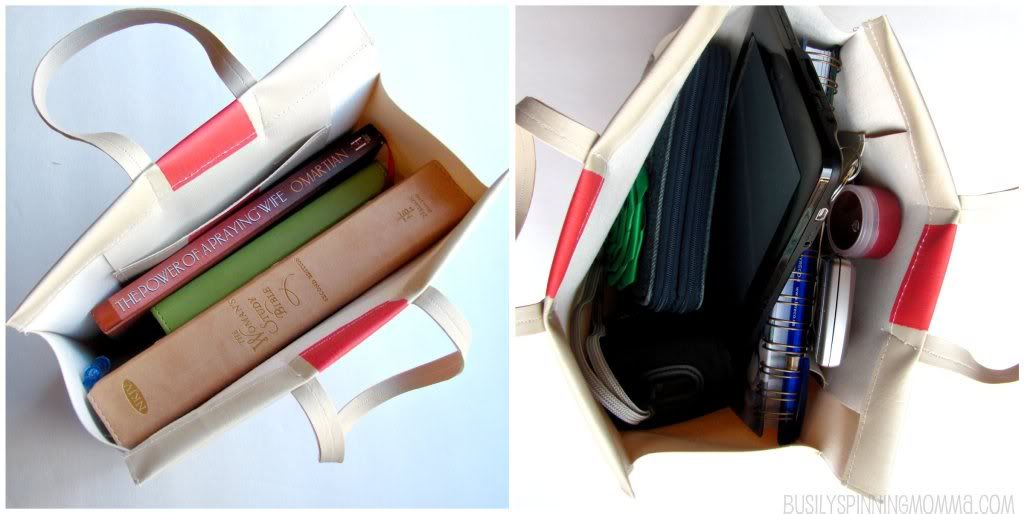
The realistic:
Mommy toolkit and as separate bag for my knitting/crochet projects...
And this first picture is what I'll probably use it for. A bible and notebook tote:
That second picture is what I WISH I could use it for. If you look closely, you'll see that whomever is carrying that purse and it's contents around, is NOT going to be changing poop-y diapers or wiping snot. No, that woman looks like she intents to read, write and take pretty pictures. A life of leisure...one can dream :)...LOL!
You could probably even use it as a lunch bag. You would be THE most fashionable woman at work with a lunch bag like that!
Anyway, What I like is that even when it's full, it doesn't look lumpy or lose it's shape:
It just stays looking all pretty and HOT;) {get it "HOT Streak"??? hehehe..}
Oh and since I bought leftover fabric, the whole bag cost me a whooping $1.32 to make :)
Won't it make such a sweet and thoughtful Christmas gift?
I hope you guys enjoyed this (long) tutorial. I tried very hard to make it as clear as possible, with as many pictures to try to illustrate what I meant. BUT, I am only human and may have not done as good-a-job as I'd like. SO, if you have ANY questions, please, don't hesitate to email me. Or leave them in the comments (with your email address so I can respond) and I will do my best to try to explain it better to you :)
My email is busilyspinningmomma(at)gmail(dot)com
Thanks again for taking the time to read this lil' blog of mine. And thank you for all your comments! I can't tell you how much I enjoy reading each and every one! You guys rock my socks...LOL!
Have an awesome day!
xoxo, Dorian
P.S: Don't forget to enter my Plaid Paint and Products giveaway with a value of $40! Click HERE to enter!
LINKED TO:
Awesome awesome awesome!!
ReplyDeleteI just need to gind some fake leather on sale and I am making it!! thank you for the tutorial... :)
Cecilia
Love is an understatement ! Xo
ReplyDeleteFab bag! I think leather is the only thing I don't have in my stash, maybe time to invest in some!!
ReplyDeleteAlison
x
Love it! I am making them for Craftmas for my sisters!!! Maybe one for myself while I'm at it!
ReplyDeleteI like yours even better and I wouldn't have thought to paint leather I'd love it if you would add this to my party over at http://raegunwear.blogspot.com
ReplyDeleteNice work. Love that you even made your own tote, not just painted an oldone.
ReplyDeleteGood job! This is a very cute bag, I want to make one too!
ReplyDeleteI completely agree with Lucy and her comment above--- LOVE is an understatement! You did a PERFECT job and you make it LOOK so easy---GREAT tutorial! Thanks so much for the inspiration and for linking up!!!
ReplyDeleteJaime from crafty scrappy happy
I found your blog through followfest and instantly fell in love. I cannot wait to try this!
ReplyDeletewhat a cute idea, can't wait to try it! i'd love for you to stop by www.thelovelypoppy.com and check out the new tutorials and current giveaways. xoxo nicole
ReplyDeleteyou are brilliant - i LOVE this!!!!
ReplyDeleteThank you for a great tutorial. The tote looks fantastic!
ReplyDeleteNice job! I love the colors on yours. New follower here. Would love it if you would stop by and share this at my link party going on right now :) http://everything-underthemoon.blogspot.com/2011/11/bedazzle-me-monday-10.html
ReplyDeleteHave a great week!!
Hi there, what a great job you did on the bag. It is adorable. Thanks so much for sharing. I love the colours. I have recently found your blog and am now following you, and will visit often. Please stop by my blog and perhaps you would like to follow me also. Have a wonderful day. Hugs, Chris
ReplyDelete