Hi friends! Thank you so much for taking the time to visit my blog today! Cause, boy, do I have something I think you'll like!
A few of you might remember last month when I mentioned I would be partaking in Christie's annual Purse week over at her incredible blog: A Lemon Squeezy Home!

I am honoured to be able to take part with other AH-MAZING bloggers!
It's this week and will feature 4 Tutorials (including my own and three from very well known bloggers) and than a contest for some great prizes at the end of the week!
You guys NEED to check it out, it's going to be a lot of fun :) Pssst...there's ANOTHER tutorial tomorrow from Sachiko from Tea Rose Home! Click on the button over there <----- to check it out!
Now on to the good stuff!
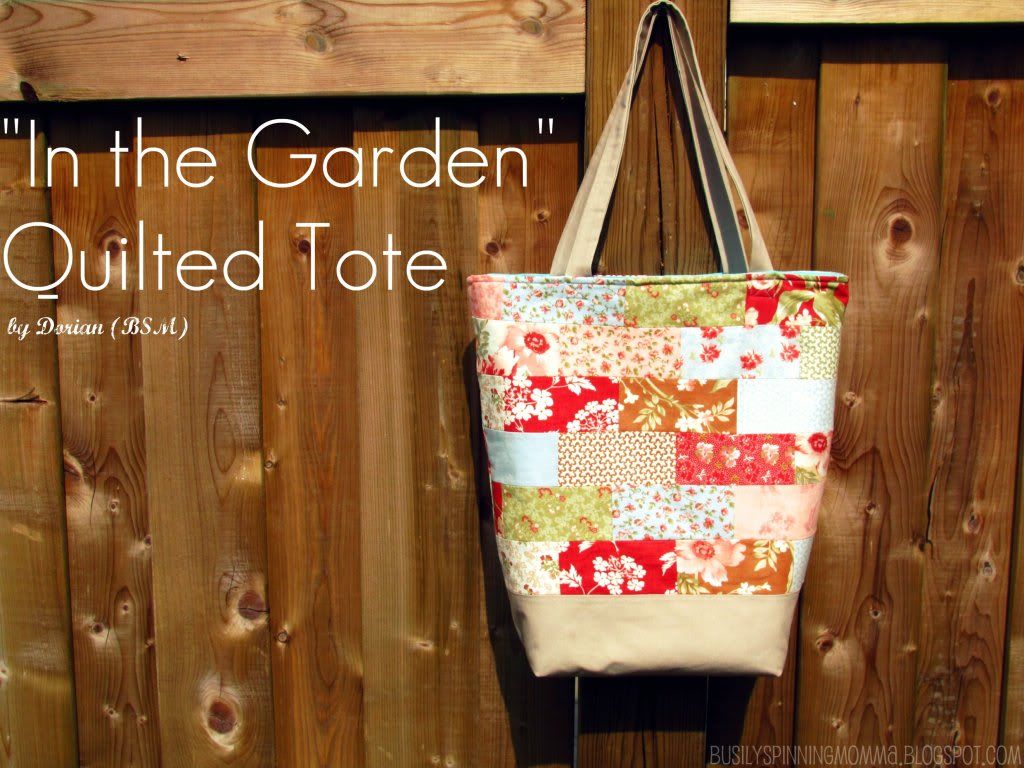
The tutorial I have for you today is:
I will warn you now, that:
a) it's a VERY photo heavy tutorial. Is that a bad thing?
b) it's, therefore, long. (but not complicated, I promise!)
c)my first attempt at quilting, so it's like Quilted for Dummies, by a quilting dummy :)
So see, if I can do it, YOU can probably do it better! LOL!
YOU WILL NEED:
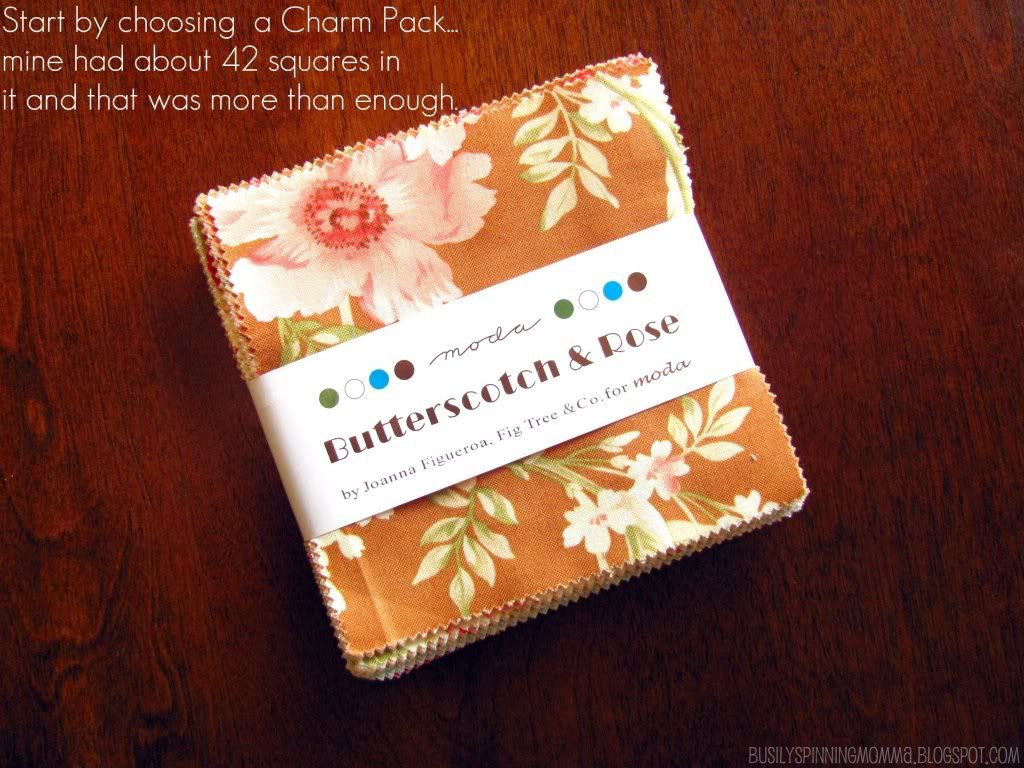
- A charm pack (with 42 squares)
- 1/2 yard of coordinating fabric for base
-1/2 yard of contrasting fabric for interior
- 1/2 yard of fusible interfacing
- 1/2 yard fleece interfacing
-iron
-pins
- sewing machine : )
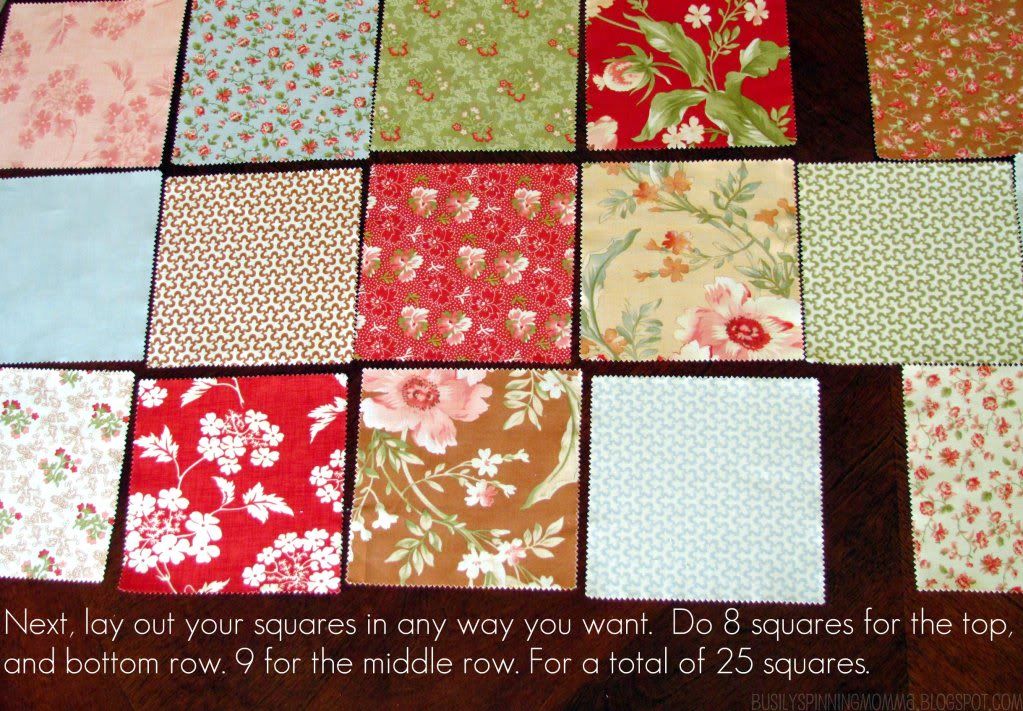
READY? HERE WE GO!

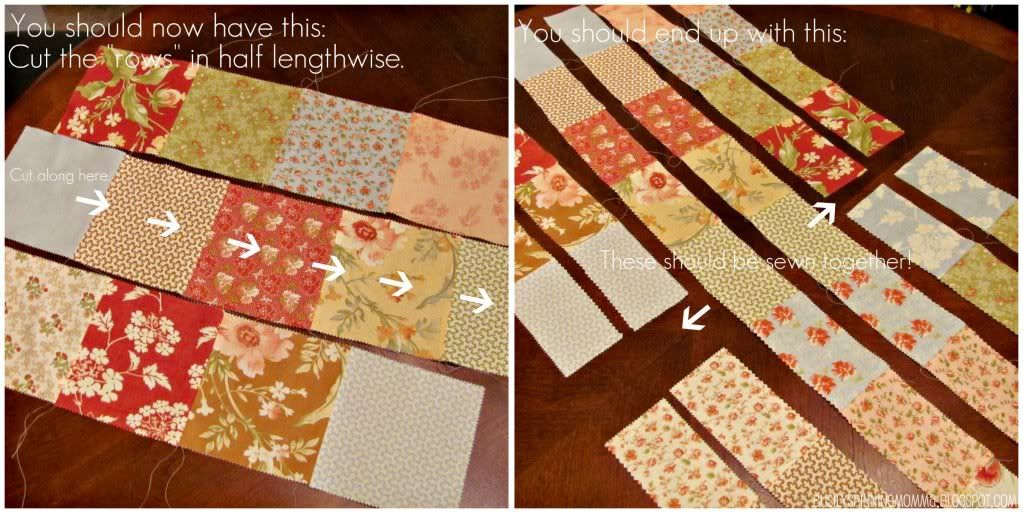
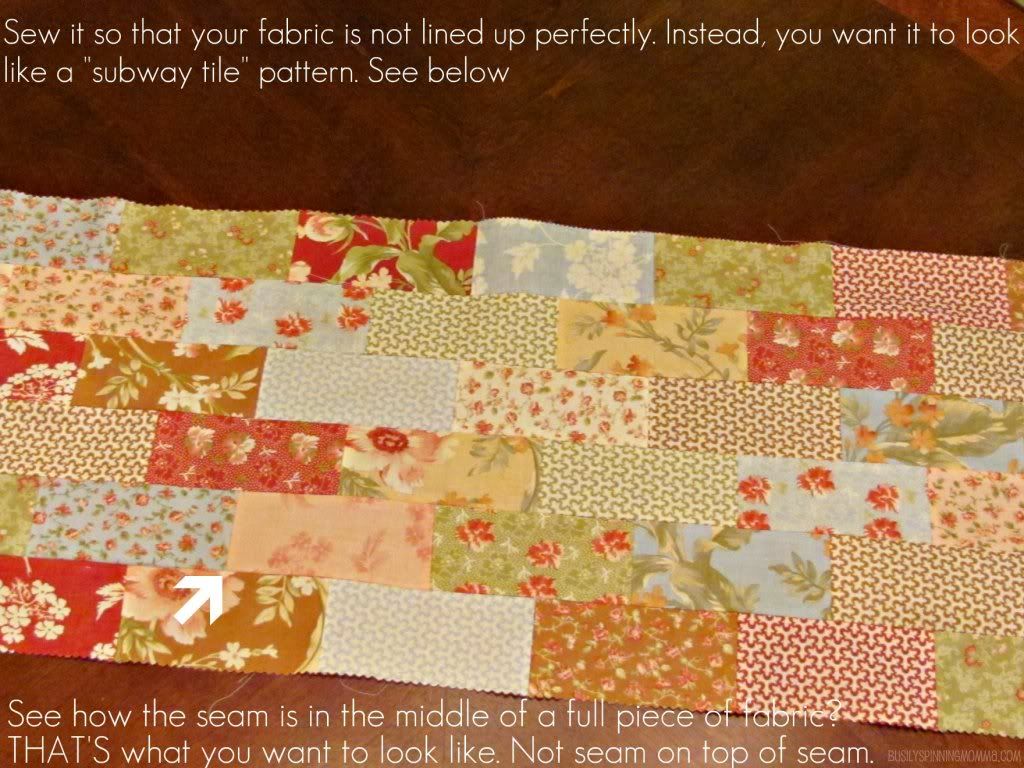
See where it says "This should sewn together!"...that's the quilting dummy part coming out!
Lookee, how pretty:

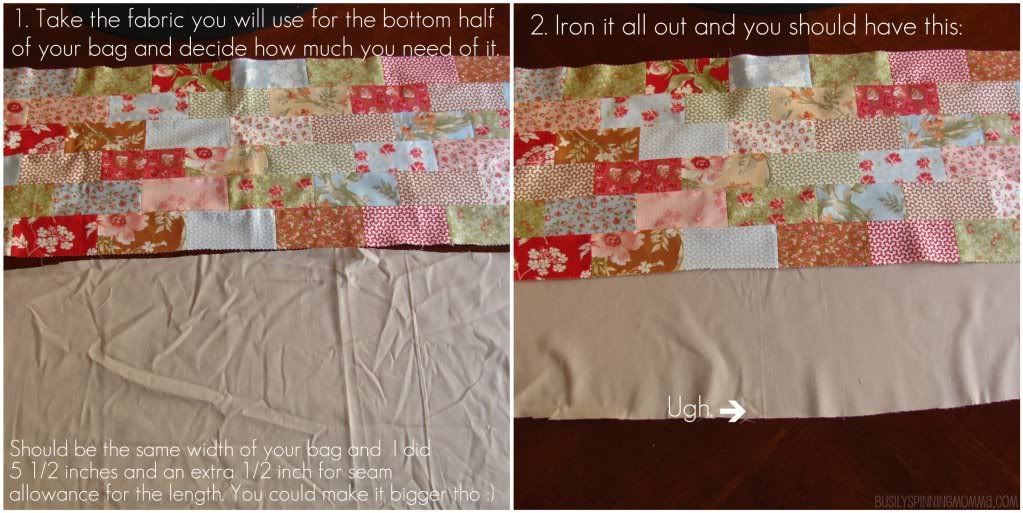
I DO NOT have a rotary cutter, as you can tell by my NON straight cut. Ugh.
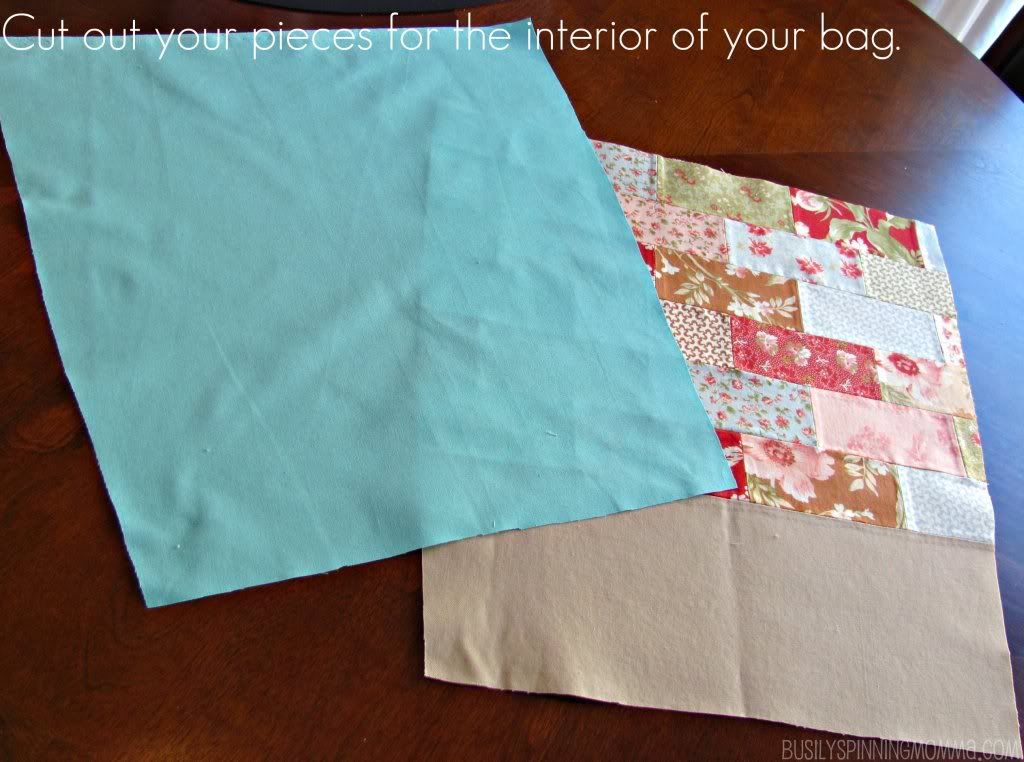
This is the part for the interior pocket:
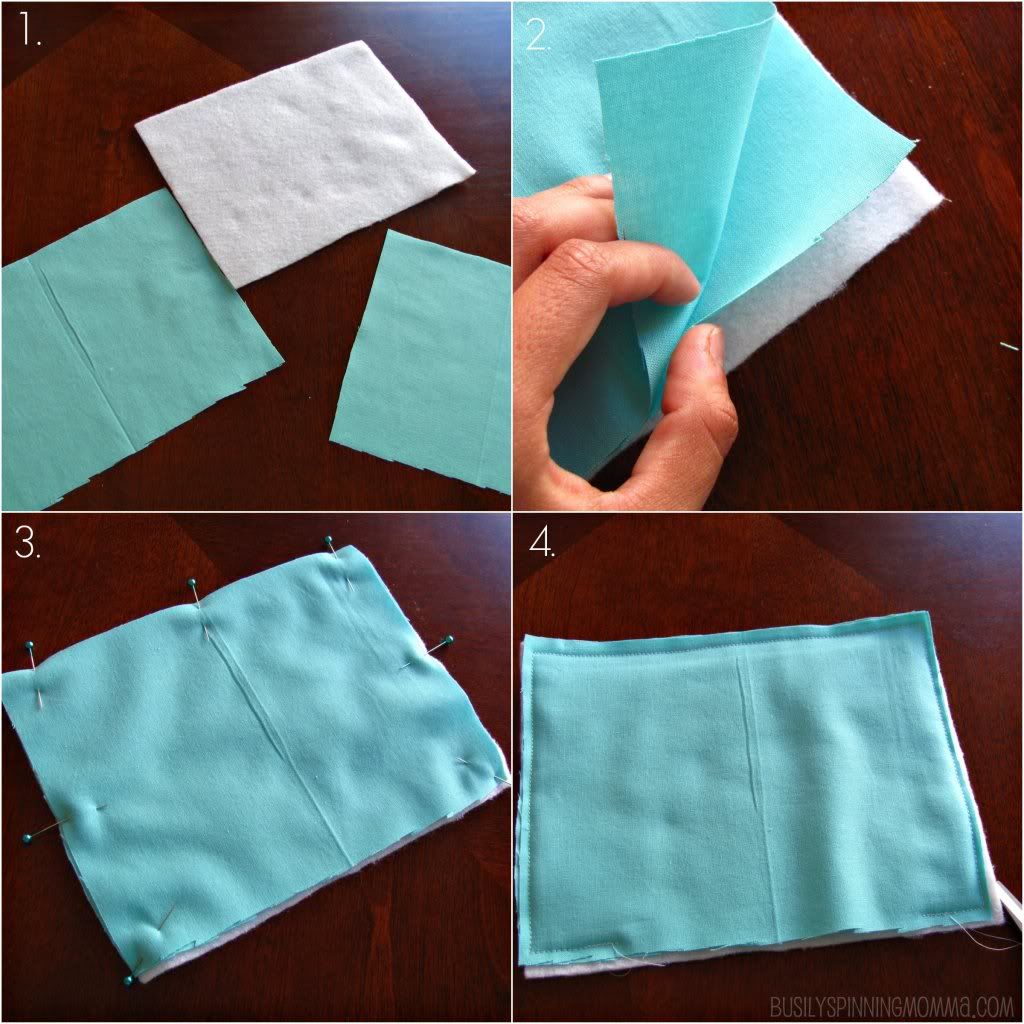
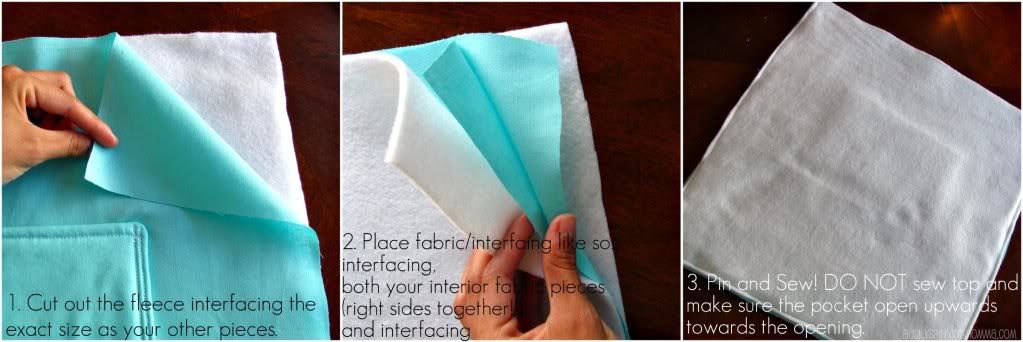
1. Cut out two pieces of fabric and one of fleece interfacing in the size you want your pocket.
2. Place then in this order: fabric together (right sides together two, if there ARE right sides.) Then the fleece.
3. Pin
Sew around the edge, leaving about 2 inches unfinished. This is so you can turn it.
4. Turn inside out. Iron. Tuck unfinished edge inside and...
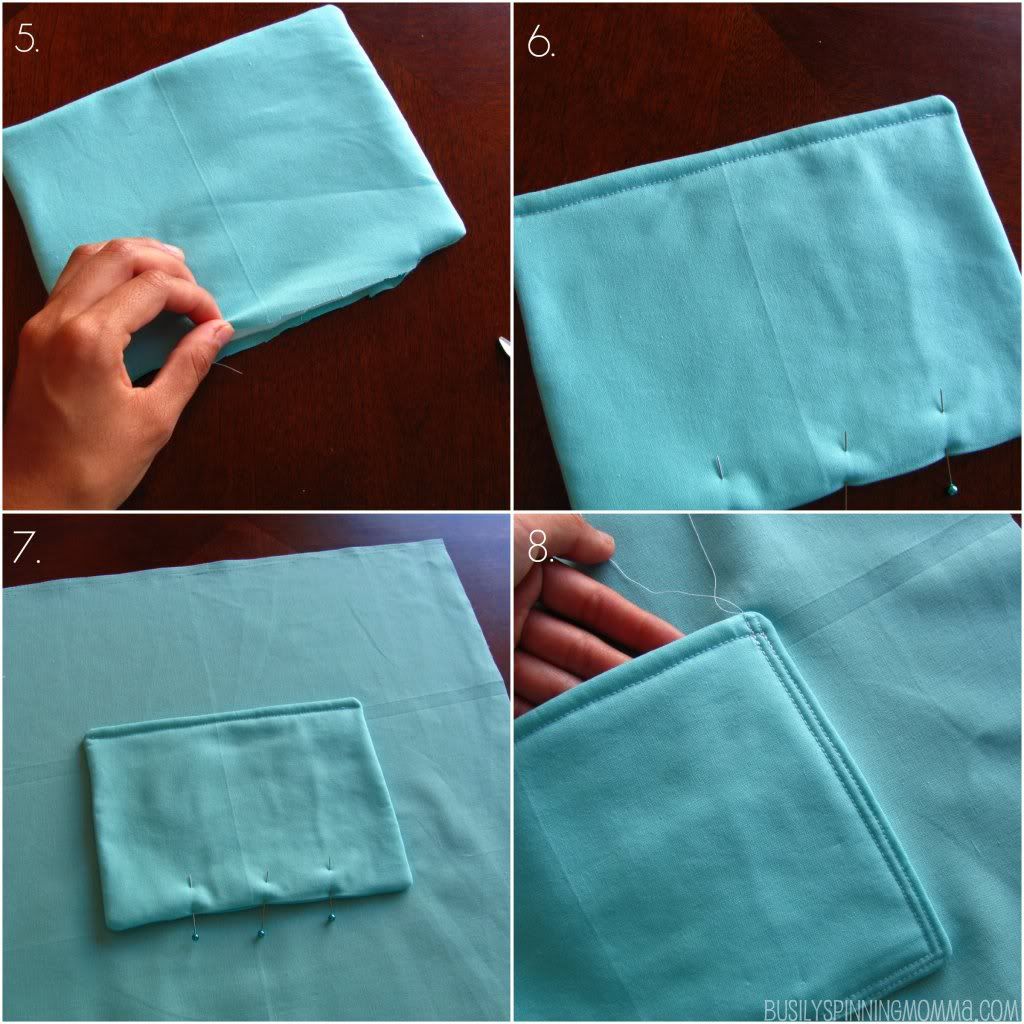
5. pin.
6. Place it where you want it two go on your fabric and (not pictured) pin it on
6.Sew long the edge to secure onto interior piece of bag AND to close the unfinished part. It will look neat and tidy :)
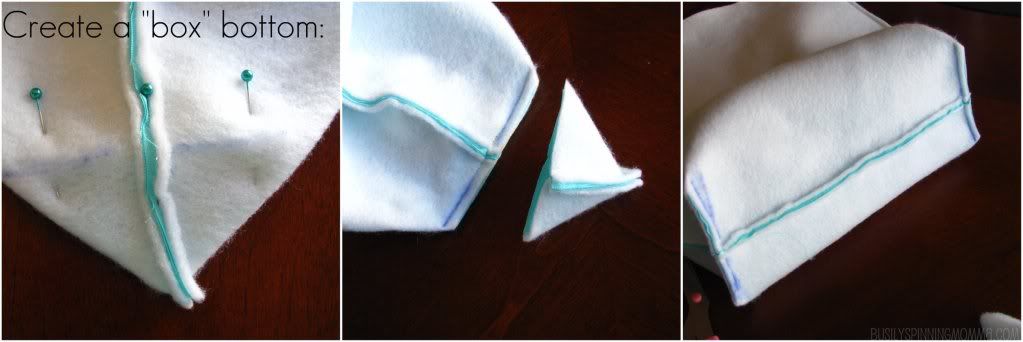
If you DO NOT KNOW how to create a box bottom, HERE is a great video tutorial that will take you through the steps.
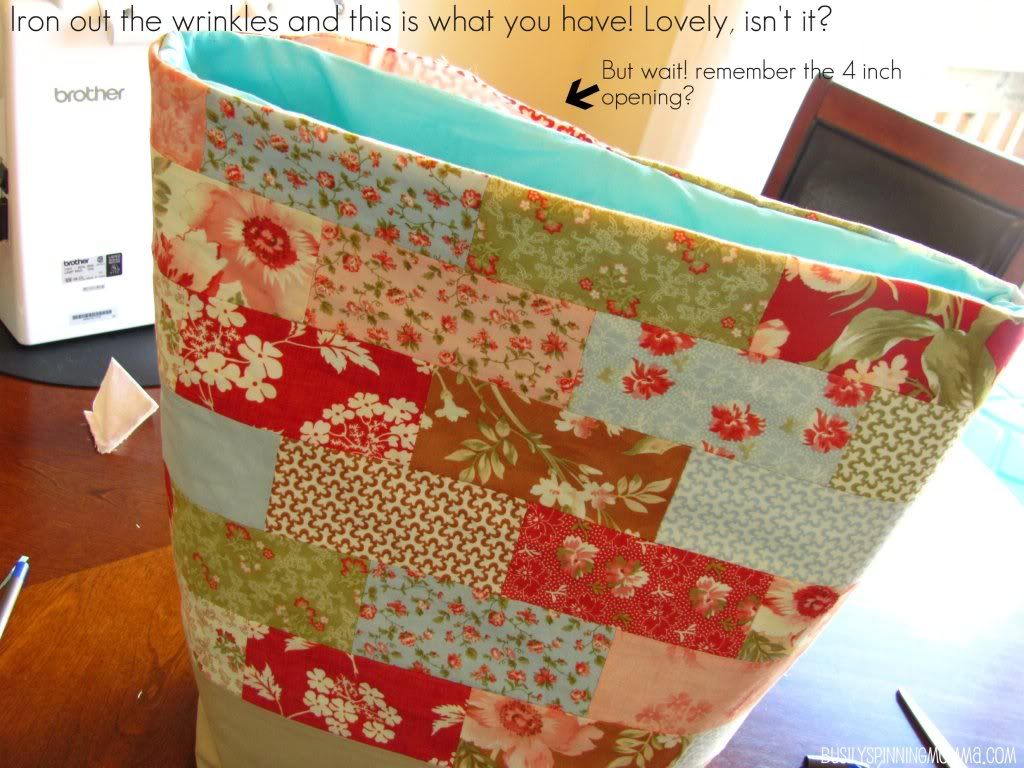
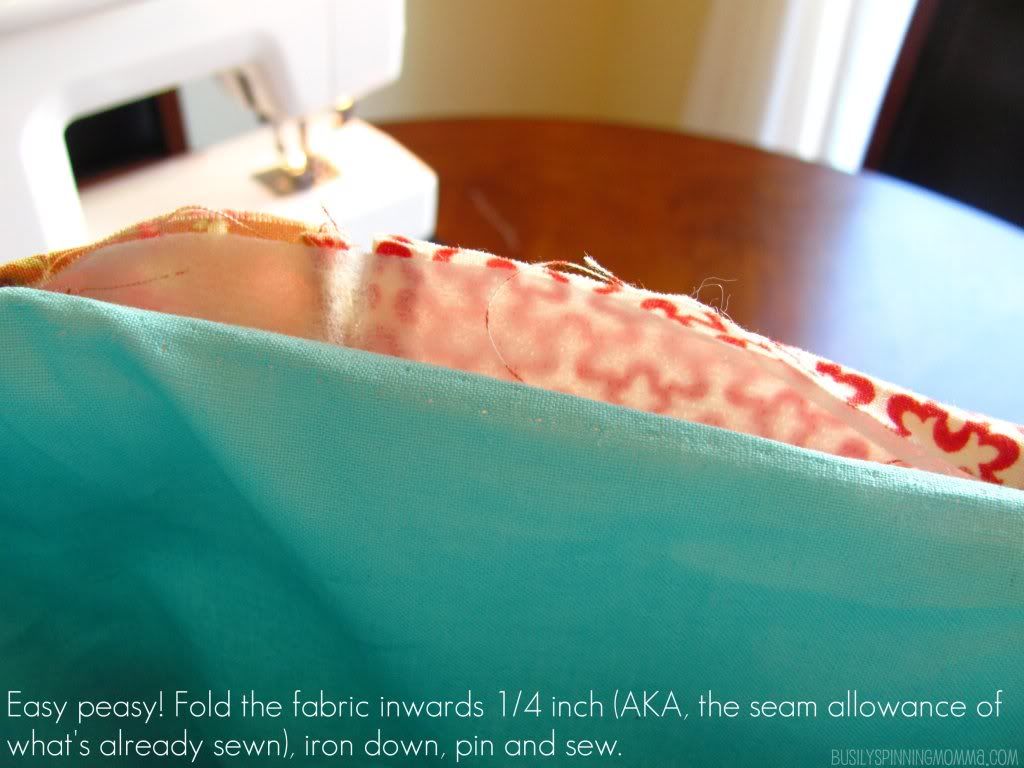
At this point when you go to sew the unfinished part closed, continue around the entire length of the opening of the bag.
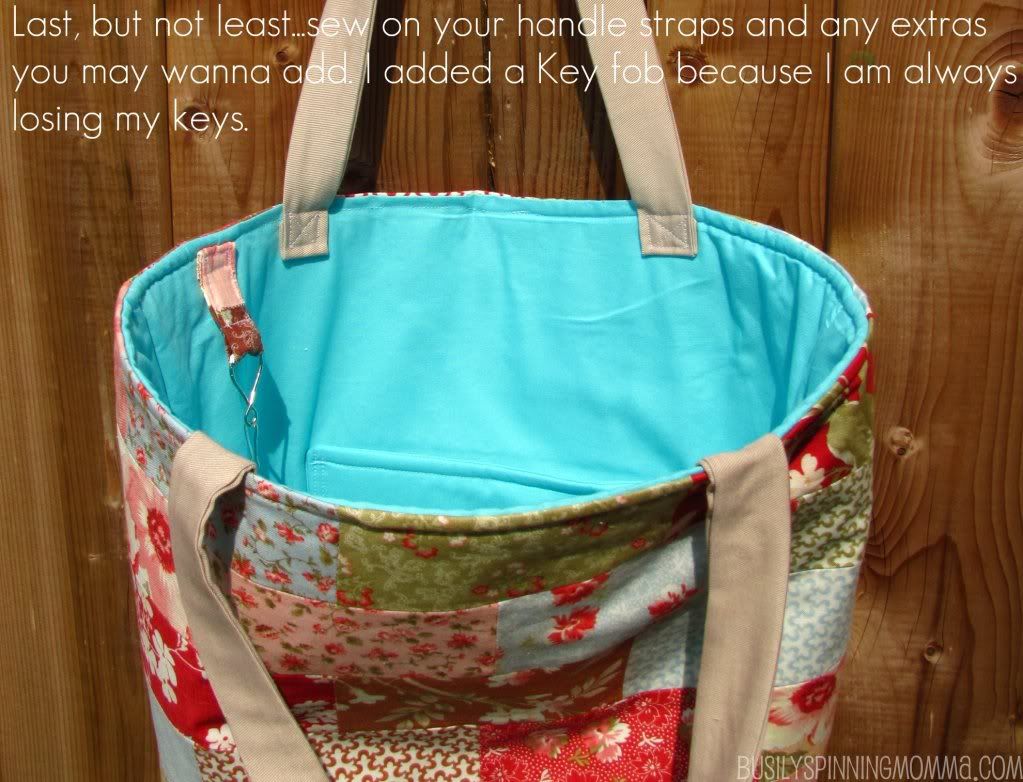
DON'T KNOW how to make your own handle straps? Delia Creates has a great tutorial on it!
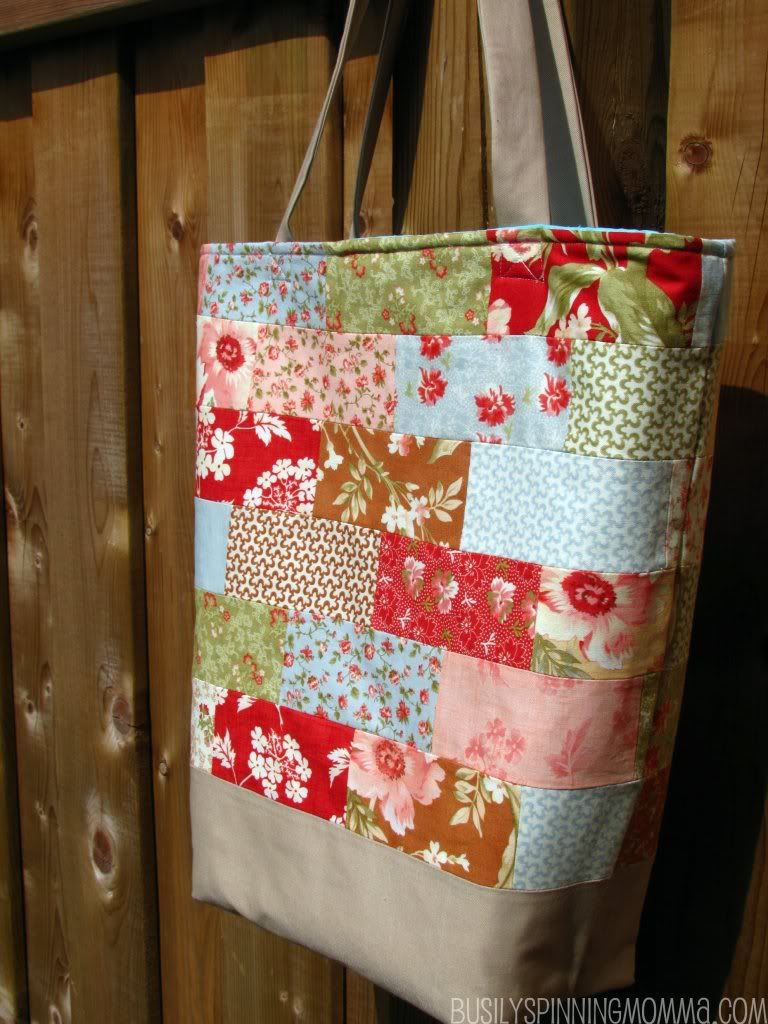
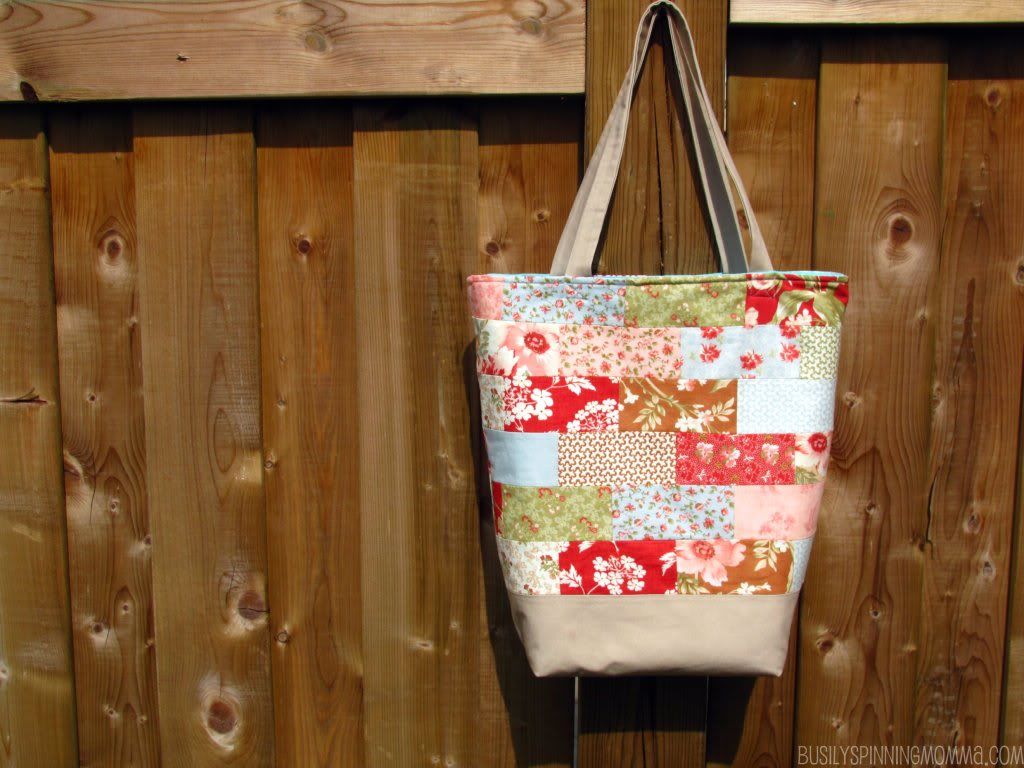
And now, stand back and admire your (in my case) very first attempt at quilted ANYTHING.
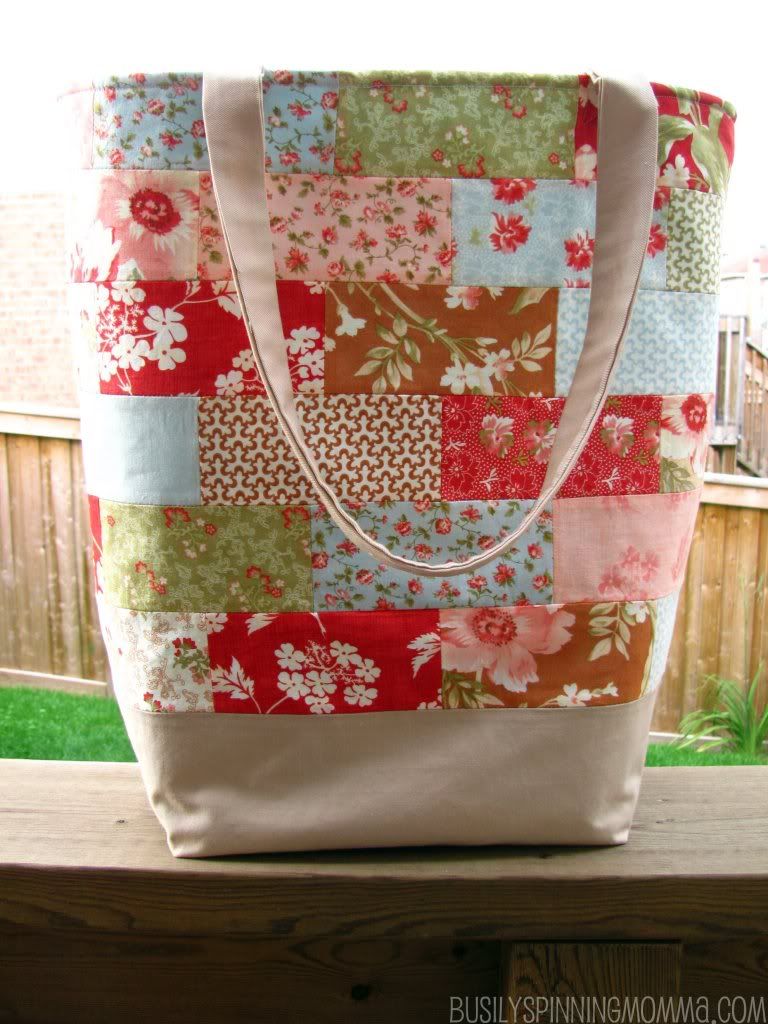
So casual. And that fabric? Absolutely delicious. Gotta love Moda Charm Packs!
I don't know about you, but the fabric seems very Autumn-y to me. The red of apples, crisp blue skies, olive-y greens...honest to goodness, one of my all-time favorite color palettes.
There you have it ladies, how to make your own quilted bag. As Christie would say...easy peasy, lemon squeezy!
A quick personal note: I haven't stopped using this bag since I made it, I LOVE it! It's replaced every other bag I own and I use it as a diaper bag/mommy bag! It's big enough to carry everything and I think, it goes well with everything. Also, I had enough charm pack left over to make a sun glass pouch and notebook cover! (Tutes to follow when I recover from this MASSIVE post!) Woot, woot! Yay for matchy-matchy!
Also, I am fully aware that this may not be the "right" way to make it (after all, I don't pretend to know how to quilt! One day though, one day), but this the way I made it and it worked for me!
And as always, you can find this tutorial (and many others!) under the "Tutorial" Tab at the top.
I hope you enjoyed it and if you have any question (be it big or small) please, leave it in the comments and I will do my best to answer it : ) By that I mean...I HOPE I KNOW THE ANSWER! LOL!
Thank you Chrisite for letting me kick off Purse Week, it's been a pleasure and an honour : )
And thank YOU for reading.
xoxo, Dorian
LINKED TO:
These great parties! Join me :)

Visiting from Lemon squeezy home. Thanks for the lovely tutorial for the cute bag. I'm pinning it in hopes of making it as a gift for Christmas!
ReplyDeleteWow, thanks for posting such a beautiful bag!!! I will try it sometimes soon!;))
ReplyDeleteI absolutely love this bag, it is gorgeous! Thanks so much for sharing. I've made one quilt, and always wanted to make a quilted bag, and this answered my questions about doing it. I'm impressed that you did this without a rotary cutting! Looks beautiful!
ReplyDeleteThanks for the wonderful bag tutorial! I'm hoping to make one soon! :)
ReplyDeleteJust saw this on Tip Junkie's link party. This is really cute! And lots of pictures are always a good thing. ;)
ReplyDeleteThis is so very cute! I love it and there is no such thing as too many pics in a tutorial, if you ask me. Thanks so much for linking it up at Creative Me Monday today!
ReplyDeleteJenny
I found your tutorial over on the link up at Sugar Bee Crafts. I'm SO excited. I've wanted a bag like this forever, but haven't been able to find such a clear tutorial. I'm thinking that my girls would love one for a present as well. THANKS so much for sharing. I can't wait to make one!
ReplyDeleteJaymie @ http://dancesdishesanddreams.blogspot.com
I love it! It's a must make! Thank you! :)
ReplyDeleteI have made one quilt, and always wanted to make a quilted bag, and this answered my questions about doing it. I am impressed that you did this without a rotary cutting! Looks beautiful.
ReplyDeleteGorgeous bag and a detailed tutorial. Thanks for sharing.
ReplyDeleteNot only is the bag wonderful (yes, and autumn-y), but you did an amazing job with the tutorial. I feel as if I could actually do this. (I'm looking for something to make as a gift.)
ReplyDeleteThis is a cute bag ,I have been saving all my scrap strips of fabric your bag has inspired me to use up the 2 inches scraps of fabric to make this bag
ReplyDelete