Hi Friends!
First I wanna say, HUBBY'S BACK! He was gone for a week (I know, I know...it's sooo not a long time, but still, it sucked.) on a business trip and he came back on Saturday! YAY!
And it seems to me that he brought back my creativity with him! I made a little sumthin' sumthin' on Sunday that I am kinna completely in love with!
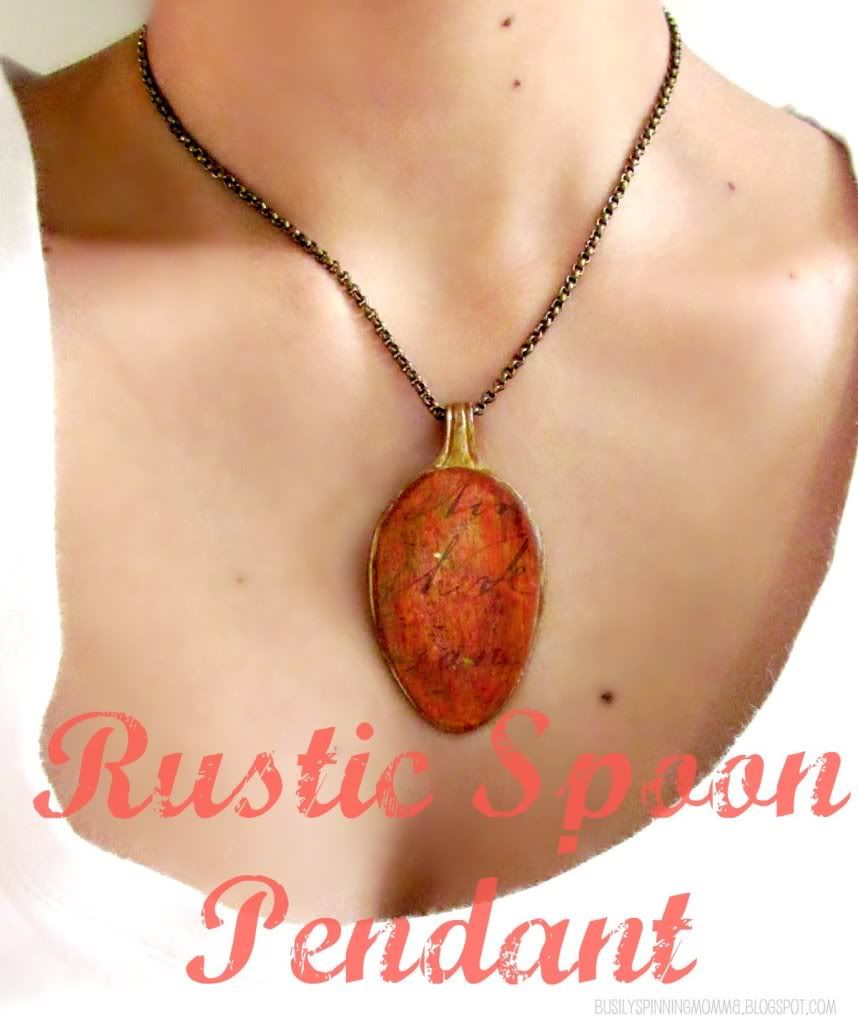
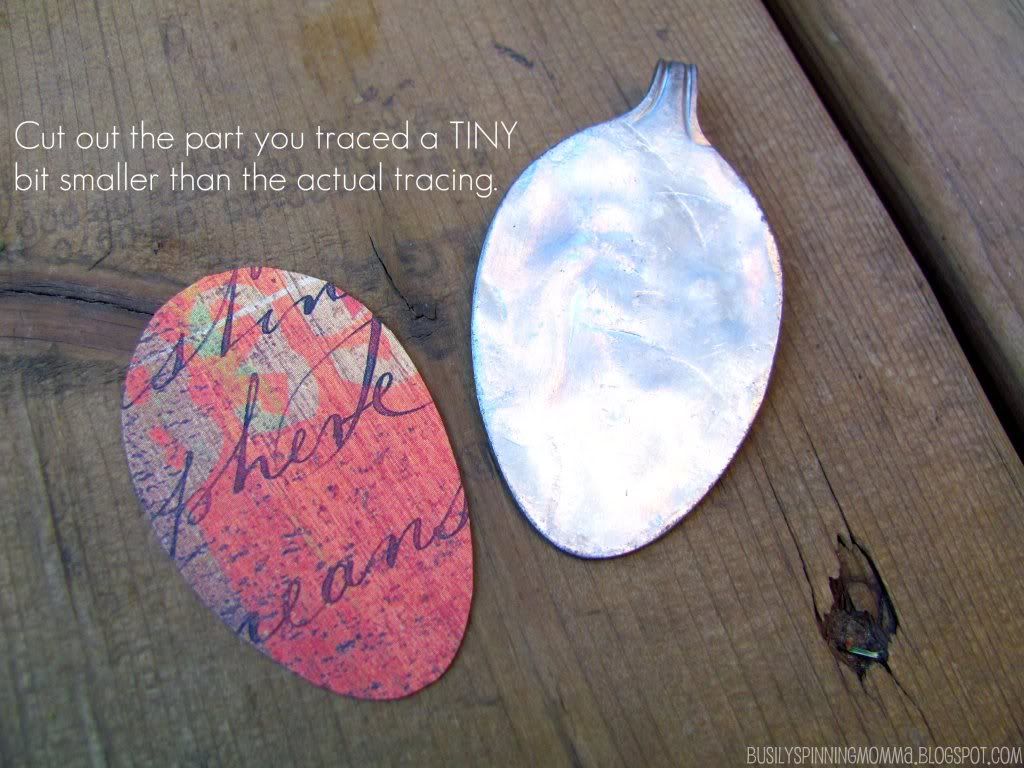
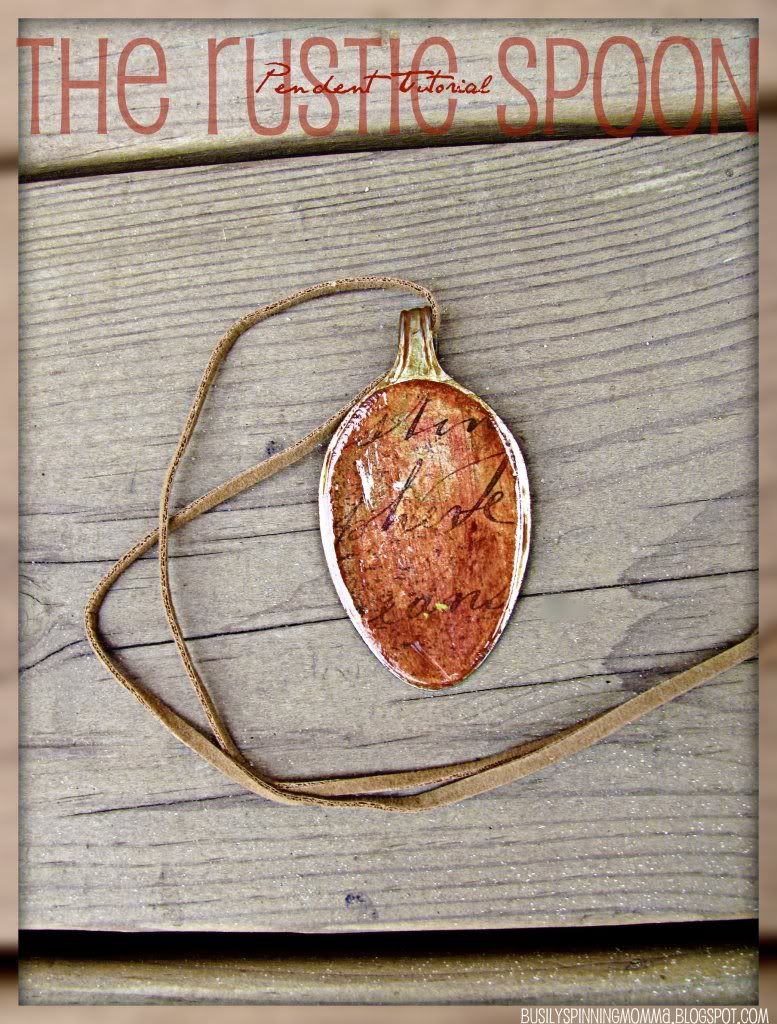
I am so excited to share this next tutorial with you. I call it The Rustic Spoon Pendant. Enjoy!
YOU WILL NEED:
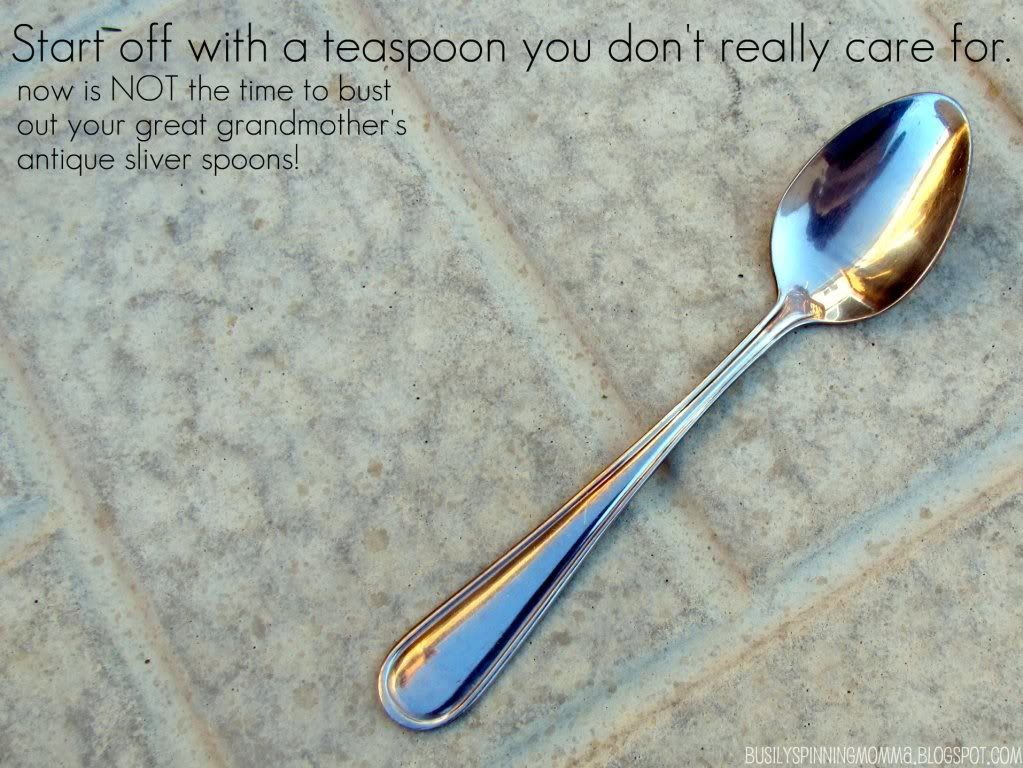
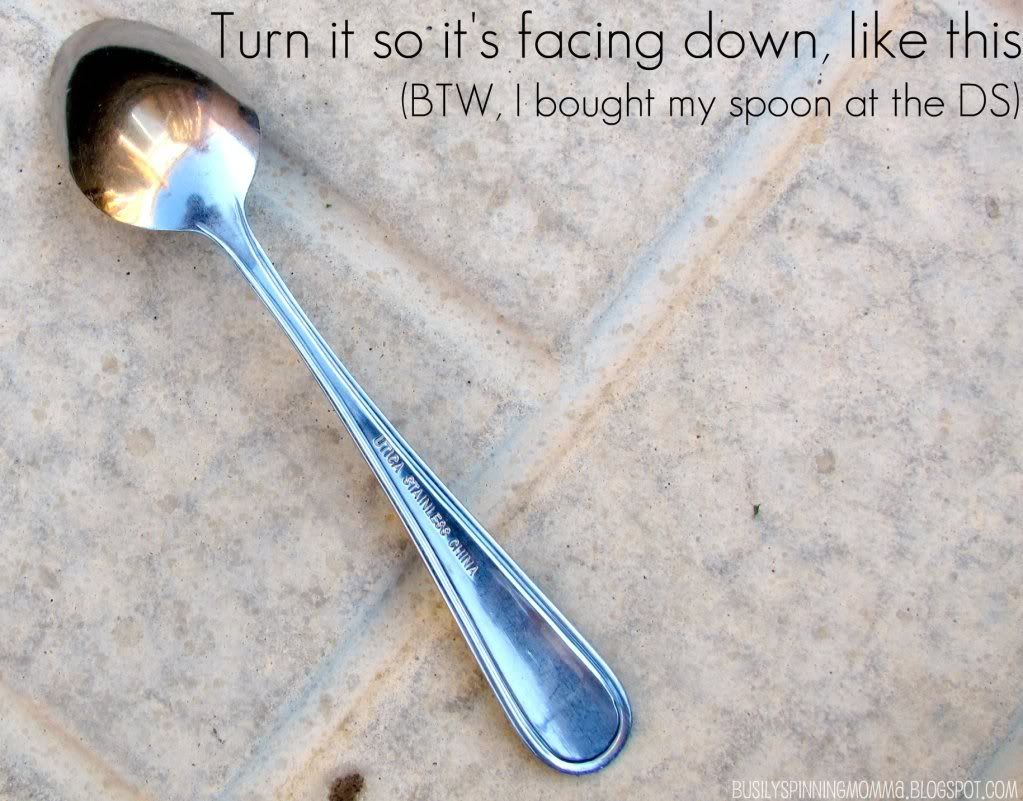
- Teaspoon
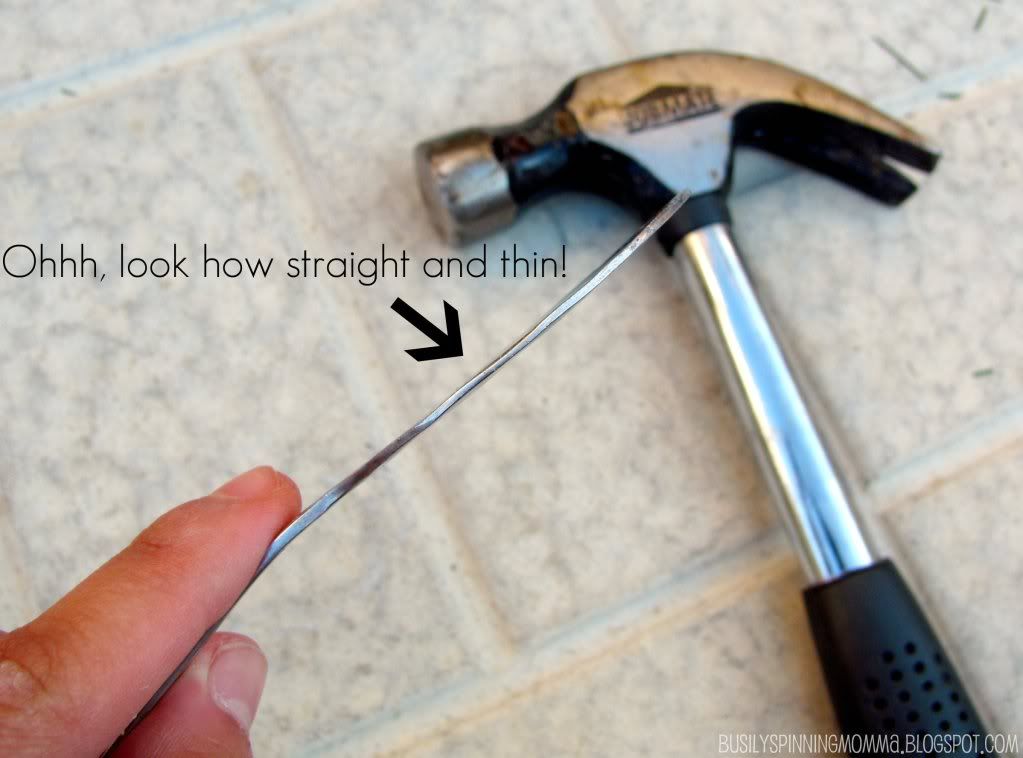
- Hammer
- Pliers
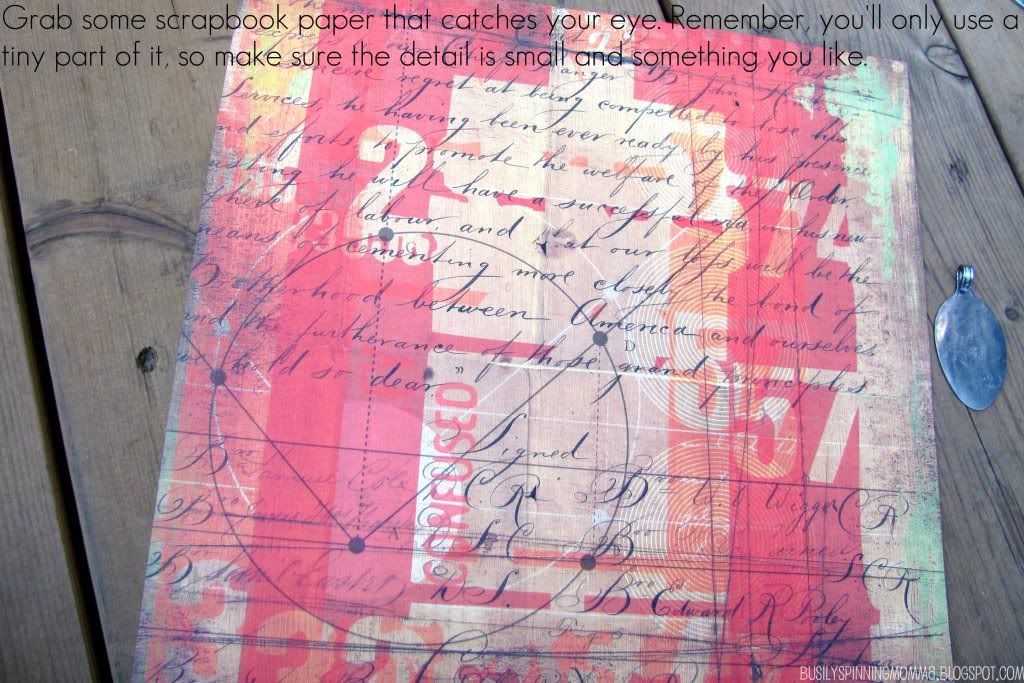
- Scrapbook Paper
- Pencil
- Scissors
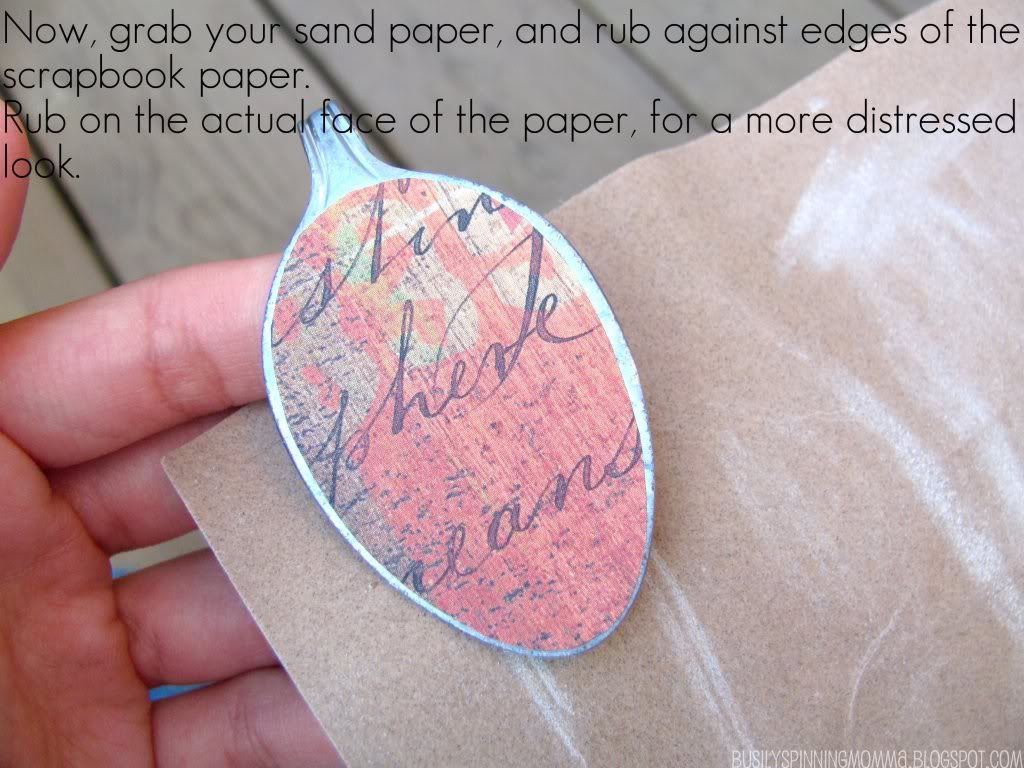
- Sanding Paper
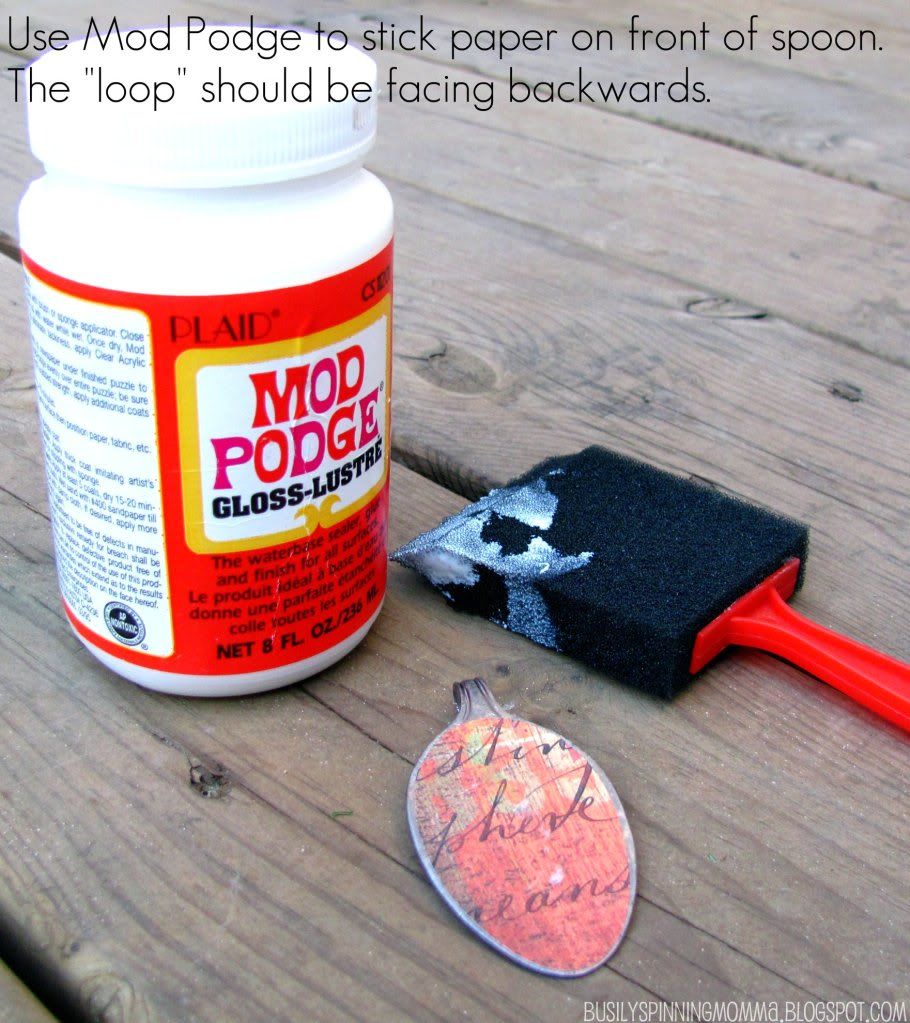
- Mod Podge
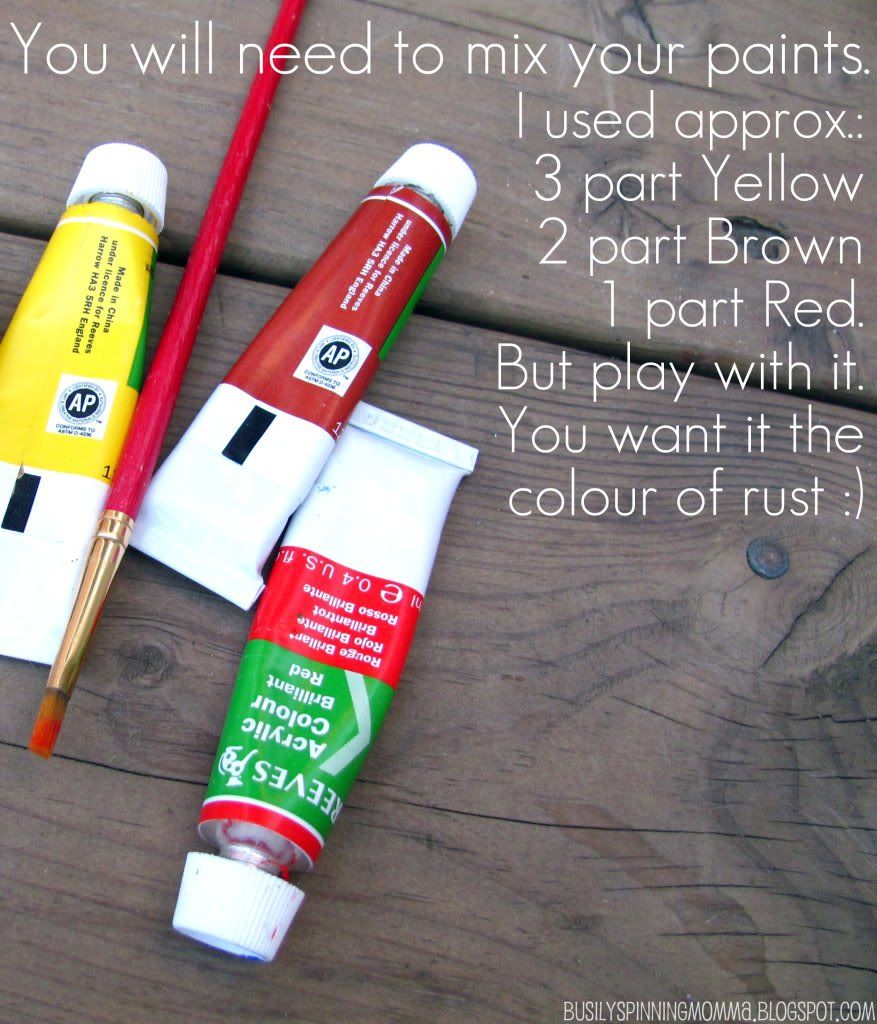
- Acrylic Paint (red, yellow, brown)
- Paint Brush (Small)
- Water (just a bit)
- Paper Towel
- Paper Towel
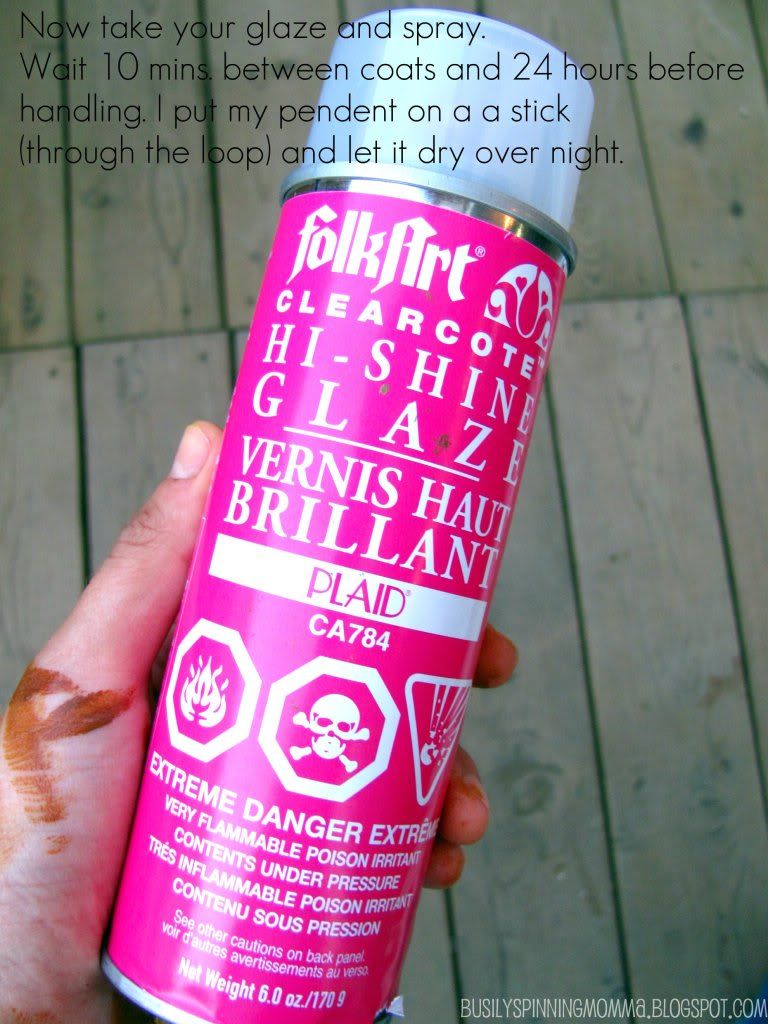
- FolkArt ClearCote High Shine Glaze (by Plaid)
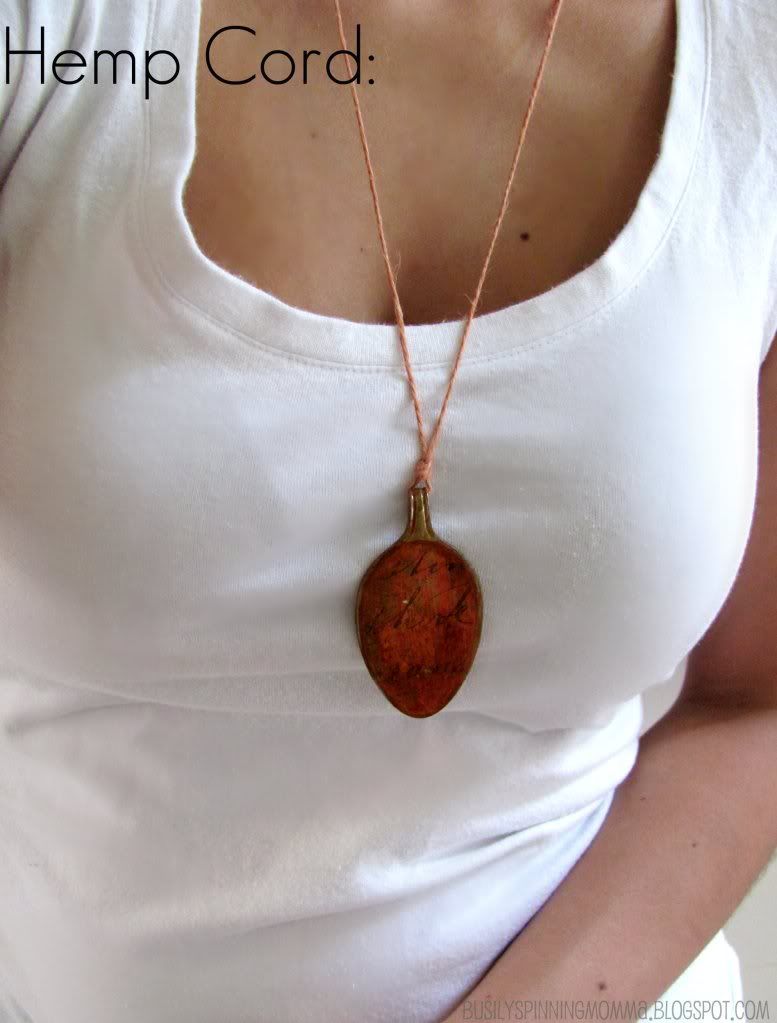
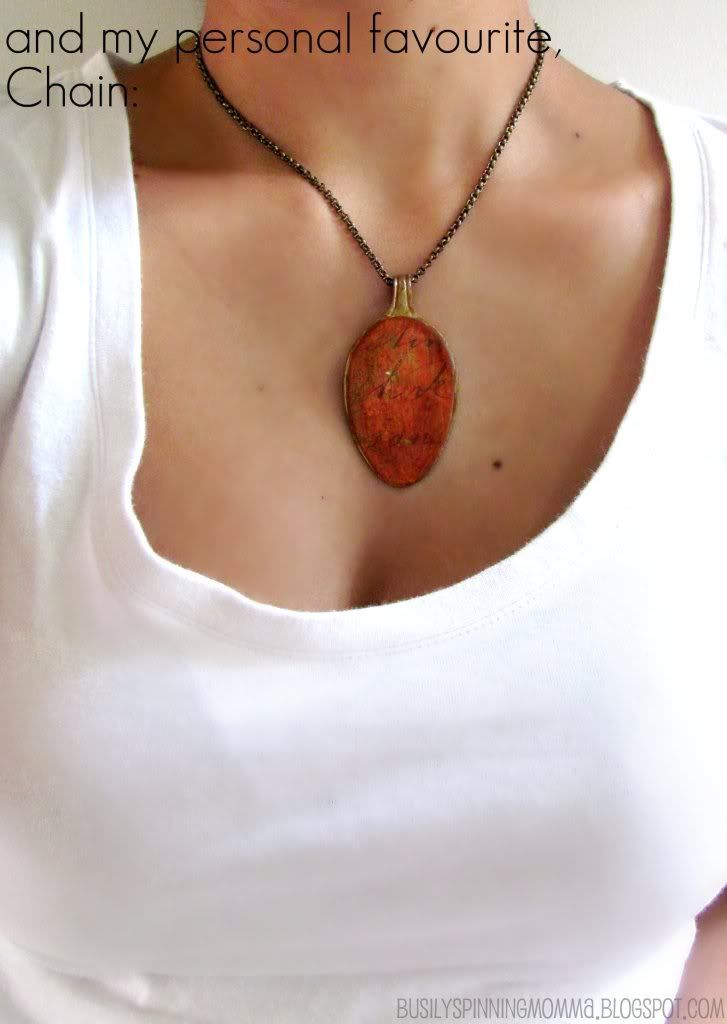
- Hemp Cord or Leather Cord or Chain - whatever you fancy :)
Sounds like a lot, but I swear to you, this is easy as pie :) And bonus, it's a great way to release stress!
HERE WE GO!

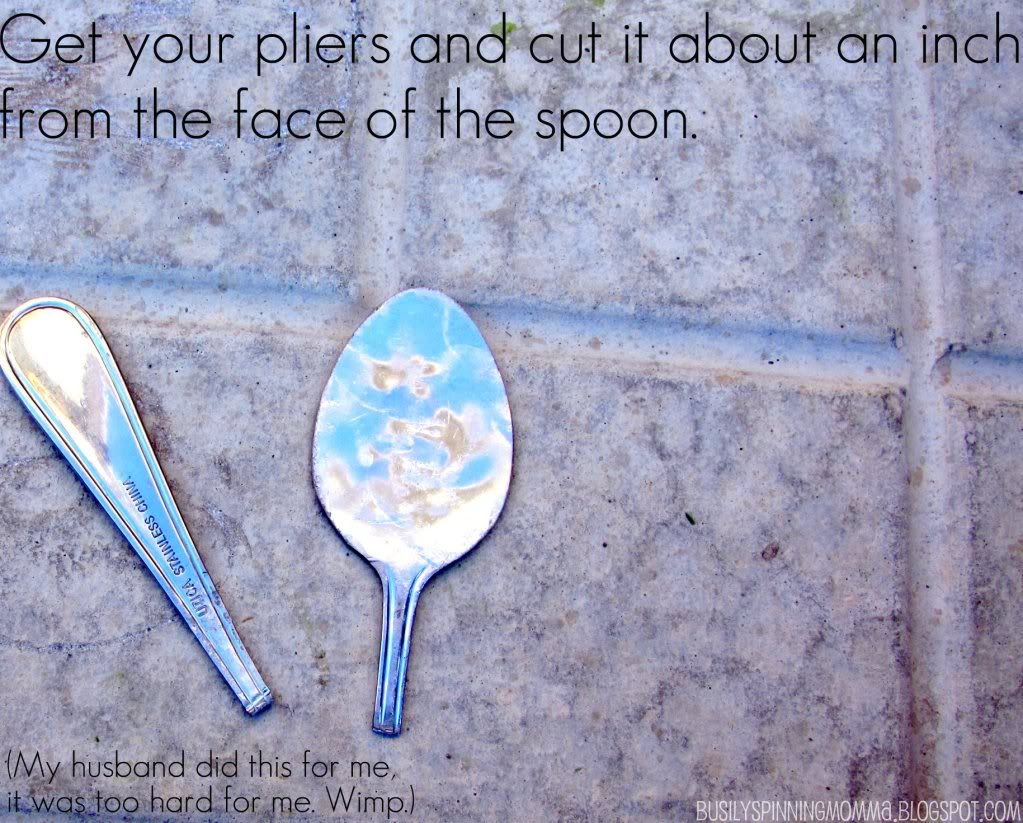
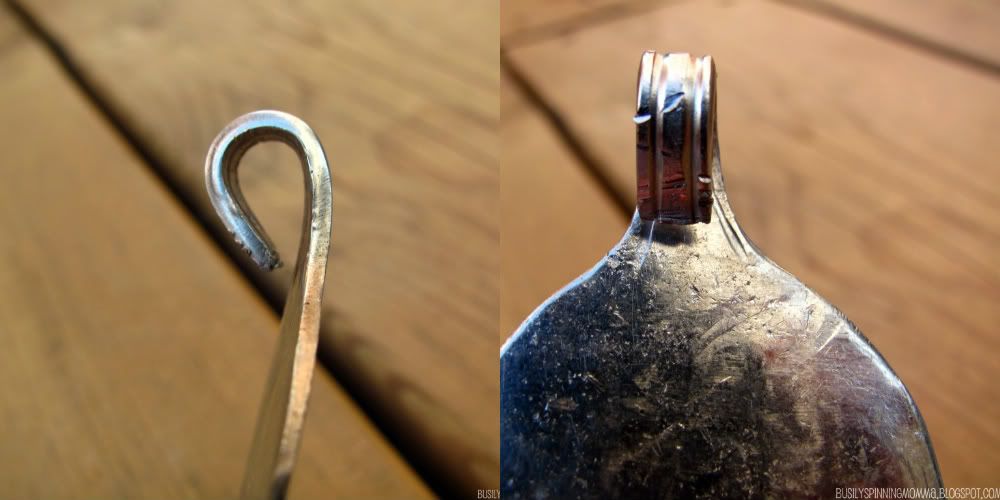

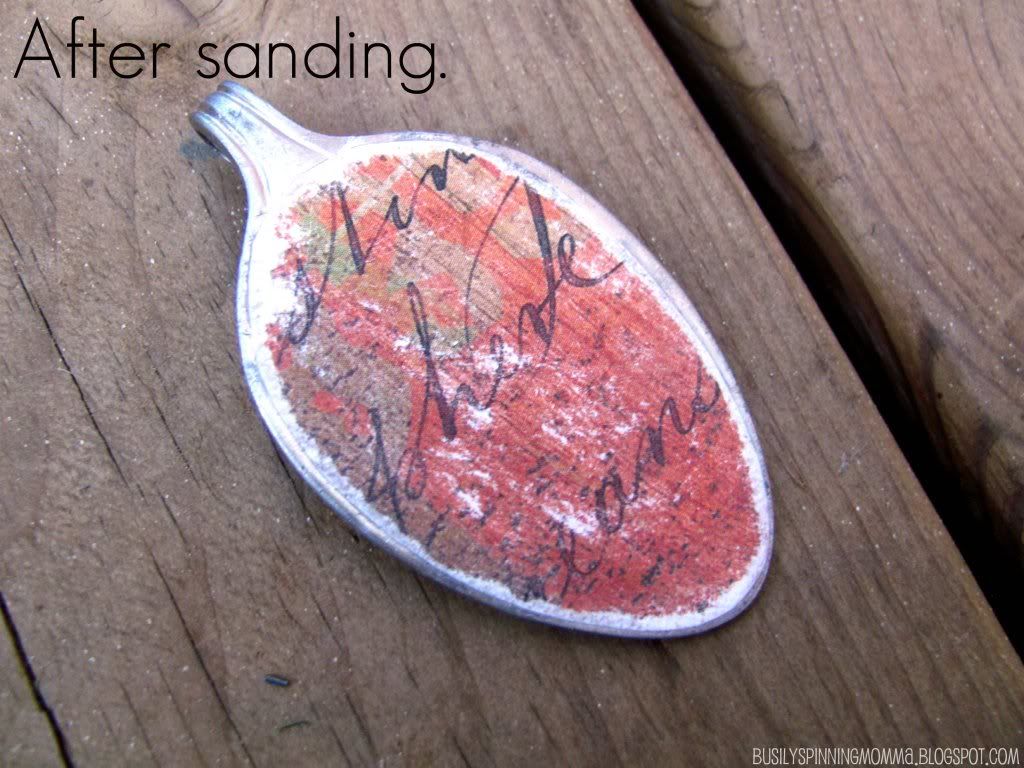

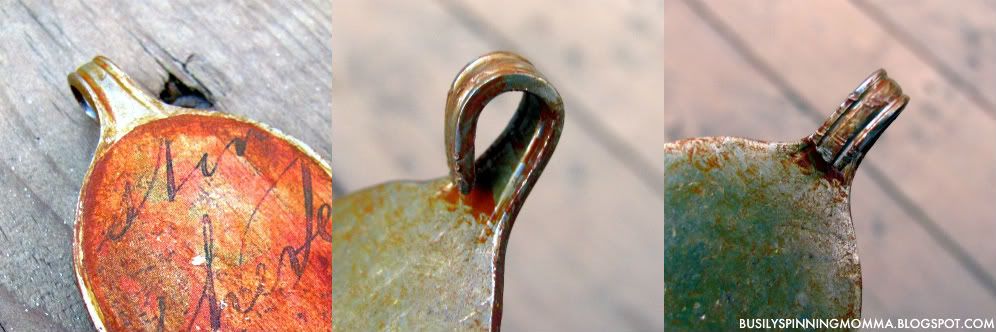
It should now look like this:
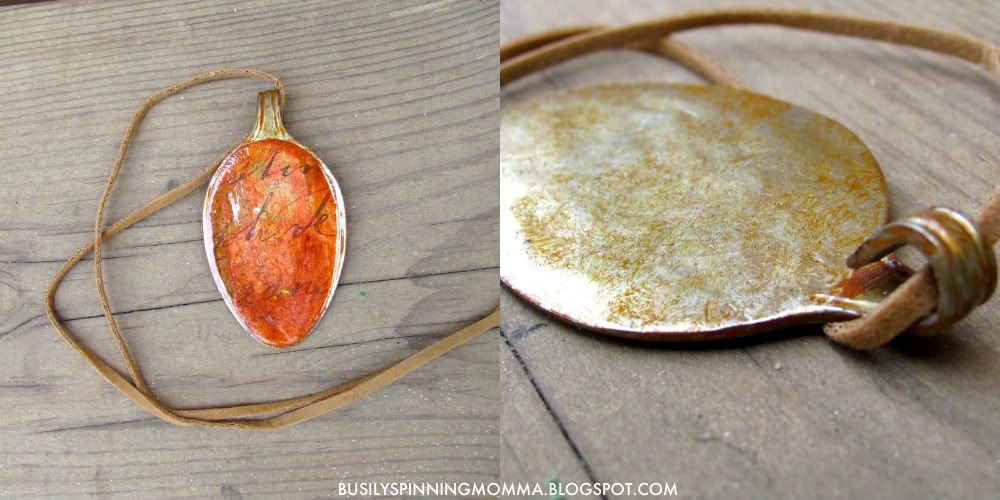
You can use any chain you'd like. Here are a few examples:

And, as always, you can find this tutorial (and more!) under the "Tutorial" Tabs at top. Find this one under:
Hope you liked it and found it easy to follow!
Oh and one more thing, I want to do a giveaway of a Rustic Spoon Pendant on a Hemp or Leather Cord. But since I am going to link this to parties, I can't announce it here! So stay tuned for an upcoming giveaway!
Thanks again all, for taking the time to visit my little corner of blogland! And thank you for all your comments, I can't tell you how much I enjoy reading them! You guys are the bestest! Have an awesome good day!
xo, Dorian
LINKED TO:
THESE awesome parties!
***This is to answer ANONYMOUS' question left on the comments.***
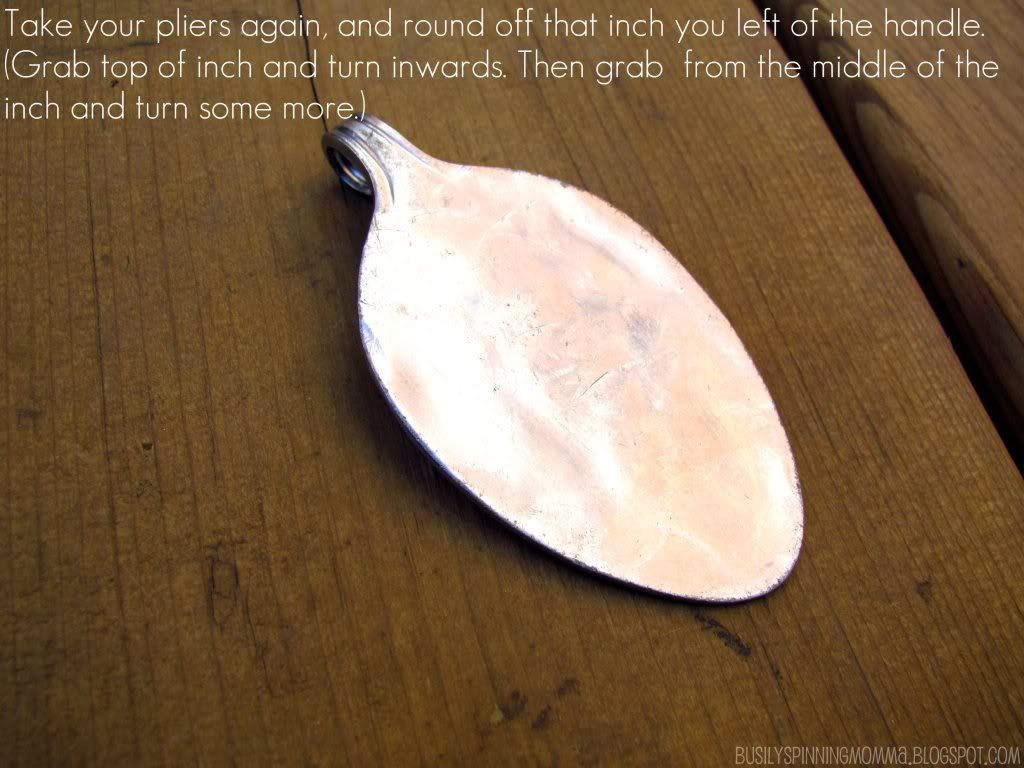
Try using a pair of needle nose pliers. Use the pliers to "pinch" the end of what will be the loop. By twisting your wrist slowly but firmly at the very edge, it should begin to turn in. Failing that, use the pliers to bend down the middle of where the loop will be. When you've manipulated the metal downward, move pliers to the very edge (not the edge that goes into the spoon) and do the wrist twist thing until you get a more round off shape. I hope I was able to articulate that well and that you found it useful! Let me know if you have more questions :)
Super cute ! This one is gonna be a Pinterest favourite ! xo
ReplyDeleteI am so glad your hubby is back home; I hate when mine is gone. I just don't sleep good.
ReplyDeleteThis tutorial is awesome! I will have to try it (as soon as I get a teaspoon).
the most amazing tutorial I have ever seen :) :)
ReplyDeletei love how your spoon turned out! thanks for sharing!
ReplyDeletehugs,
peggy aplSEEDS
I am so making one! This is so clever! I would love it if you would link up to my Tuesday Confessional link party going on now: http://www.craftyconfessions.com/2011/06/tuesday-confessional-link-party.html. I hope to see you soon!
ReplyDelete~Macy
SO cool! What a great idea...I really love it!!
ReplyDeletewww.freestylinbeth.com
This is so cool! Great idea and pretty outcome too. Found you on Your Whims Wednesday.
ReplyDeleteAwesome tuorial! Thanks for sharing, I know what I'm going to try today... t. xoxo
ReplyDeleteI absolutely love this, thanks for the great tutorial and inspiration. I don't make jewelry very often (almost never!) but THIS I could do and come out looking like a rock star :)
ReplyDeleteA great and cute transformation!
ReplyDeleteWay cute! I love using silverware in unexpected ways! Thanks for sharing!
ReplyDeleteOMG! So clever! I love it. Thank you for linking to Sew Woodsy last week! We hope you will join us again tomorrow!
ReplyDeleteThanks so much for linking! I'm featuring this on Friday at Craft Goodies-see you there!
ReplyDeleteWendy
Love it! Can't wait to make this one! <3
ReplyDeleteAbsolutely gorgeous, and I love how you explained it all in an easy to understand way.
ReplyDeleteI'll be pinning this and stumbling this.
Cheers,
Tracy Screaming Sardine
very very cute...I have a broken spoon (antique brass) which was reserved for this purpose, but I never got around to making it...I think I needed this inspiration...thanks :)
ReplyDeleteDorian this is soooooo great. I really really love it! I have to make this. :)
ReplyDeleteI featured you today in my Crush of the Week post! http://www.flamingotoes.com/2011/07/crush-of-the-week-think-pink-features-13/
Hi Dorian!
ReplyDeleteWould you mind if I feature this project on my blog this Sunday?
Thanks!
nancy
styledecor 1 at gmail dot com
Do you know...there's a huge box of "craft stuff I may never figure out what to do with so hubby should take it to the attic" that is still sitting in my craft room...apparently for this very craft!! <3 it!!
ReplyDeleteLove this & great tutorial! Saw this on Dollar Store Crafts.
ReplyDelete-caroline @ c.w.frosting
Beautiful necklace thank u for the tutorial.
ReplyDeleteOOOO Ima gonna try this...LOL
ReplyDeleteI have been playing with spoons for a couple weeks making earrings and pendants adding beads and charms. I think I will try this with a black & white photo... Thanks for the inspiration!
ReplyDeleteThis is so awesome! And a great tutorial. I am definitely inspired! Thanks for sharing.
ReplyDeleteThis is SO wonderful. I can't wait for my daughter and I to try it! Thank you for sharing such fabulous photo steps.
ReplyDeleteI love this! Thanks for the tute-i have a bunch of spoons lying around that need to be flattened & this would be perfect!
ReplyDeleteLiz
You are so inspiring! Love, love, love it.
ReplyDeleteOh no! All the pictures are missing! I saw this the other day and bookmarked it because I love it, but now I can't see the pictures :(
ReplyDeleteI can't see them either, just Upgrade To Pro Photbucket ads :-(
ReplyDeleteI love this! I am so making some of these!! Love them!
ReplyDeleteOk, so simple put...LOVE IT! Easy, cheap, totally cute and so versatile!!!! Thank you, Thank you, THANK YOU for the tutorial! Rock it!
ReplyDeletemomsforhealthyhomes.blogspot.com
wanted to let you know I posted this to my fave DIY list on my blog http://jessalynnedesigns.blogspot.com/2011/07/diy-top-5-fave-diy-on-pinterest.html. Can't wait to show you my version!
ReplyDeleteHey neighbour, I posted this to my twitter and facebook pages. See ya Monday for our Tims run :)
ReplyDeleteGreat idea and easy to follow- was harder than I thought to cut the spoon, finally found a great use for the tin snips. Thanks again!
ReplyDeleteNicole
Is there some secret to bending the spoon to get the loop? I've tried , hiubby tried , it wot budge and these are kinda wimpy spoons. Any help?
ReplyDeleteOk this is on my to do list. A serious to do list.
ReplyDeleteGlenda
Thanks for the great idea! I went all home-dec with it :)
ReplyDeletehttp://jessalynnedesigns.blogspot.com/2011/08/diy-rustic-spoon-pendant.html
Love Love Love it! Thanks for taking time to share!!
ReplyDeleteI made one, and blogged about it here: http://kimmydavis.blogspot.com/2011/08/lets-play-ketchup.html
ReplyDeleteI linked it back to this post as my inspiration :)
..................NICE.^_^v.................
ReplyDeleteI love this such a great idea. I posted a photo of my spoon pendant I made from your tutorial on my blog and linked back to you tutorial. Thank you so much.
ReplyDeleteGinger
I seen this and fell in LOVE..I HAD TO TRY!! I made 7 in one night!! of course my DH was a dream , took my spoons in his garage, grinded the spoon ends off and torched the end till he was able to bend it easy for me....LOVE HIM!! lol
ReplyDeleteLOVE the idea. Great way to use up odds & ends of mis-matched silverware. I like that U also show what products you use.. like the can of spray. That way when I had to the craft store I at least know what to look for. THANKS SO MUCH FOR SHARING your great ideas.
ReplyDeleteBeautiful and very creative. Might make some for Christmas presents. If I do think I might use some metalic paints. Would also be pretty with a large oval or round flat backed rhinestone.
ReplyDeleteWhat a great tutorial and a fun project. I so want to try this!
ReplyDeleteHolly
Wow...that is so cool!!!
ReplyDeleteLOVE IT!!!!!!!!
Linda
www.creativecommotion.blogspot.com
This is great! I just read your tutorial this morning and - going on 2:30pm - am almost done with the project. Fast, easy, elegant. I love it! Thank you so much!
ReplyDeleteI am a Lupus Spoonie and I want to make myself one. Love it!!
ReplyDeleteHey, if this is the result, send that hubby away more often!
ReplyDeleteIm dying trying to find pendants trays in my town, and you go and make one, with a freakin´spoon!
ReplyDelete<3 lovit!
This may be a pretty lame question but do you let the modge podge dry before sanding? I love this pendant and I'm excited to get started on it. Thanks for the idea and directions. :)
ReplyDeleteI have found in making the spoon necklaces I make, breaking the handle off and making the bail are easier with my vice. Bend it back and forth until it breaks. It will get hot!
ReplyDeleteThen just bend the end down a little and squeeze with the vice for your bail.
My spoon necklaces are very different than yours.
But I do love yours!! I'm going to give it a go!!
Thanks!
How do you break the handle with pliers?
ReplyDeleteStunning pendant I've seen other tutorials using spoons but yours really appeals to me. Do you have to treat sterling silver spoons any differently? Is it harder to cut the handles off? Will they continue to tarnish? Will the paint adhere to the silver or is there another type of paint we should use?
ReplyDelete^^^ I'd like to know the answer to that too^^^
DeleteI followed this tutorial using sterling silver spoons and didn't need to change anything. It works great on silver, the silver that is exposed to the air and not sealed does continue to tarnish but it no big deal.
DeleteYour content shows the power, I’m about to add this to my bookmarks.
ReplyDeletebubblegum casting
Nice to see your work!! It’s really helpful for me.
ReplyDeletebubblegum casting reviews
It seems a rich content posted here about womens sterlign silver rings . I went through the post and found it very helpful.
ReplyDeleteThanks for sharing the post..
It seems like an educational blog which always some new information to visitors and Enjoying every little bit of it and I have you bookmarked to check out new stuff you blog post.
ReplyDeleteThis is first time that I visit here. I found so many exciting matter in this particular blog, One thing I would like to request you that pls keep posting such type of informatics blog.
ReplyDeletemarmeren keukenwerkblad
I would very much like to agree with the previous commenter! I find this blog really useful for my uni project. I hope to add more useful posts later.
ReplyDeleteI just wanted to add a comment here to mention thanks for you very nice ideas. I appreciate when I see well written material.
ReplyDeletestenen tafelblad
I am really very happy to find this particular site. I just wanted to say thank you for this huge read!! I absolutely enjoying every petite bit of it and I have you bookmarked to test out new substance you post.closetspoeler
ReplyDeleteThere is indeed , much free of cost content nowadays via the web, and for sure, lots of different ways to make cash online, but a great number of products really are scams.live chats
ReplyDeleteNecklaces are the most visible accessories in fashion jewellery
ReplyDeletecustomized necklaces
I may have another tutorial in the works for ya! And you will be needing it! Sterling silver pendant necklace
ReplyDeleteThis post is worthy of appreciation, looking forward to more exciting! Swarovski jewelry uk
ReplyDeleteI was drawn to this post immediately! And I've made a handful! I'm actually starting to sell them locally because people always ask me where I got mine! I love them. Thanks for posting this tutorial!
ReplyDeletethrow out the cut off handle part, I may have another tutorial in the works for ya! And you will be needing it! iphone repair
ReplyDelete