With all the rush and hectic-ness that is the holiday season, I didn't get the chance to show you even ONE THING I made! And also....didn't want the "getters" to see what they were gettin'! LOL!
But now, I can FINALLY show you!
These first two are for my handsome nephews. They are 9 and 11 and it was kinda hard to figure out what to make them. I ended up LOVING what I made them!
For the 9 year old...a hand crocheted cowl in the softest yarn. We also added a bit of cash, so that way he can get whatever he wants.
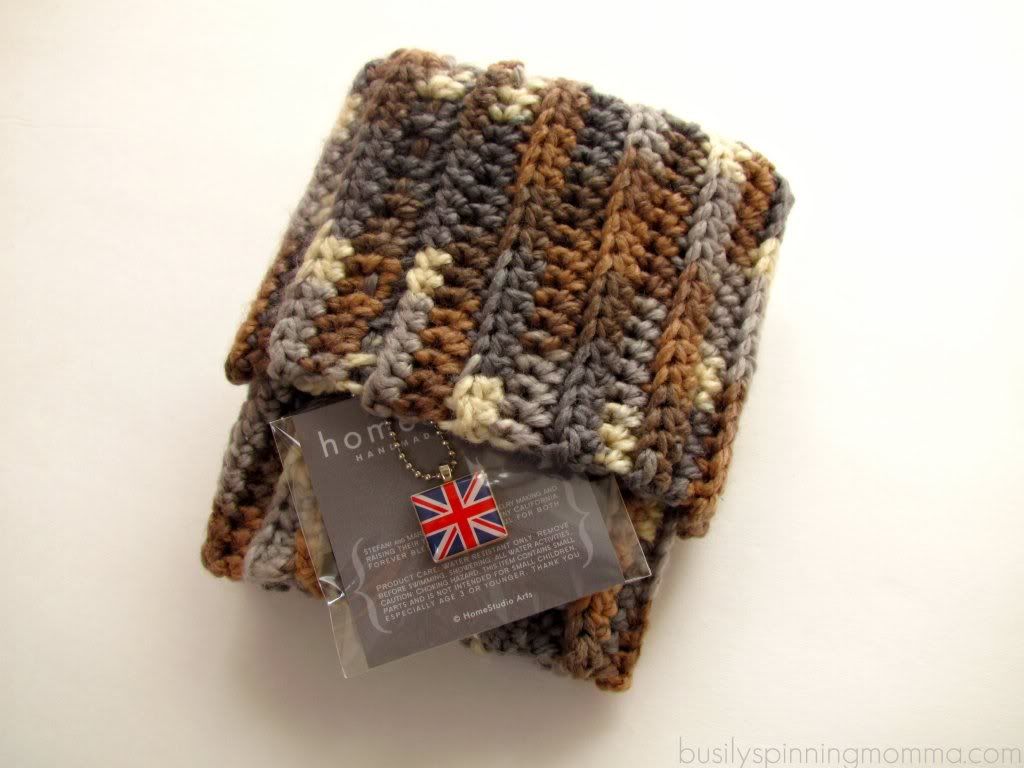
I also bought each nephew a pendent (with added ball chain) made from a Scrabble piece.SUCH a cute piece, very well made and great packaging. So impressed and will be buying more from them. Oh, did you wanna know where to buy?? Check out the Home Studio on Etsy. They are NOT sponsoring me or linking to them, but I liked their stuff and wanted to pass along to my friends :) Really cute stuff and so much to chose from.
Anyway, this is what the cowl looks like when worn:
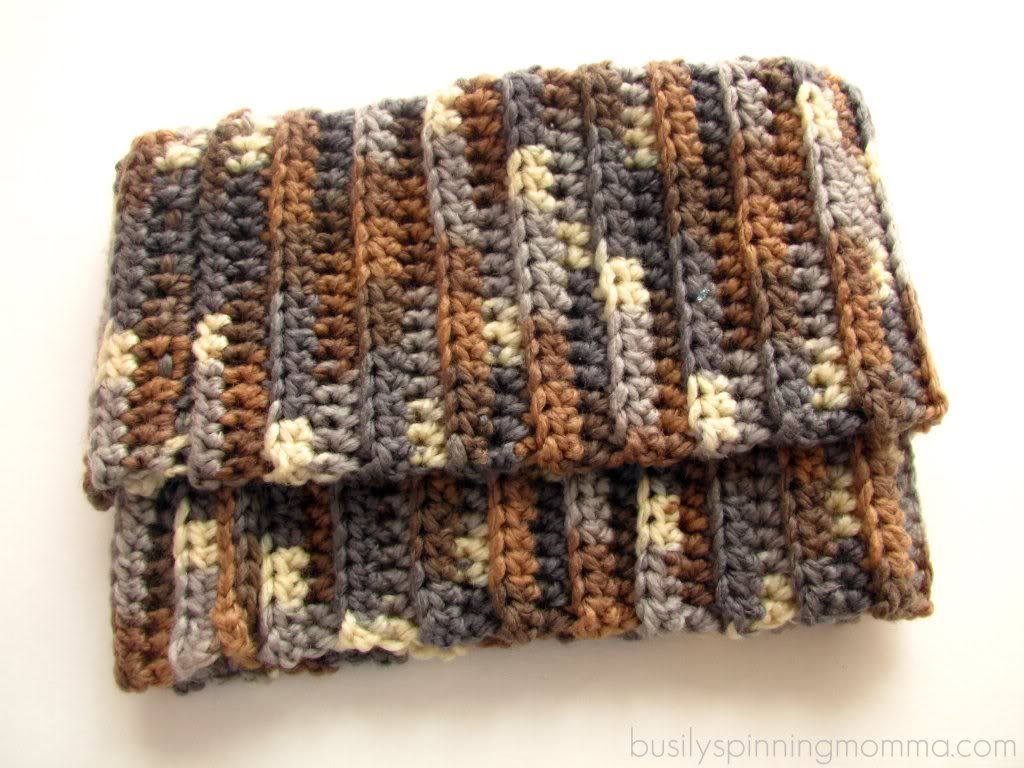
And what it looks like unfolded:
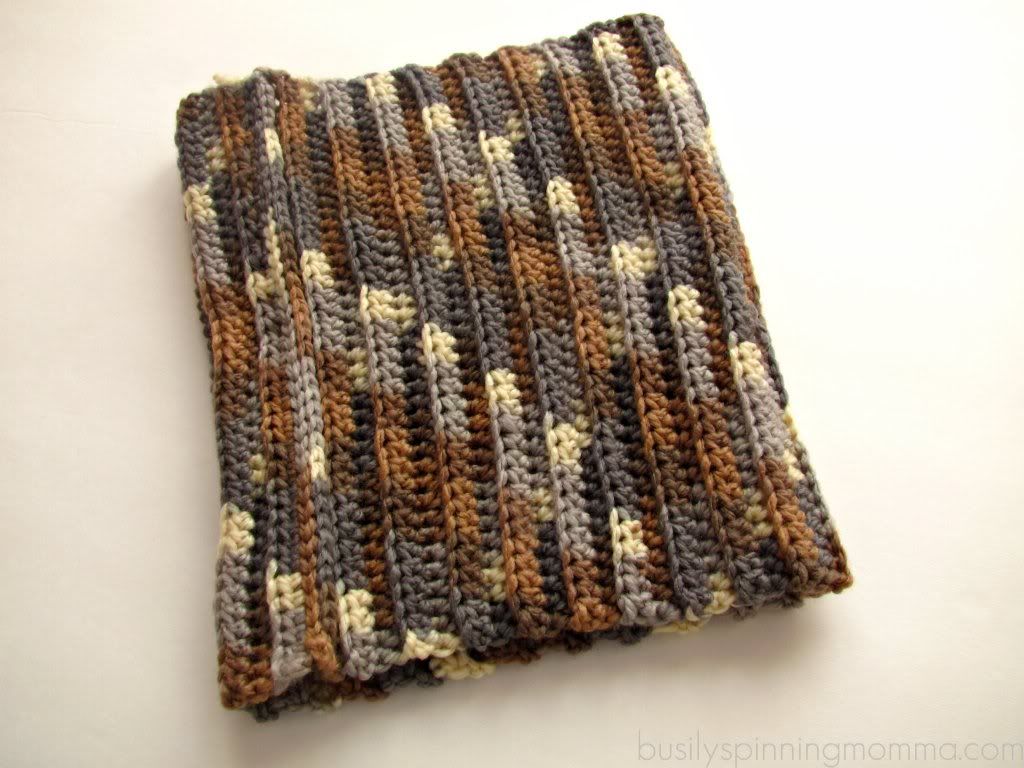
I didn't use a pattern, I just did a long piece (not in the round) of half double crochet, working every other row in the back loop only. To get the "ribbed" effect. Then I joined the ends together. Does that make sense? Feel free to ask any questions!
For the 11 year old:
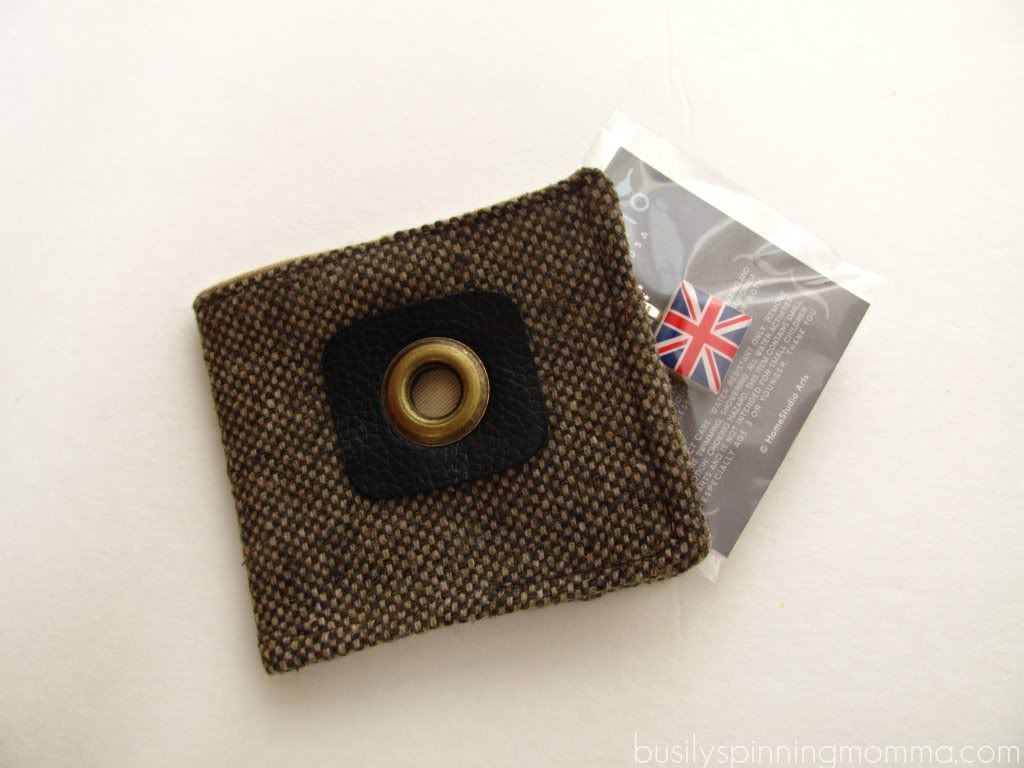
A wallet!
With the pendent (they're brothers so the same one seemed fine) and yes, we added cash...cuz what good is an empty wallet, right?! He seemed to love it! I think he especially liked that he came filled ;)
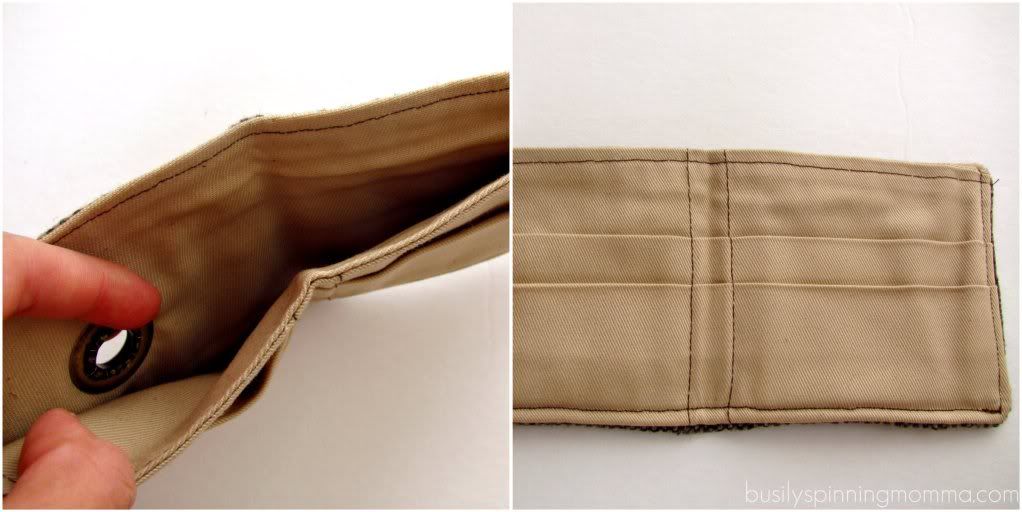
About the wallet. Although I wish I could be the genius behind it, since it's absolutely amazing, I can NOT take the credit for it! I used the tutorial over at Noodlehead and I didn't change a thing! It soo easy to follow and turns out super cute! So cute that my husband, son and the nephew who got the cowl has asked me for one! Go to Anna's tutorial for her Basic Boy's Wallet by clicking here.
The inside:
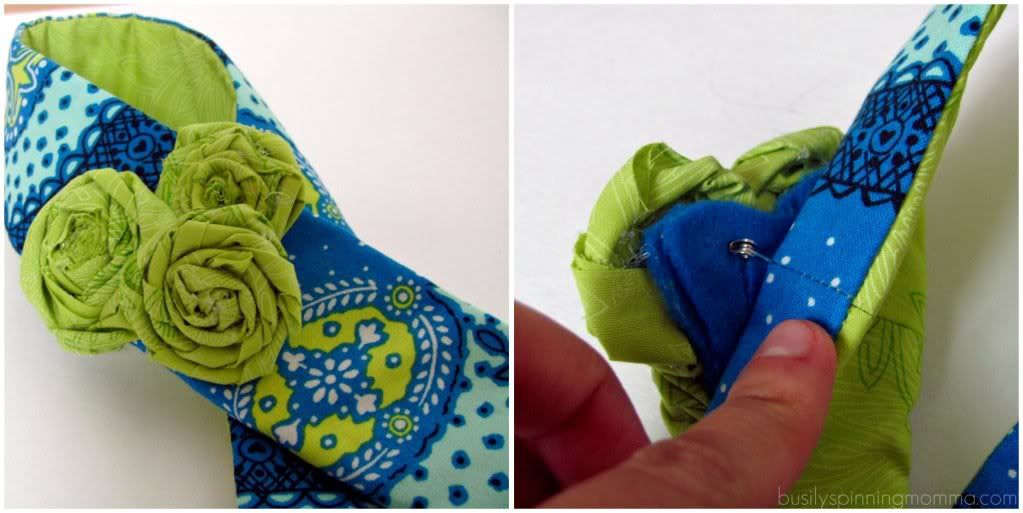
For my one of my lovely SIL (the nephews momma, actually) I made two camera strap covers! She just got a new DSLR in October so I thought it be perfect.
I didn't use a tutorial for these, although I DID have to look up dimensions for the straps, since I don't have a DSLR.
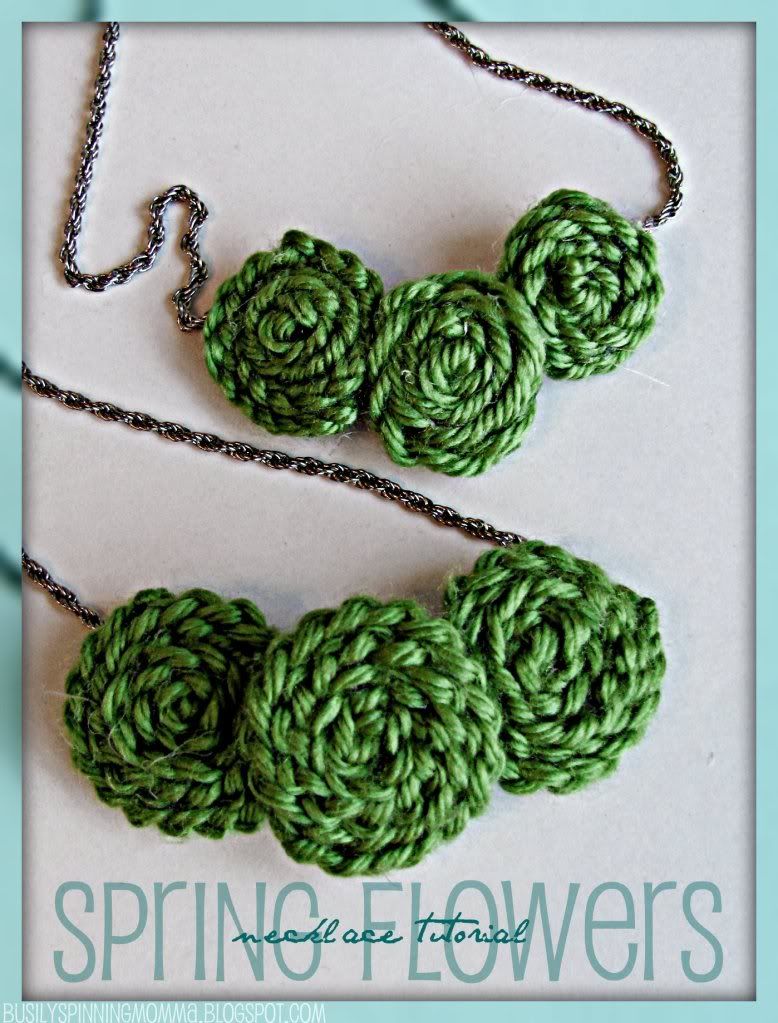
For this one I used some Amy Butler fabric (the blue one) called Ocean Treasure from her Lark collection. You can find it over at here. I can't recall what the light green one is. If you know, feel free to let me know in the comments :)
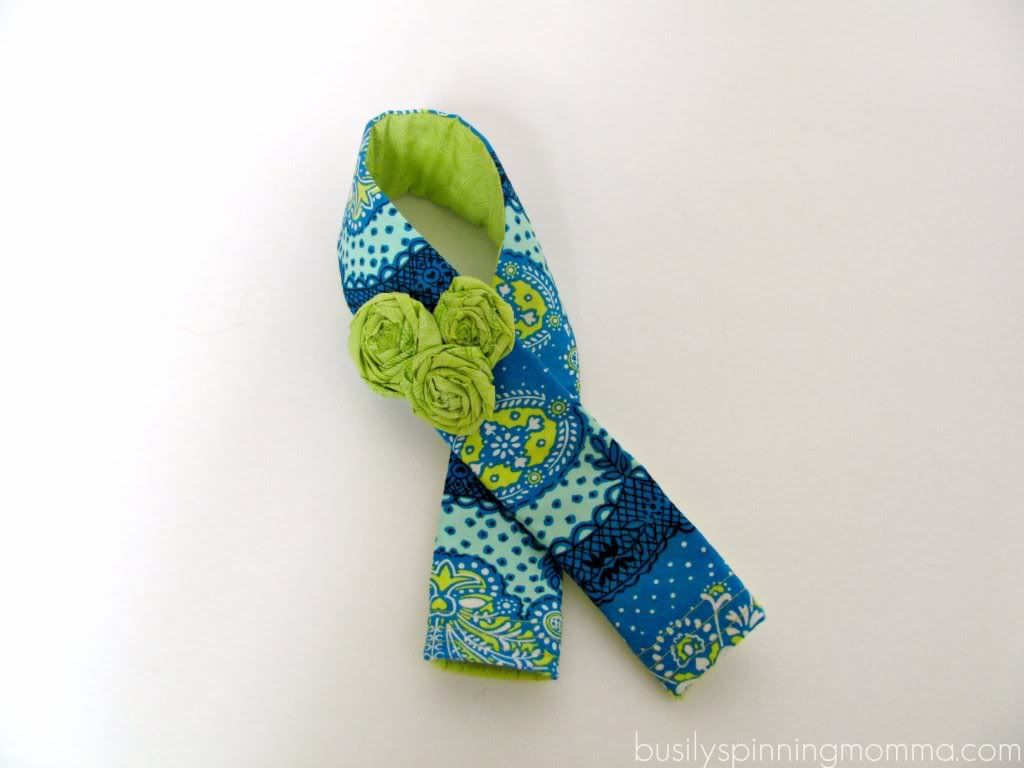
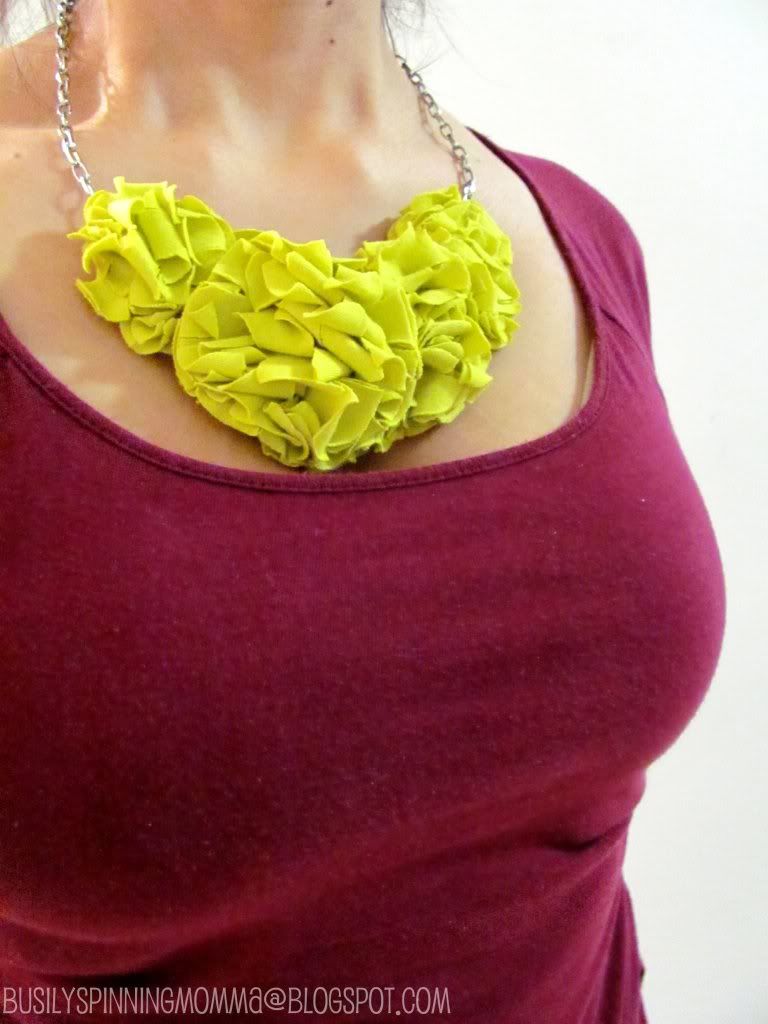
The flowers are actually a brooch so she can remove them if she'd like. (It's also covering where I had to add another piece since I used a fat quarter and it wasn't long enough)
And the strap is well padded for comfort.
This one is my personal favorite :)
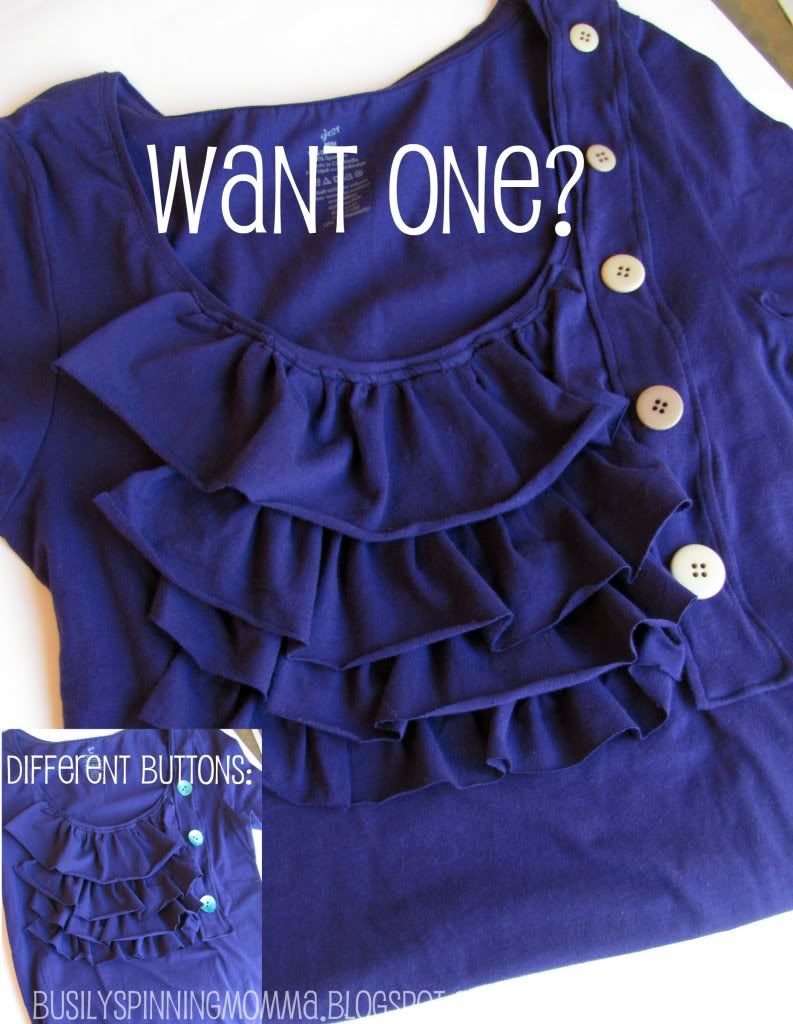
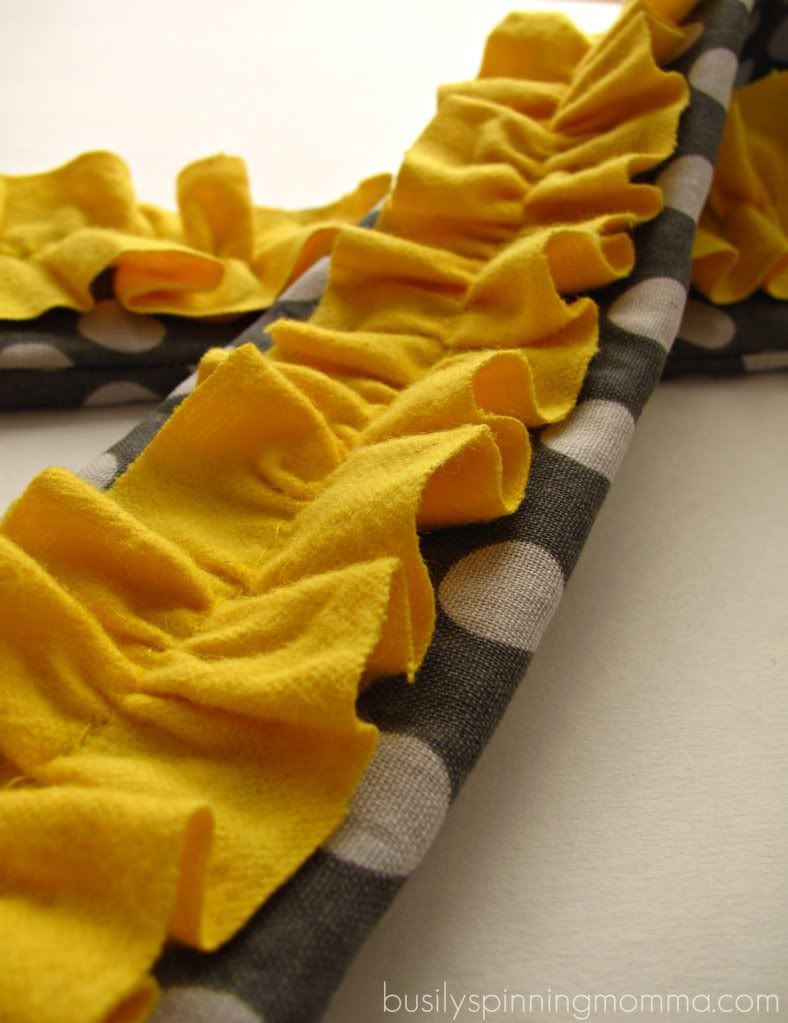
The second one, I made was this one:
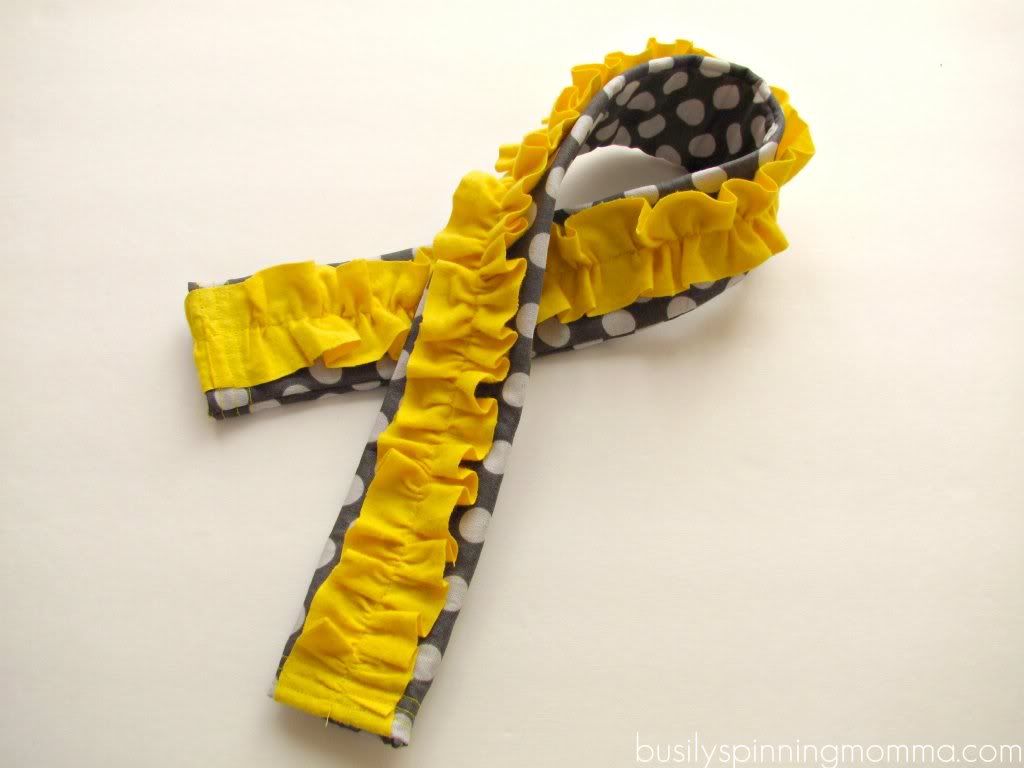
LOVE the color combo! So pretty :)
The gray fabric I got at the local fabric store at $4 the yard (of course bought A LOT!) and the yellow is actually flannel with fray check applied on the edges. I chose to go with one ruffle, even though I had made two. But when I had them both pinned on, it looked so busy and overwhelming. So I did the one. I still don't know if I made the right choice...
I didn't get everything I hoped for done. I wanted to make stockings and neighbor gifts and some decor stuff, but we were all hit with a case of the bouncing full (you know...cuz it bounces from one person to the other until we're all sick, prolonging what would have been a week's misery into three whole weeks...ugh) and well, things slowed way down.
And I still have to show you what else I made my other SIL, my mom, a relative's baby and my boys but the hubs is here, needing the computer soooooo, that's all for today!
Be back soon :)