Hi friends! Today I have an easy peasy tutorial for ya'll! And bonus...it's for the little ones!
I credit my oldest kiddo with the idea behind this adorable pillow...that kid sure like to pillow fight! I thought I'd give him an advantage with his own...
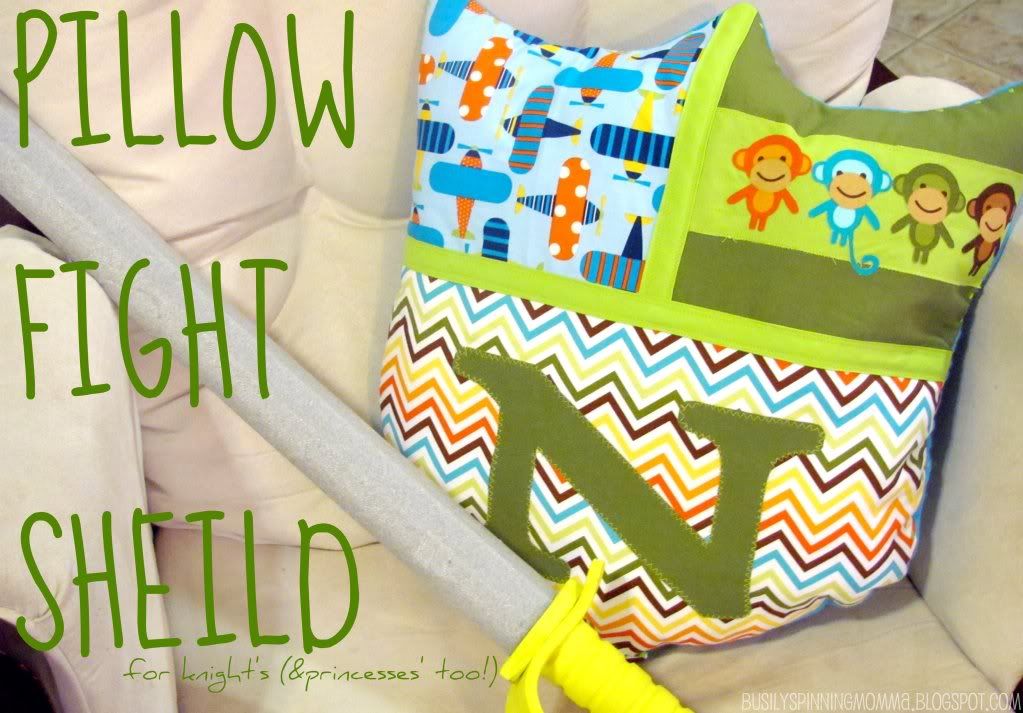 |
| psst! I bought that foam sword at the DS for a whole $1...and my lovie loves it! It sells at a big toy chain for $8! Forget that! |
YOU WILL NEED:
- 4 fat quarters in your choice of fabric
- large board/ paper for drawing template
-fleece interfacing
-pillow stuffing
-sewing machine but also...
-hand sewing needle and thread :)
OPTIONAL:
-Bias tape for detailing
-Heat N' Bond for sticking on letter and other cute stuff :)
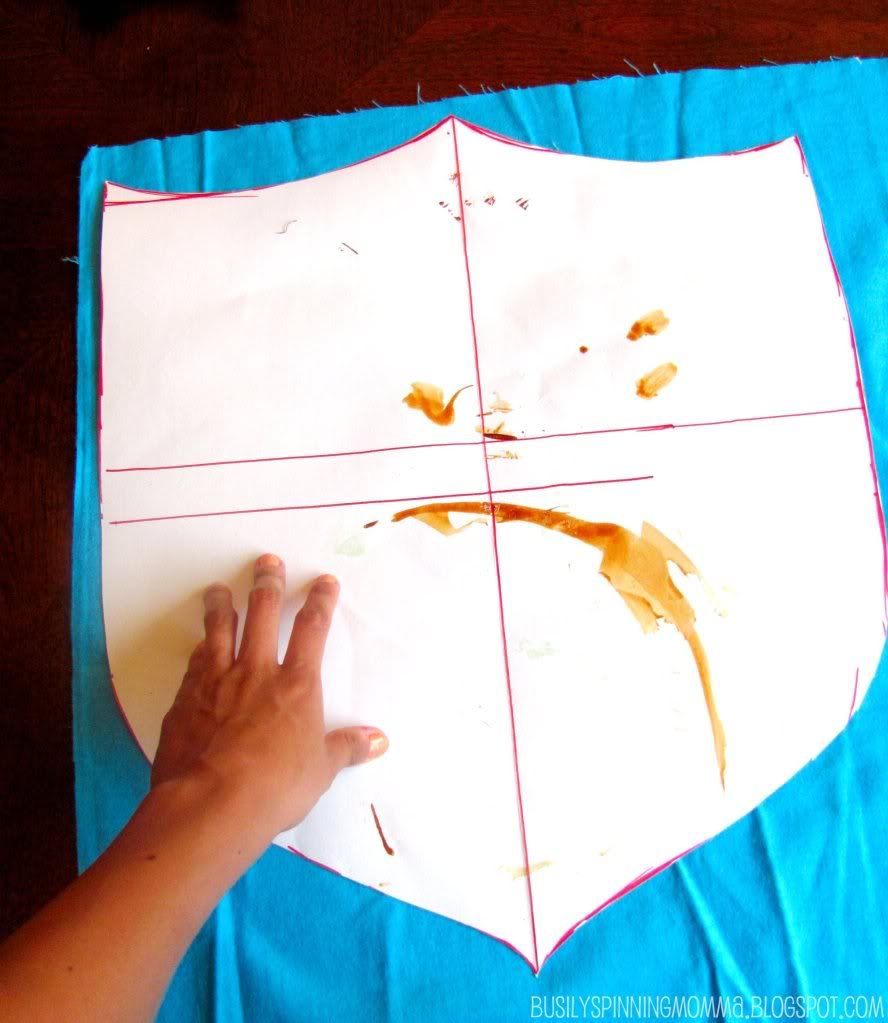
First things first, I drew a template of what I wanted the shield to look like. I added a 1/4 to the actual size I wanted and made the template 1/4 bigger all around for the seam allowance.
Next I drew a line down the middle and then a line across the shield. The line going across should not be at the half way point, but slightly higher.
 |
| I used an old bristol board to draw my template...see how dirty it is from previous projects? |
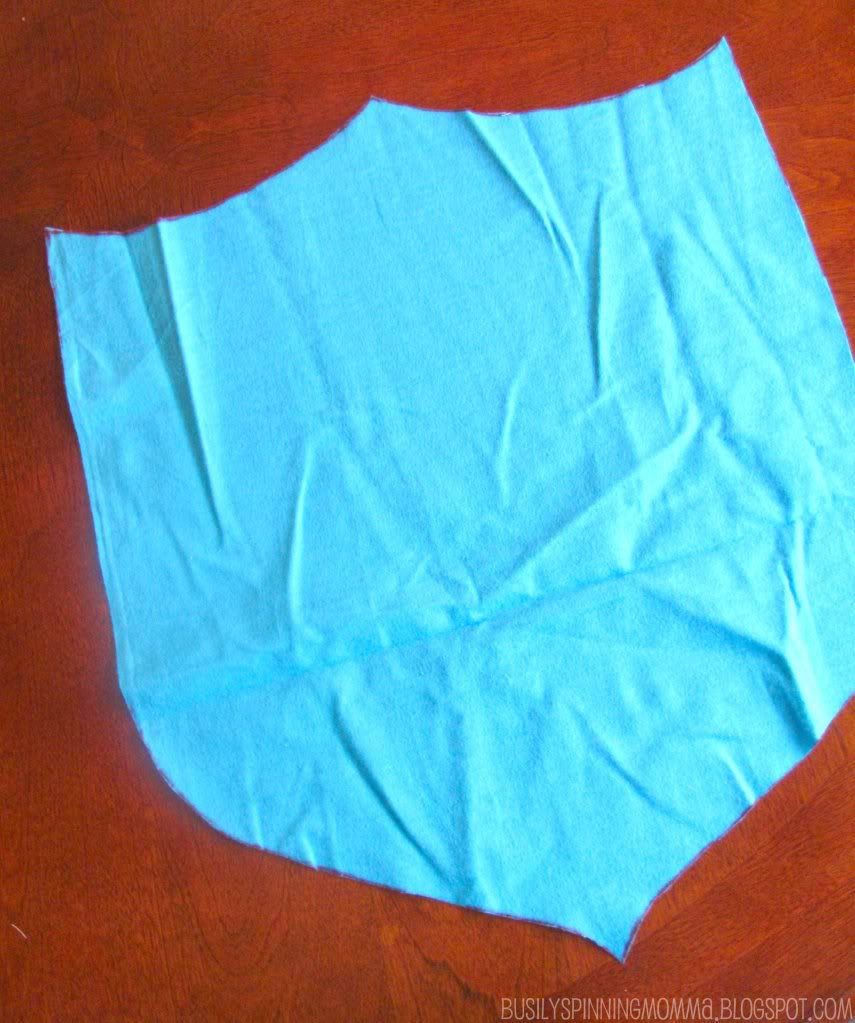
Next, I took my template and traced it out on what will be THE BACK of the pillow. I used this beautiful blue flannel I bought at the local fabric store.
And then I cut it out....but....ummm....you should iron it first :)
Now, cut up the template like so:

And trace it out onto fabric of your choice: (NOTE! Add a 1/4 inch allowance to where you're about to cut, along the lines you need to cut! This is important to do, or your whole project will be sized wrong)
Another tip...don't use permanent marker...oy vey!
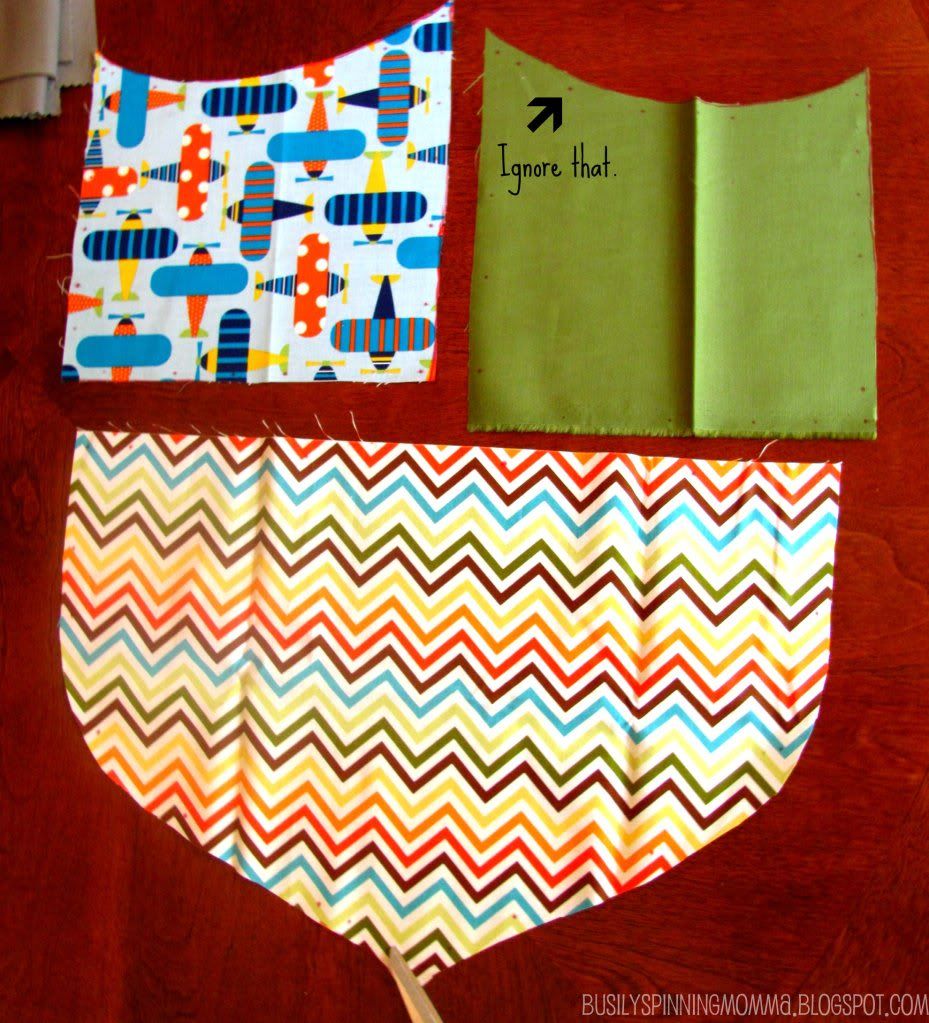 |
| grrr! I cut the chevron fabric lopsided! |
Now sew the top two piece together and iron open the seam:
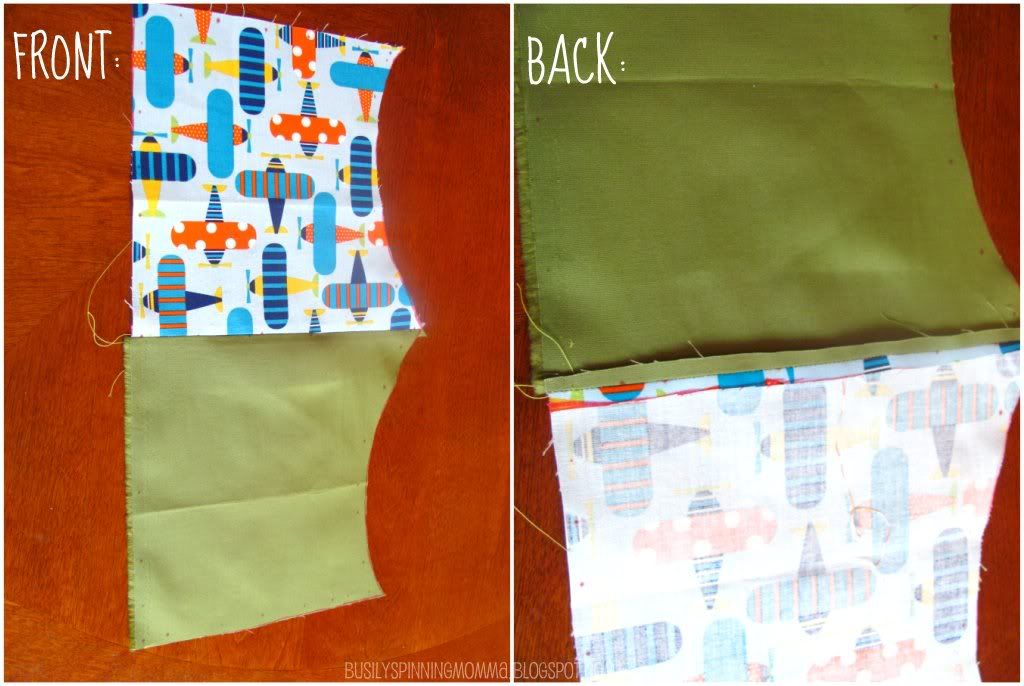
Once that's done, sew on the bottom and iron open THAT seam too :)

I know, I know...the lopsided chevron bugs me too! But I was rushed....I had this little guy asking...."is it ready yet????"

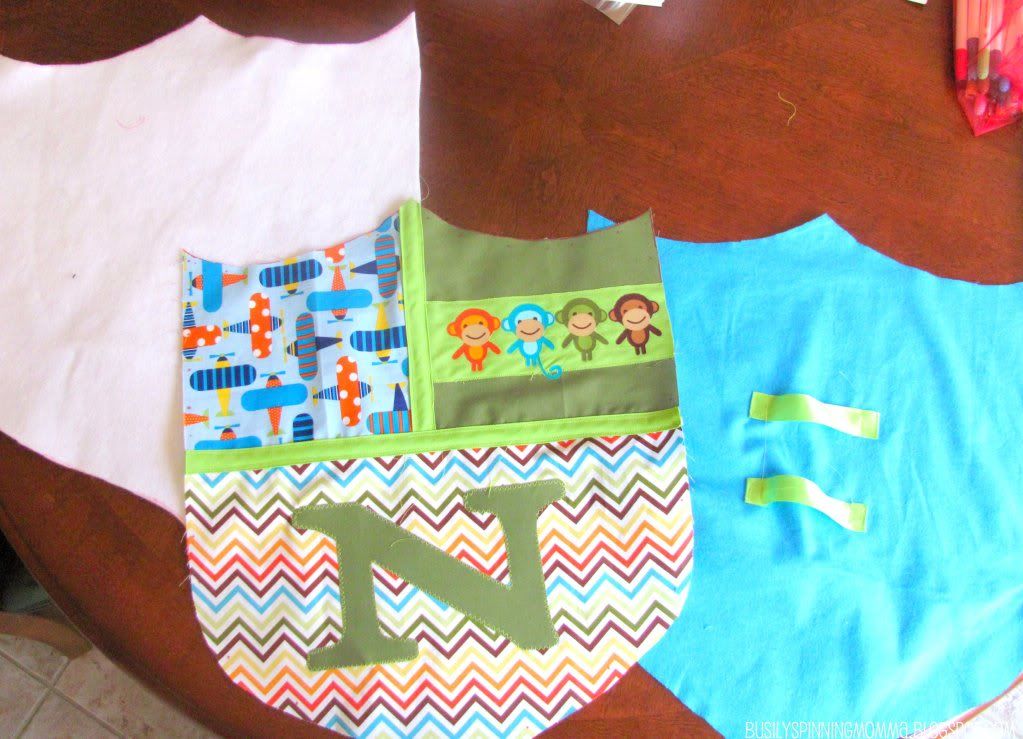
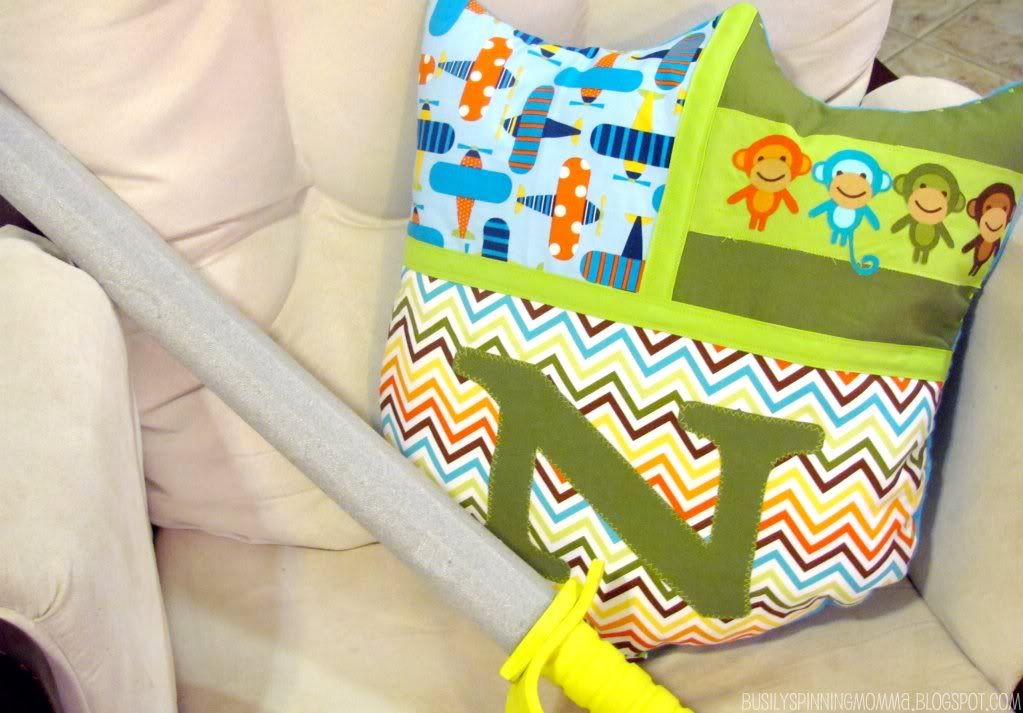
NOT PICTURED: Add any details you want to make it more shield-like. I added my son's initial (I used the Cricut to cut out a stencil for that), four monkeys one for each member of our family (the monkeys are from THIS super cute fabric), and I added bias tape to the seams and to divide the sections. Looks more shield-y to me :) I was going to embroider a cute quote onto the airplane fabric ("Wherever you fly, you’ll be the best of the best.Wherever you go, you will top all the rest." -Dr. Seuss)...but again, I was rushed! Between you and me....I plan to pillow-nap the shield one night to add the quote anyway!!
***Don't forget to add a handle to the "back" side of the pillow/shield!
Moving right along...cut out a piece of fleece interfacing the exact same size as the back piece. You should now have this:
Now, sew that baby together! Layer it like this: right sides of your pillow together, interface at the back. See picture:
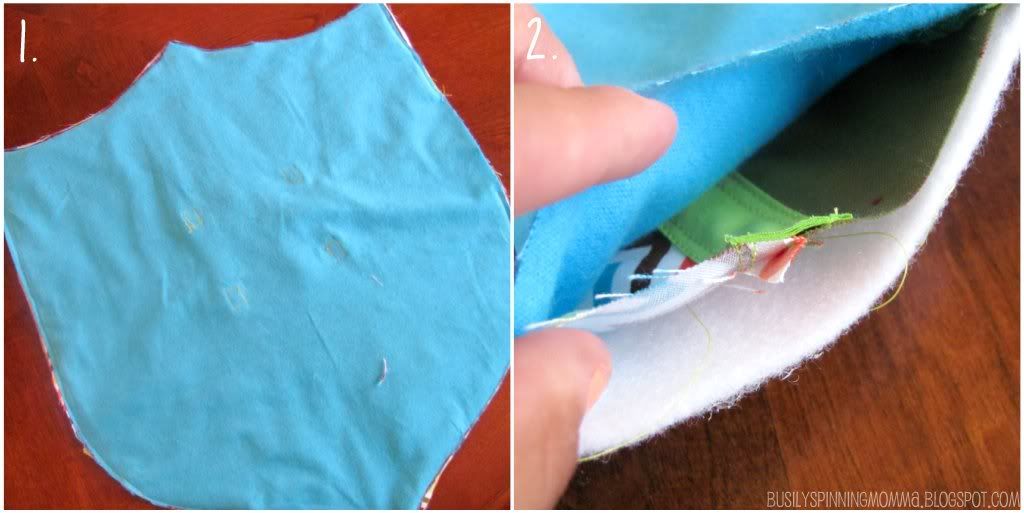
Turn inside out, and oh look! How CUTE!

Now iron it, and stuff it and close it up with a ladder stitch. Don't know what a ladder stitch is or how to do it? Heck, neither did I until I found THIS great video tutorial and PINNED it to my "Techniques" Board :)...gotta love the Pinterest, right?
And finally, stop fighting your toddler for it and let him (or her!) run wild!
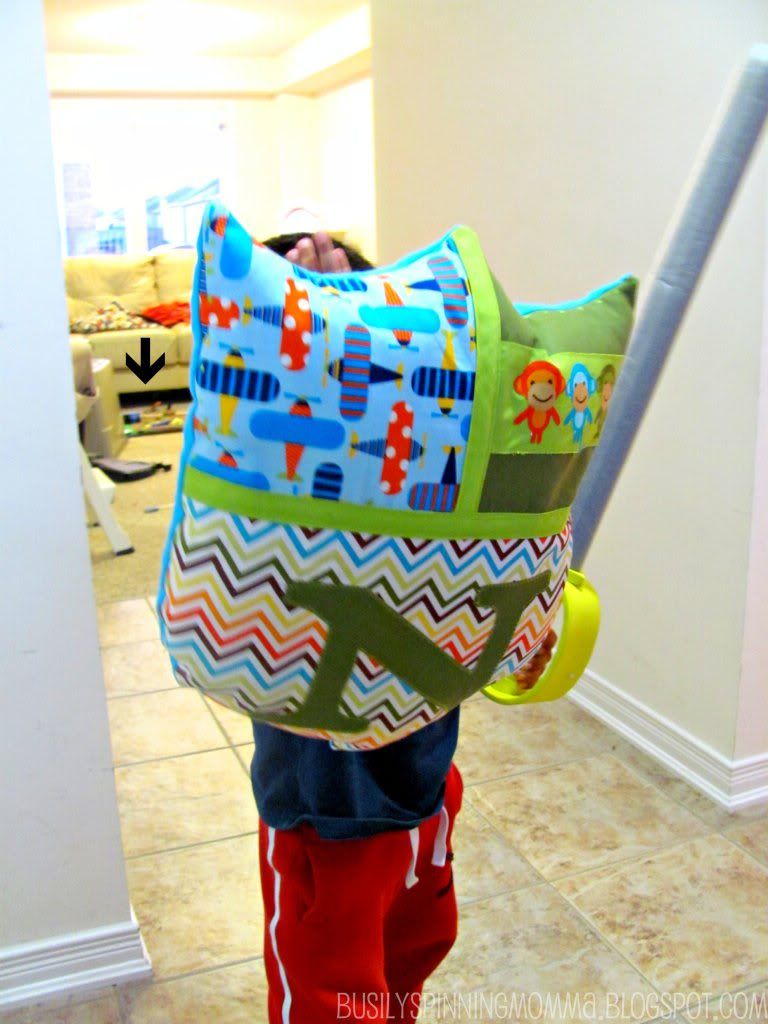
Best picture I could get...he was a little to excited to stand still!
That's the front view.
This here's the back view:
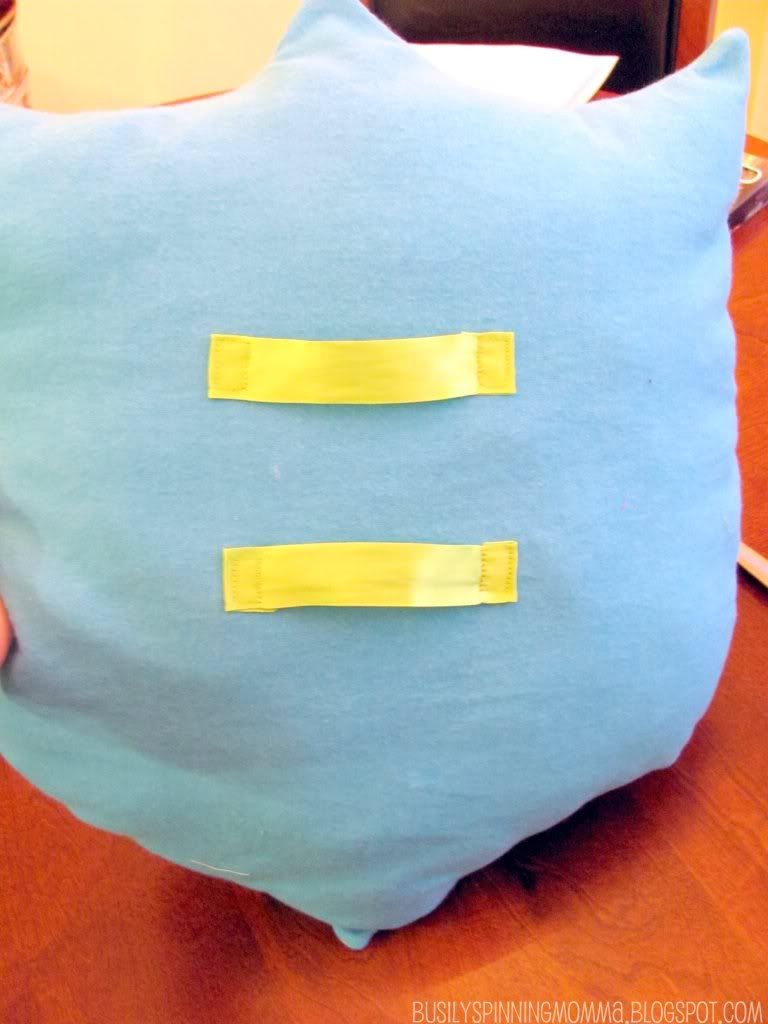
He just slides his little arm into those two straps and he'd ready to dual!
And there you have it....a quick, cute quilted project that can be done with four fat quarters :)
What I like about this little pillow/shield is that you can use it to play with then turn it to the cozier side and sleep on it. Comfort and fun!
Originally, I was going to make this for N's Christmas present, he's really into cozy things (blankets, embroidered pillows) and I knew he'd love this one. However, the little monkey saw what I was up to, and started demanding it right away! How could I say no? It's not always he likes the stuff I make!
Anyway, all that to say...I think this would be a perfect Christmas gift! Really, what kid doesn't like a good old-fashion pillow fight? Add a foam sword, and you.are.GOLDEN :)
Hope you liked it and found it easy to understand!
And as always, if you have any questions you can ask them in the comments and I'll respond as best I can :)
Also, you can find this and many other tutorials under the "Tutorials" Tab at the top :)
Enjoy!
xoxo, Dorian
Fabrics Used:
- Urban Zoologie Bermuda Monkey in green
- Urban Zoologie Remix Bermuda Zig Zags in white
- Bella Solid (Dark green) - 9900-175
- Ready, Set, Go! Playful Planes in blue
All available HERE.
LINKED TO:
THESE Great Parties!
And here!
UPDATE: A lovely BSM reader took the time to make a downloadable pattern that she has so kindly shared with us! Michelle from Pretty Practical shares it HERE. So for those who don't want to hand draw it, head over to Michelle's post! (PS; she also has a pretty cute blog you may want to browse, seriously, adorbs) Thanks for sharing this Michelle!
Can I hug you?! This is awesome!!! My oldest son's favorite thing to do when Dad comes home is pillow fight. Those two are rowdy & ridiculous. He will love one of these! I'm thinking it would make an awesome birthday gift.
ReplyDeleteThanks for sharing your creative idea. :)
I agree with Catherine! This is awesome!!! I've been looking for something fun to make my son and he will love this!!!
ReplyDeleteThanks!!
love, Love, LOVE this!! I pinned it and I can't wait to try it for my all my kids... my daughter will love it as much as the boys will. Thanks for the great tutorial.
ReplyDeletexxoo,
Liberty
libertyoriginal.blogspot.com
Such a cute idea! Love it!
ReplyDeletevery cool...N the warrior...! xo
ReplyDeleteThis is absolutely brilliant! I'm adding it to my list of handmade Christmas gifts... one for each of my kids. They will love them! I would love you to link this up with Creative Me Monday, and any other projects you'd like! It's open all week and the link is:
ReplyDeletehttp://www.thesoutherninstitute.com/2011/09/creative-me-monday_18.html?utm_source=BP_recent
Hope to see you there!
Jenny
I have pinned this and going to use it for some homemade gifts for my boys this Christmas! Thank you SO much for sharing how you did this! My kids are going to love it! Stopping by from Blue Cricket Design
ReplyDeleteThanks for linking to Take-A-Look Tuesday - you were featured today!
ReplyDelete-Mandy, www.SugarBeeCrafts.com
This idea is absolutely adorable!!! I'm definitely going to save this idea for one of the small people in my life. Thanks for such a great gift idea!
ReplyDeleteThis comment has been removed by the author.
ReplyDeleteLets try this again! This is a great prop for imaginative play. What a great idea! love how you personalized it. I am a new follower from Blue Cricket Design Show and Tell. Vicky @ www.messforless.net
ReplyDeleteThank you for this adorable idea, my kids will each love their own! Visiting from Chic on a Shoestring. :)
ReplyDeleteSuch a great idea, I love it! Thanks for the tutorial. Great christmas present idea!
ReplyDeleteOh my...you are the best! I am going to HAVE to make these for my neice and nephews for Christmas. They live in Alaska and have A LOT of indoor time...obviously. Their Dad made them a huge castle for them to play in...these would be so adorable! Thanks for the fabulous idea and I can't wait to get started!!
ReplyDeleteAmazing! My son loves How to Train Your Dragon and has been asking me for a shield...this would be perfect so he doesn't clobber his baby brother with something hard.
ReplyDeleteI would love for you to link up to my new linky party -
Creative Genius @ http://www.thecreativepaige.com
Our grandson will love this. Thank you.
ReplyDeleteThis is so cute! I am going to have to make one of these!
ReplyDeleteI love this - adorable!
ReplyDeleteThis is one of those projects you look at and think, "Why didn't I think of that!" I have some nieces and nephews who may be getting these for Christmas! Thanks for sharing and good luck on American Crafter!
ReplyDeleteThis is genius!!!!!!!! I finally have a go-to handmade gift for little boys with this!
ReplyDeleteThis has got to be the COOLEST thing ever!! I need one of these. My two boys whoop my booty in pillow fights. Lol. We'll have hours of fun with this! Thanks so much for sharing!
ReplyDeleteI saw a link to your post from craft gossip....what a wonderful idea :D Thank you for sharing ^_^
ReplyDeleteJust wanted you to know... I found this on pinterest and am making it for my son for Christmas. Thanks SO much for a wonderful idea!!!
ReplyDeleteOh my goodness! So cute! I found this on pinterest and immediately pinned and clicked over. Great Tutorial! I am always thinking up and looking for fun gifts for boys as I have a 1.5 yr old son, and most of my friends have little boys currently.
ReplyDeleteLove it! Going to make some for my nephews. Just wondering the dimensions of yours. It looks like a great size.
ReplyDeleteHoly vikings that's amazing!! I must make some for the kids (and husband) for christmas!
ReplyDeleteOh my my- I LOVE this! I'm off to create these for my boys for Christmas :) Great tutorial and I love your realism :) Hope you have an awesome week!
ReplyDeleteHi!
ReplyDeleteThanks heaps for this tutorial - I made one for my nephew for his 5th birthday and blogged about it here - http://www.clothncraft.com.au/prettypractical/pillow-fight-shield-pillow/
I also made a downloadable pattern for it if you're interested - there's a link in the blog post.
BEST idea!
Wow! I am going to make a pair of these for my young great-nephews: brothers age 3 and 7. I'm going to use some old plaid pendleton shirts that belonged to my Dad. I think they'll turn out great, and my Dad will love it too. Thanks for the great idea. It's so hard to find things to sew for young boys; they do prefer things that make noises and run fast. - Janet in CA
ReplyDeletejust happened across this tutorial this week and already bought the materials to get started. Can't wait! Too cute!
ReplyDeleteHow big did the pillow end up being?
ReplyDeleteMy twin boys are definitely getting these for Christmas! Thank you for the tutorial!
ReplyDeleteI'm also wondering what the approximate measurements are for the pillow. Want to make two for my twin nephews.
ReplyDeleteThis is an awesome idea! I am so in love with it!
ReplyDeleteMy kids and I are learning how to use a sewing machine with this project. They all drew cousins' names for Christmas. The rule is it has to be handmade... :) I now have 5 unique front covers! I hope the rest goes fairly quickly so I can get them in the mail! Thank you for the cute, do-able idea.
ReplyDelete