Showing posts with label Paint. Show all posts

May 9, 2012

Monogrammed Market Tote - Tutorial

Hello friends! 
How are you?
We've been having a slow week around here, as one of my guest posters fell through due to family stuff :( I apologies. I wanted this week to be much more fast paced :( Oh well, such is life.
BUT! I do have one more guest coming soon! ANND, the giveaway is still live! What am I giving away this time, you ask? Oh just over $265 in goodies! Want in? Go here!

Today, I have another easy and fun Mother's day gift idea! It's quick and you can find all of the Plaid's  Martha Stewart paints, and stencil at Michael's. 

You need:
- Canvas tote
- Newspaper (just a sheet)
- Fabric paints (or regular paints mixed with fabric medium)
- Foam Pouncers
-  Stencils (One each in a circular patterned, a letter, and a floral/totally optional)
- Spray adhesive
- Tape
- Fine Point paint bottle


So, start with a canvas bag:
Got mine in a pack of 3 also at Michael's. kinna expensive though at $14 plus tax. But if use your coupons, then it's a sweet deal!

Okay, moving along. Put some newspaper in the bag to avoid leakage to the over side. *just in case*

Spray some adhesive on the back of your stencil. Stick down onto bag (iron your bag flat first). Mix your paint of choice and the fabric medium as directed on the bottle. The fabric medium makes it so you can wash it. Next tape any edge the paint might leak onto.

Pounce the paint right on! (for more pouncing info, go here, to my previous post)
Remove stencil, allow paint to dry. Do all the above steps again, adding the monogram and whatever extra stencils you'd like.
Pounce them in with paint of your choice.

This is what I had when I finished stenciling everything in:

I liked it, but just okay. I didn't like how light the vines were. Bad color choice, Dorian!

So I grab some more paint, medium and my Martha Stewart Fine Tip-Tops in a size 1:

And mixed it all together:
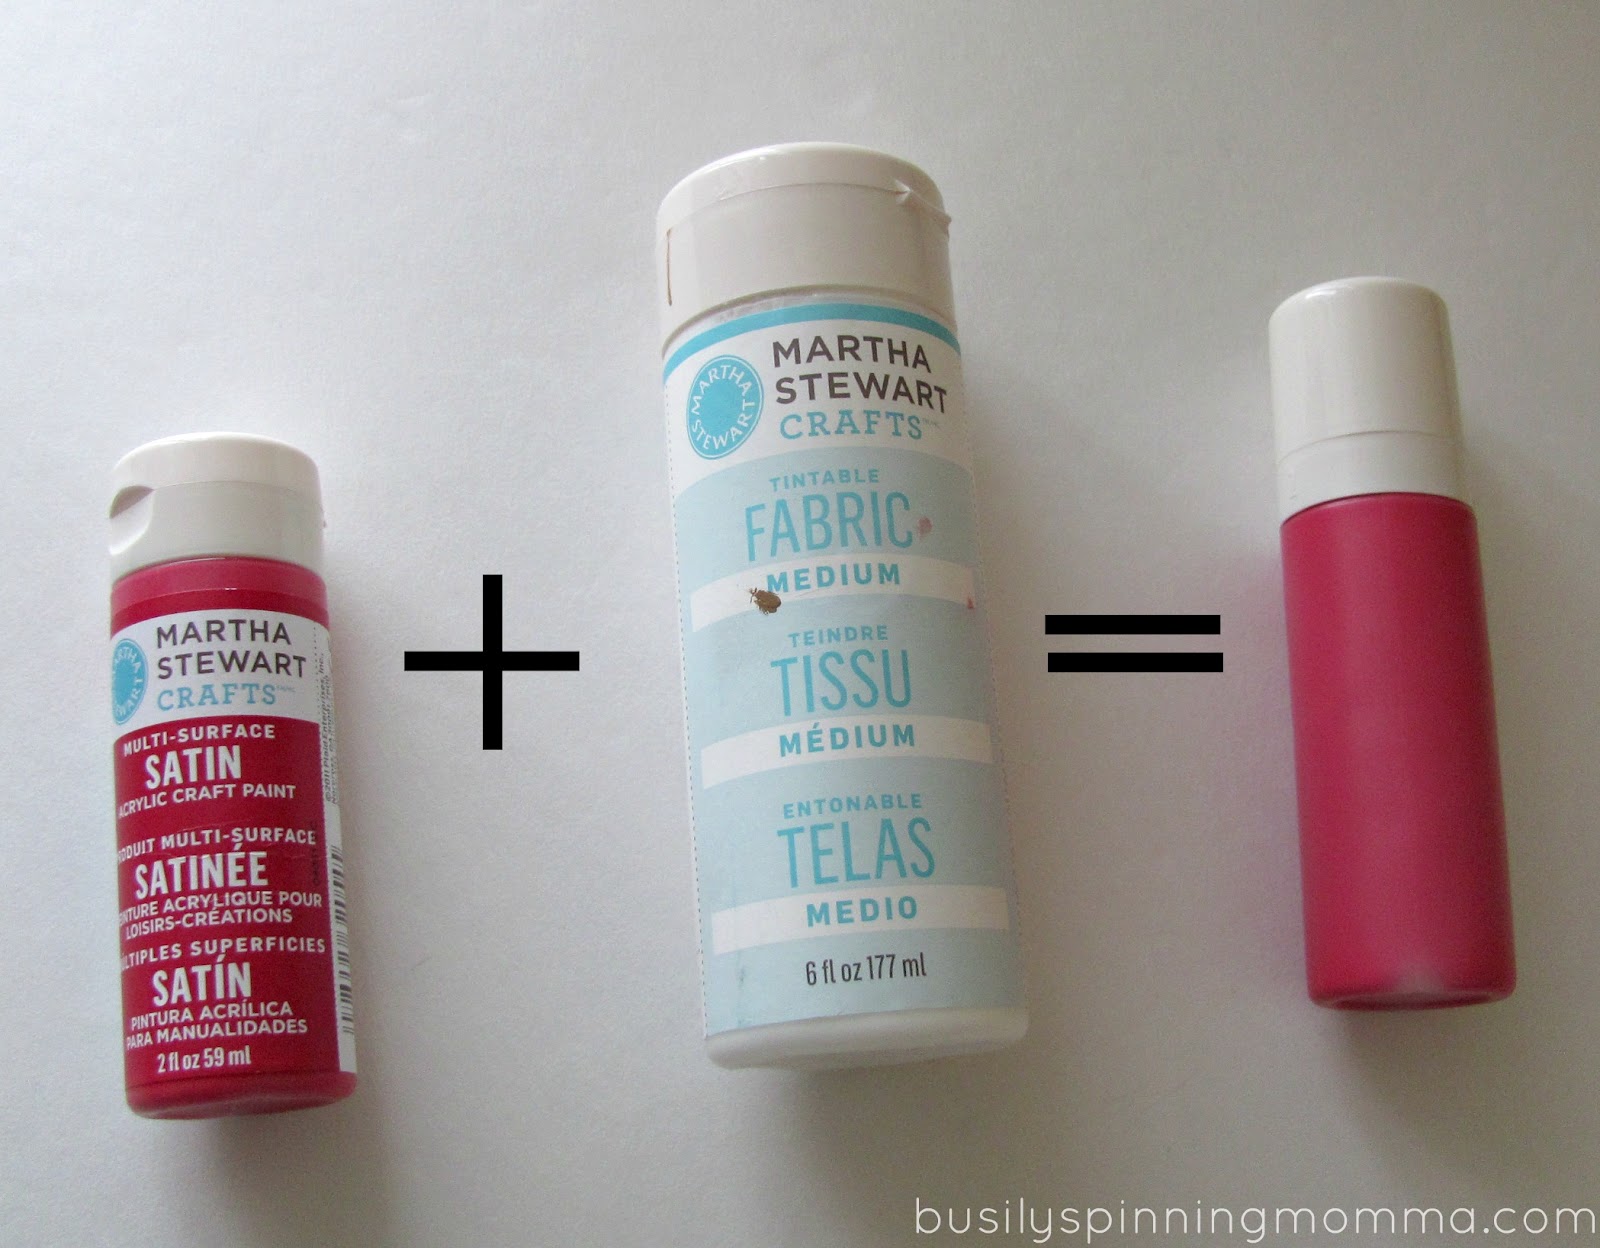
Then I outlined the entire vine and leaves all the way around (please note, this was my first time using the fine tip tops and I had some issues with controlling the amount of paint that came out, so it's not perfect. But it's for my momma, and I know she'll look past my errors and see the love it was made with. I hope. Oy.)


And you have yourself a cute lil' Monogrammed Market Tote!


And lastly, but most important : wait 24 hours, then iron the tote once more, going right over the paint. This sets it, so that you can wash it when needed! How great is that?!

Anyway, it's an easy and fun project that you scan whip up in no time! Ummm...just watch those pesky fine tip tops ;)

Thank you, again, for reading, I hope you're having a great week so far! Almost the end of the giveaway! (with another surprise in store!)

xo, Dorian
April 30, 2012

Let's Start Thinking about MOTHER'S DAY...

I recently received an email from the wonderful people at Plaid Crafts asking me if I would be interested in participating in an upcoming Mother's Day crafting event.
OBVIOUSLY, I said yes. 
I received a box of goodies that far exceeded the last one, to make some Momma themed crafts. So after *some* excited jumping around and some squealing like a kid on Christmas morning, I got to playin'! 
I figured I would use this opportunity to create some special gifts for the two special mommas in my life: my Mom and my MIL :)

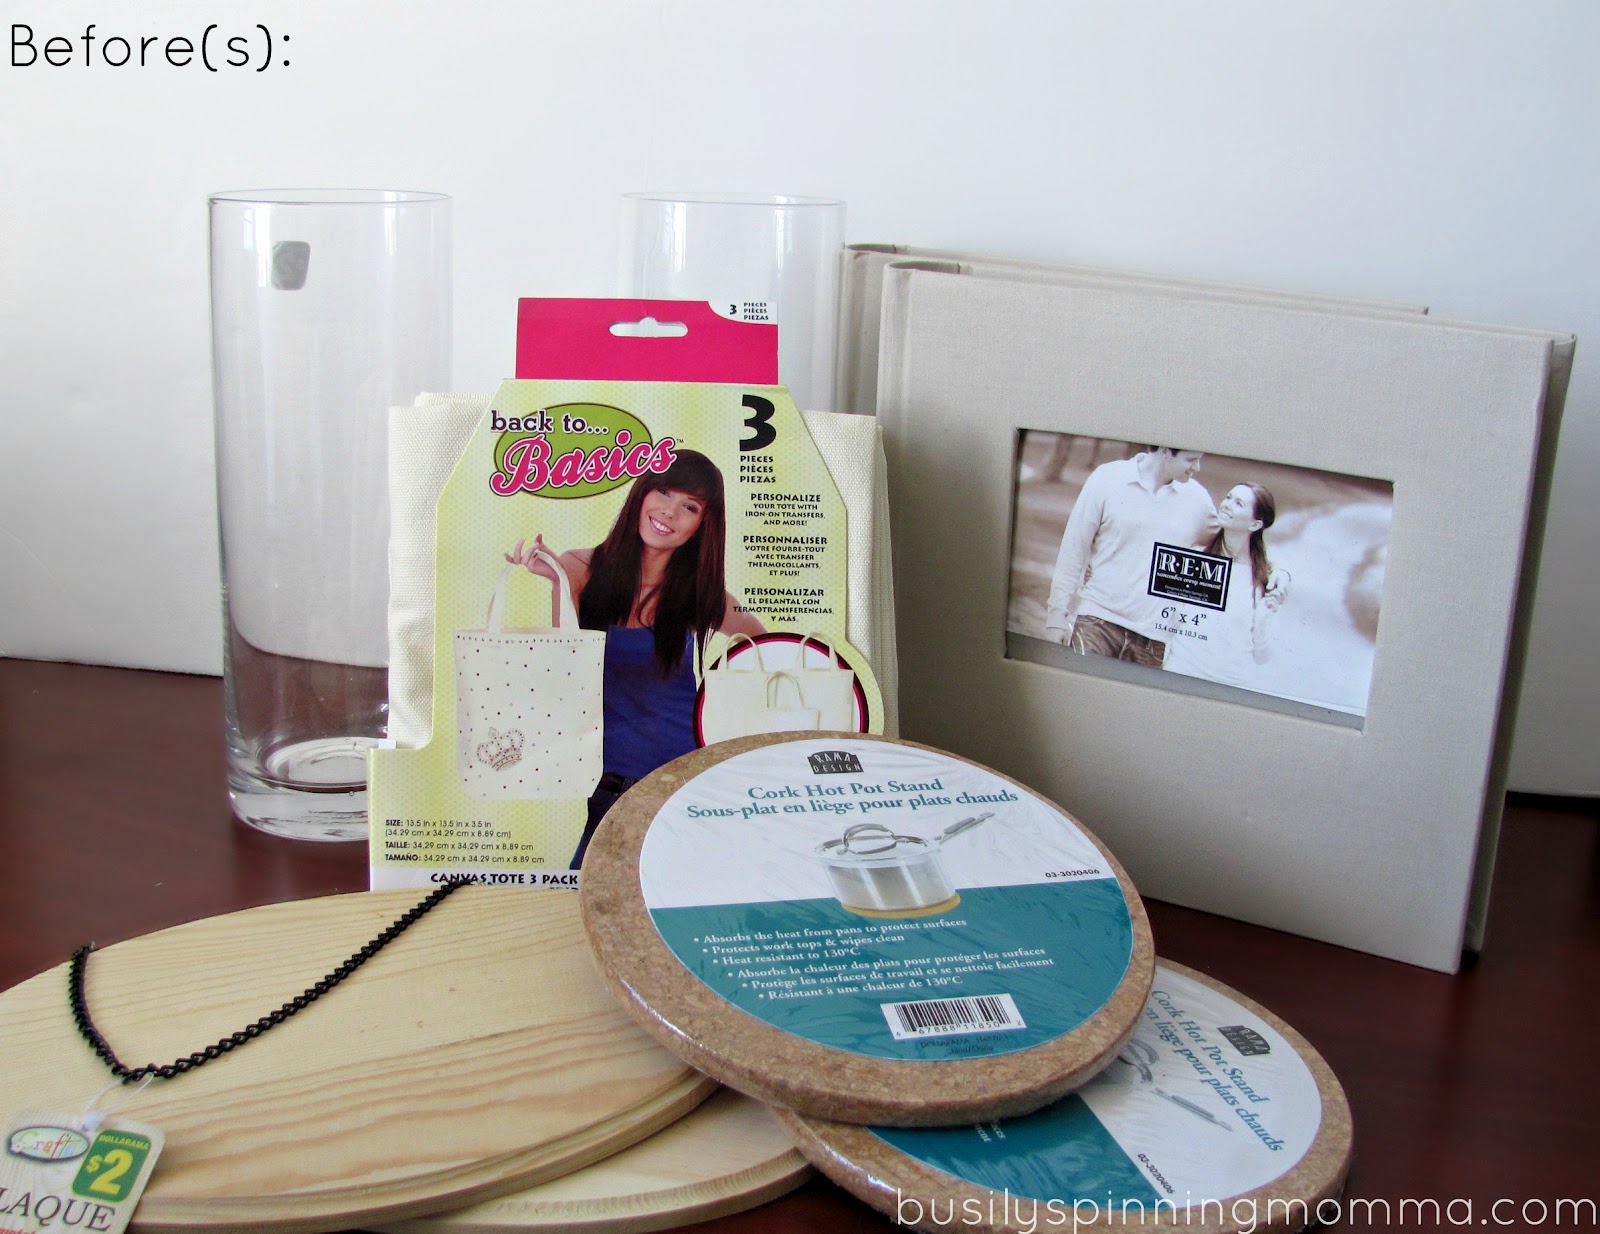
Besides the Martha Stewart supplies Plaid sent me, I went out and bought these
2 Glass Vases from the DS
A pack of 3 canvas totes from Michael's
2 Taupe-y Fabric Photo Albums
2 Wooden Plaques (DS)
2 Trivets and a pack of coasters (not pictured and DS)

Today, I will show you what I did to the albums. And how to do it yourself :)


You will need:

- Martha Stewart Stencil
-Stencil Adhesive
-Paint
-Pouncers ( I used foam)
- Albums

What You Do:

Start of by spraying the Stencil Adhesive on the back of your stencil.
I penciled in where I knew I wanted to but my bird first then positioned my stencil on top.
Because of the stencil adhesive, the stencil doesn't move around because it sticks to your projects. The stencil will still come off easily when you're done. leaving very clean lines :)

Don't forget to tape off the parts of the stencil you do NOT want paint on. Here, I taped over the flowers and the bird's tail. Taping is a VERY important part.

Shake your paint, pour onto tupperware lid paint pallet, and tap your foam pouncer (pictured below) into it. You want to them "tab" some the excess paint off on the lid, so you don't have too much paint on. Too much paint will cause leakage, causing messy lines even WITH adhesive.


Take your pouncer and tab it UP and DOWN onto the stencil. Do NOT swipe it, you need to tap it up and down for a perfect stencil :)


Once you're finished painting, you will have this:
*Please note* You should paint every part that requires say, brown. all at once.
Also, see the arrow? That's where some of my tape is.

Remove stencil carefully:
the circle indicates the penciled in bird feet.

I did two corners in the same stencil just in different directions:

Wait for it to dry.................
(wash your stencil while you wait)

Okay, now take your newly clean stencil, spray some more adhesive on it and line it up with your previously painted lines.
Tape over the painted parts:

Use your pouncer (I used the 3/4 inch one) to paint in your flowers a bright dark pink.
I then used a brush (not pictured, but it's just a regular brush) to paint in the center of the flower stencil, while the stencil was still on:
(you don't have to be super neat or artistic about this part, just dab it on)


Before the paint dries, very carefully remove the stencil:

Do that for both branches and add the bird :)
For the "M" monogram I used the Martha Stewart Fancy Script Stencil Set. It's cardboard (strong one, though) but I still sprayed on the adhesive and it worked great.
And that's it! easy! And sooo cute, right?! I love how whimsical it is :)

I made a second album for my MIL:
Isn't it so elegant and timeless? 

I really hope they both like their customized albums. I plan to fill them with some pictures I had printed of my boys and some of my boys and them. I really hope they love it.

Anyway, I have 2-3 more stenciling projects coming in the next two weeks, so if you haven't tried stenciling before, you can try it now! It always intimidated me before, I don't know why though, it's fun and Plaid makes it easy with they're products. Anyway, if you wanna try, go for it! There' is plenty of variety :)
"See" you soon!
xo, Dorian
P.S:
Don't forget to check out my Big Birthday Bash! We've got a HUGE giveaway coming up on Sunday, should be fun!


*I feel obligated to say that I am part of a group of bloggers who works with Plaid on special campaigns. I received no monetary compensation for this post, just the material to craft with (BETTER!). All opinions expressed are my own. I wouldn't blog it, if I didn't love it :)

LINKED:
To these parties!

January 14, 2012

Handmade Presents Part 2.

These are the handmade gifts I made my boys for Christmas.  
I'm missing a picture of one more item. So I'll add that with Part 3. :) 

For my sweet baby Ben, I made:
(I also made the blanket for my SIL's SIL"s new baby boy...did you catch all that??!..LOL!)

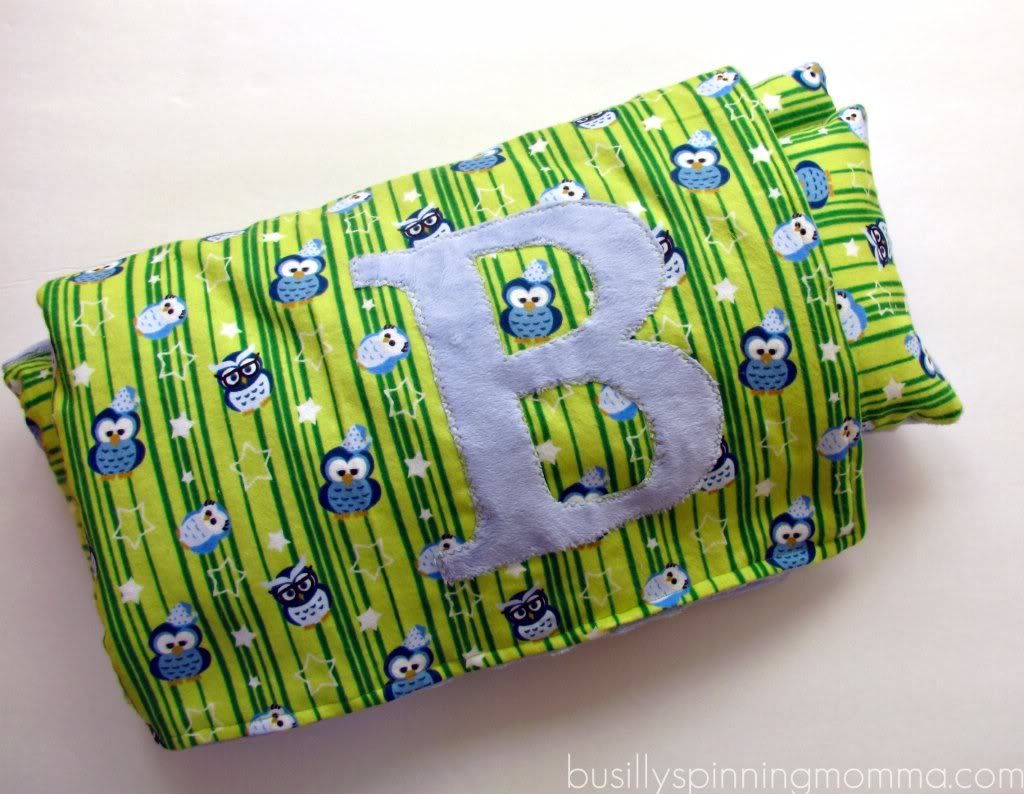
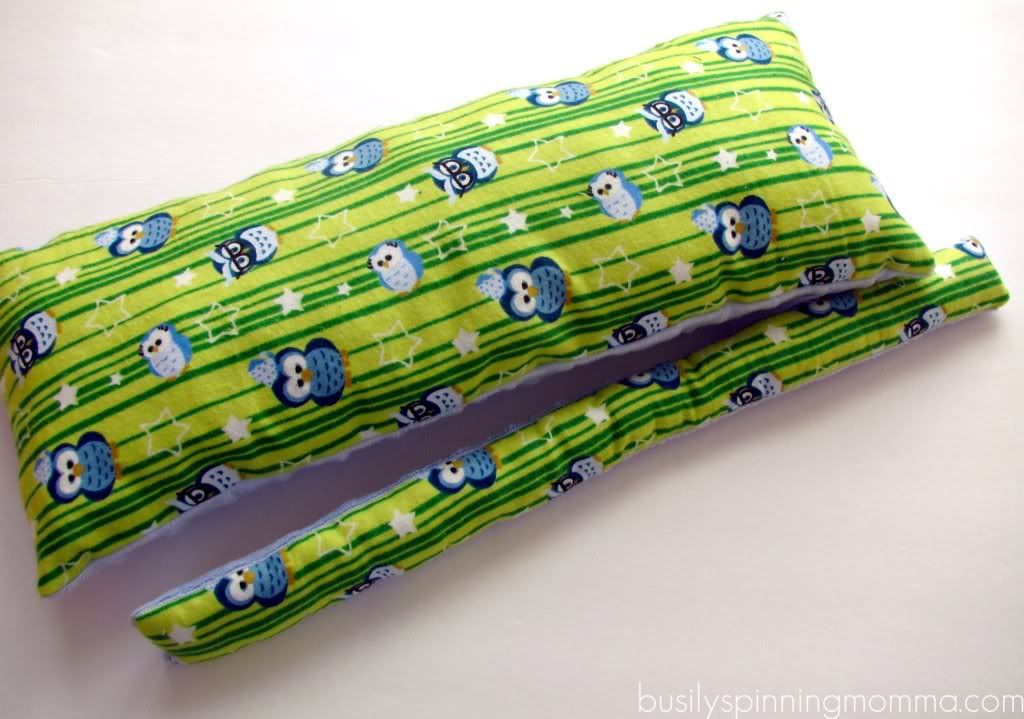
For Ben, I added a couple of pillows:
That's a baby body pillow (! so tiny and cute!) and the long skinny one is for under his neck. He needs to sleep with something tucked under his neck to keep his head positioned properly due to his low-tone. Up until now, we had been using receiving blankies rolled up. I decided to make him a fancy neck roll thing and he seems to like it :)

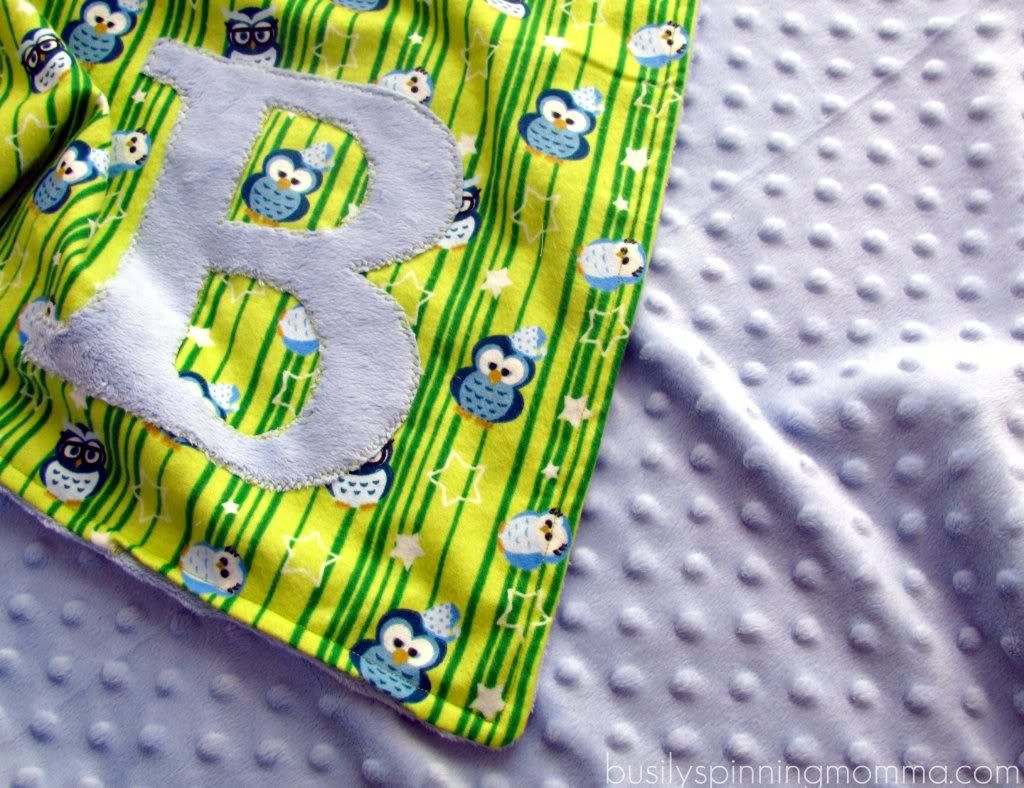
I made the blanket (and pillows) out of a super cute flannel I found at the local fabric store and the softest minky (first time sewing with minky...super fun!) also from the fabric store. Did you guys know that minky is $15 the yard??!! Lucky for me I got 50% off :) 

I added the "B" to customize it just for Ben. I think it really added a lot to a very simple blankie :)

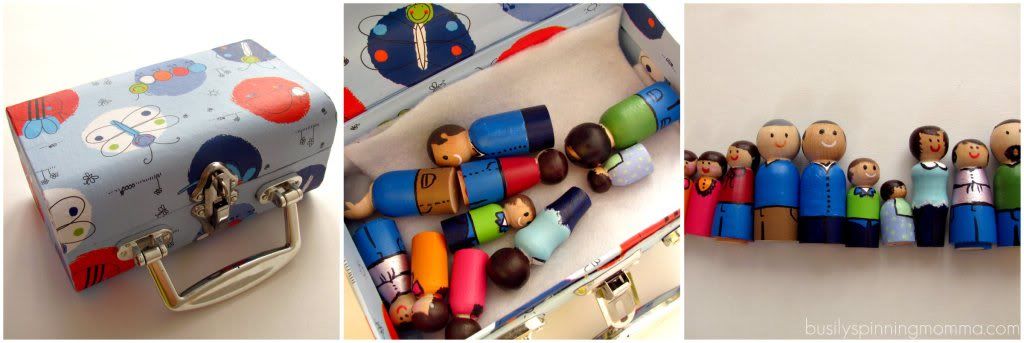
For my oldest, Noah, I painted a family of wooden peg dolls:
and put them into a cute lil box from the DS, (thanks for the box Luc!) I admit that I didn't do the greatest job EVER, but I tried and I feel pretty proud of them. 
I made one of each of the four grandparents, two girl cousins, and us. See the *ahem* "busty" dolly with the peter pan collar...that's me :). Beside me is baby Ben, then Noah, and the one in the blue button up is my Husband. On my side is my mom and dad. Next to Carlos (hubs) is his dad and mom and the cousins. 
Noah loved it! He just likes looking at them and telling me who each person is. It's so cute :) Problem is, I didn't make the whole family (we're A LOT) and the first thing he asked is when the rest will be done. So now I have to make 4 Uncles, 3 Aunts, and 3 more Cousins....phew. His birthday's in March, I should be able to do it by then!

That's all I have to show you today. I'm missing one, but I'll show you later. Coincidentally, it's the one that gets most use and the one I'm proudest of. I also think you guys will like it and probably want a tutorial. Soooo, I'm already working on one for ya :)
I know things have been slow around here, so I really appreciate you guys hanging around and reading my lil' blog. Your presence makes me smile, as do your sweet words!
"See" you again soon. Have a GREAT weekend! xoxo

October 17, 2011

A Quick and Easy Gift Idea

On Friday, I showed you guys an Easy way to paint like an artist. And today I will continue the painting theme, but move onto stencils. How much easier can it get?! :)

I went to the DS last week, and while there came across some pretty white mugs and dishes. To me they looked like a blank canvas. I have A MILLION and one ideas for these mugs. Most involve some sort of stenciling and painting. 
I had one particular thing in mind. Do you know about mug rugs?
Pinned Image
A Sewing Journal 
It's basically these long quilted coasters that you can place your mug on and maybe a couple of cookies.
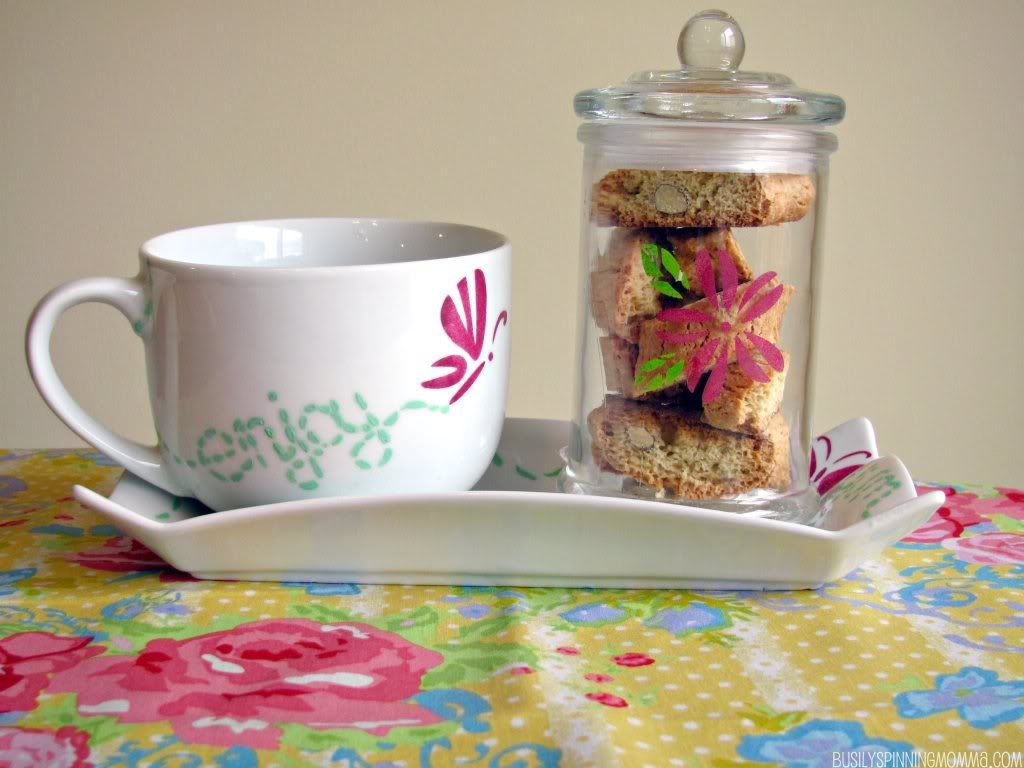
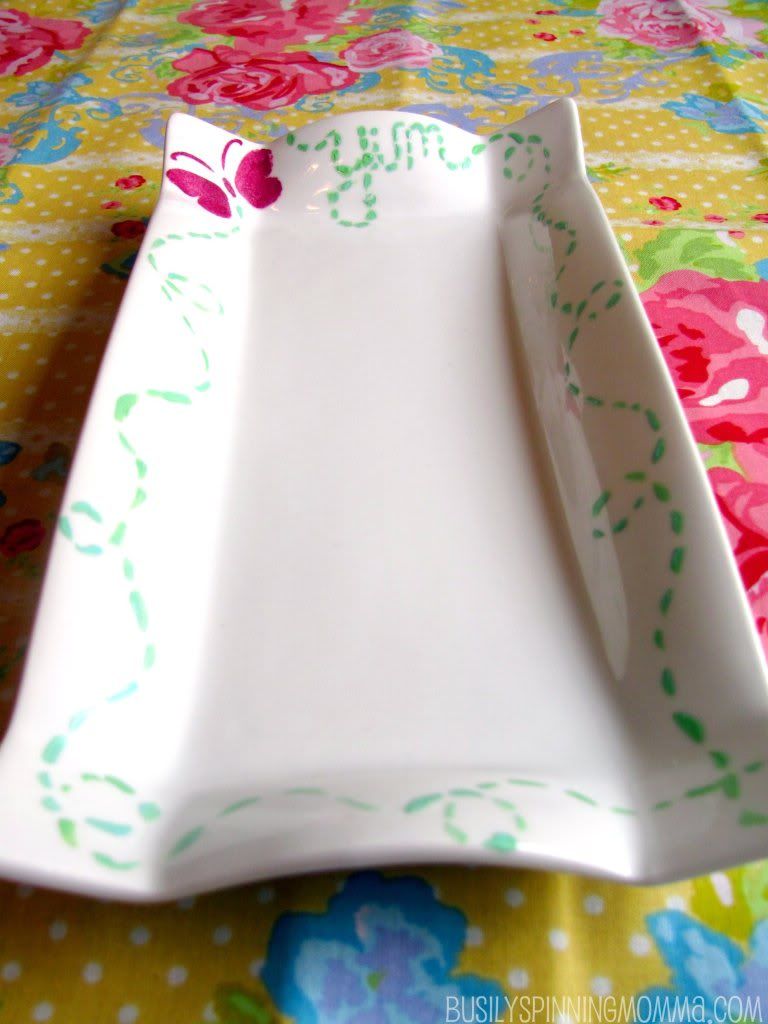
I LOVE this idea, and I think I'll be making a bunch to give away for Christmas (if you live around me and are reading this: SURPRISE!) however, at the DS I saw a long, thin dish that I'm sure is meant to hold asparagus or something. But when I saw it, I saw a ceramic mug rug, that can be made without any sewing what-so-ever. Wanna see what I mean???
Lookee:

I took some of my Plaid stencils and enamel paint and just went at it. The idea is it holds your mug on one side and your yummy dessert on the other, easy to grab and take over to the living room to relax in front of the  T.V or with a good book.

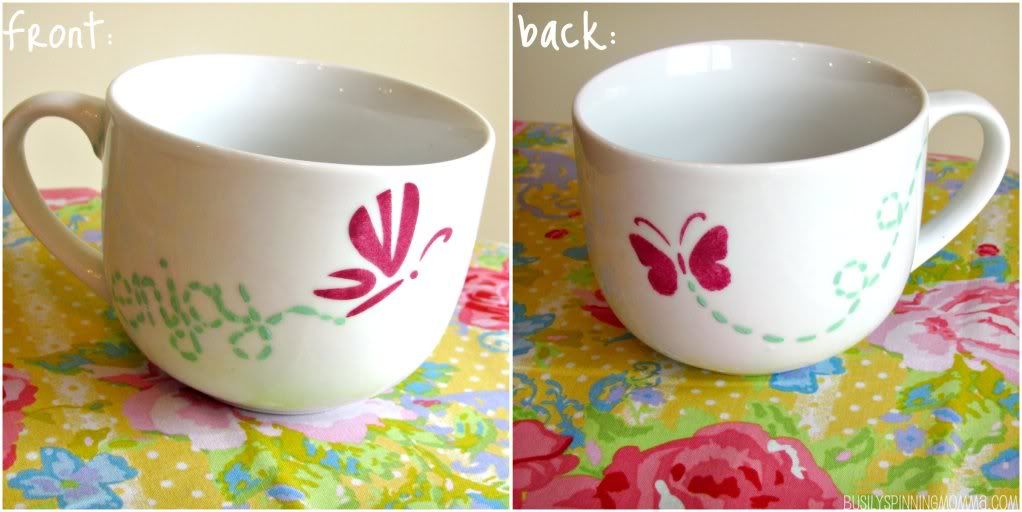
On the front I stenciled a butterfly and wrote "enjoy" in little dash-y lines so it looks like the butterfly was flying in that pattern. 
On the back it's just another butterfly flying in loops.

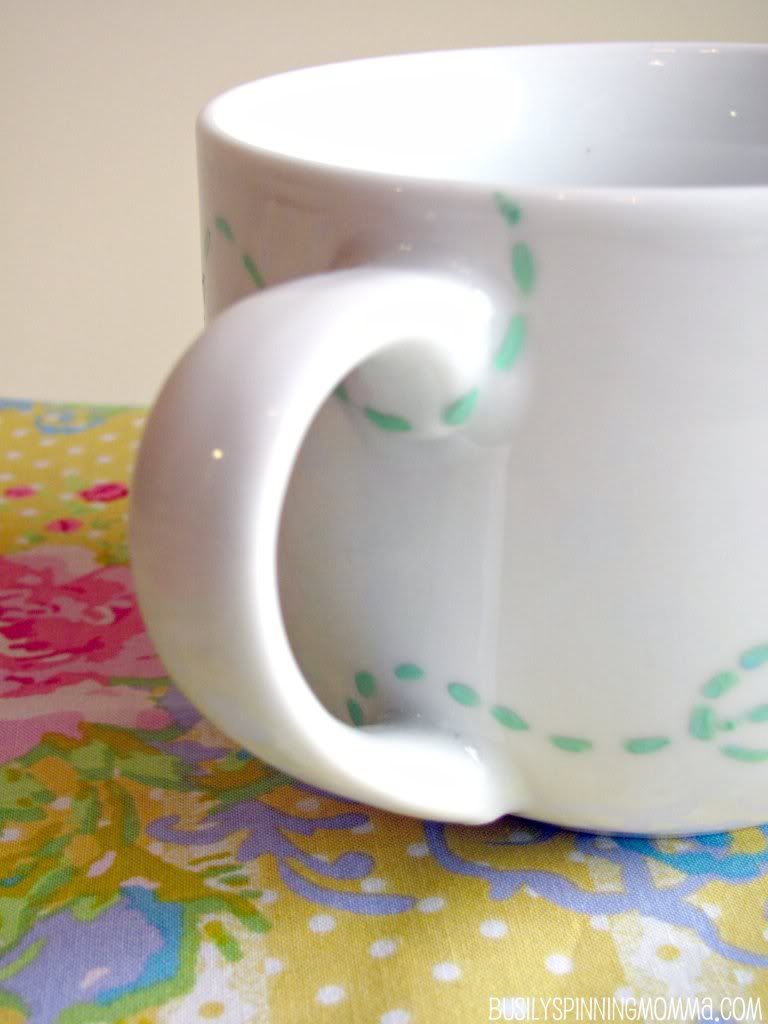
I needed the dash-y lines to end, so I wrapped them around the handle and off the mug. I have to tell you, it may be silly, but that little detail makes me smile every time :)

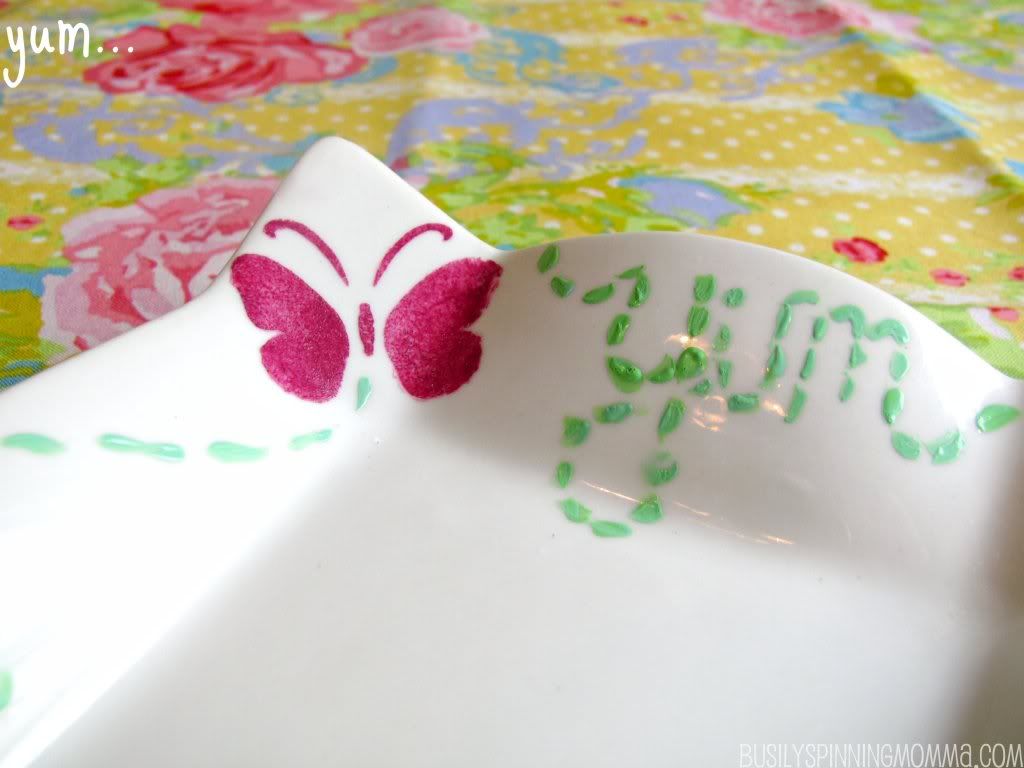
This is the long, thin dish. I followed the butterfly theme, and stencil another fluttering butterfly onto the raised edge. I think this butterfly's a bit drunk, look at all those loop! HA!

I wrote "yum" (not very well) in dash-y lines to go with the "enjoy" on the mug.

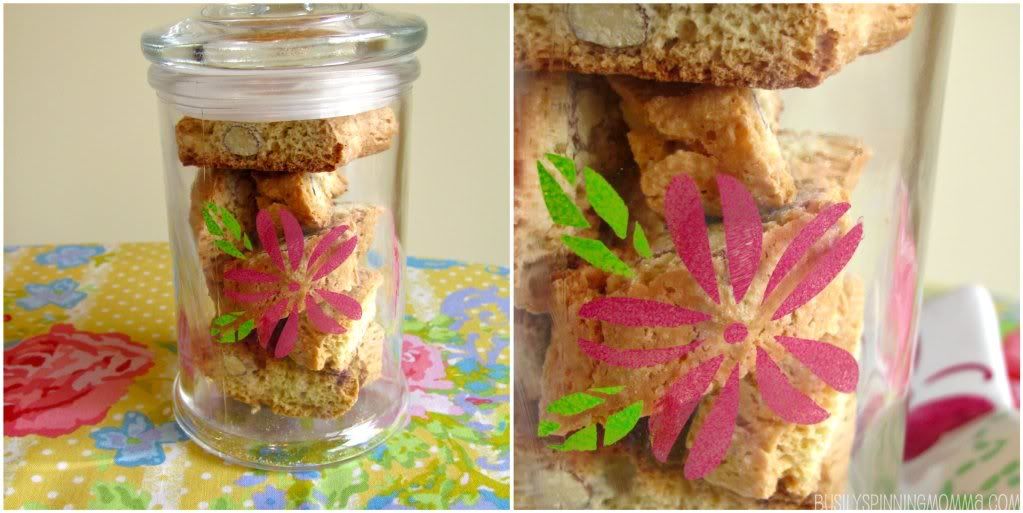
Then I added a glass jar that I also got at the DS, added a simple flower and leaf (with a stencil), then stuffed it full of mini biscotti, and WA-LAA! It's done. 

It took me all of, 30 minutes (those dash-y things take most of the time) cost me $6 (with taxes) and now I've got a cute little gift that can be personalize to a persons favourite colours and taste. And if you add the person's favourite book...how cute would that be??
And really, who doesn't need an excuse to curl up with a yummy mug of coffee, some cookies and a good book?


Easy to do, and fast? Can we say "hostess gift" anyone???
Hope you "enjoyed" this post!
Thank you so much for stopping by :)

xoxo, Dorian
*NOTE*
I had someone ask about the durability of the paint and if it needs a sealer. So for anyone else who might have the same question, I thought I'd post the information here as well.
The paint I used is called FolkArt Enamel Acrylic Paint made by Plaid. It is for glass and ceramics.
It DOES NOT require a sealer. But before you begin you must clean the surface with rubbing alcohol. Then you choose to either bake it or air dry for 21 days. After either is done, it is okay to hand wash or wash on the top rack of the dishwasher. The baking instruction are on the back of the bottle.
Hope that helps, and sorry I didn't think to include that important piece of info before! Thanks for your question Amy!

Plaid's Folkart Stencil and paints sold at Michael's and AC Moore.
Feel free to visit Plaid on facebook.  Or at their blog.

Linked:
Todays Creative Blog
and at THESE great parties

October 14, 2011

Easy to Paint

Recently, I was lucky enough to be sent some more stuff from Plaid.
This time it was their new "Easy to Paint" Line of products which is available NOW at Michael's and AC Moores across the country.

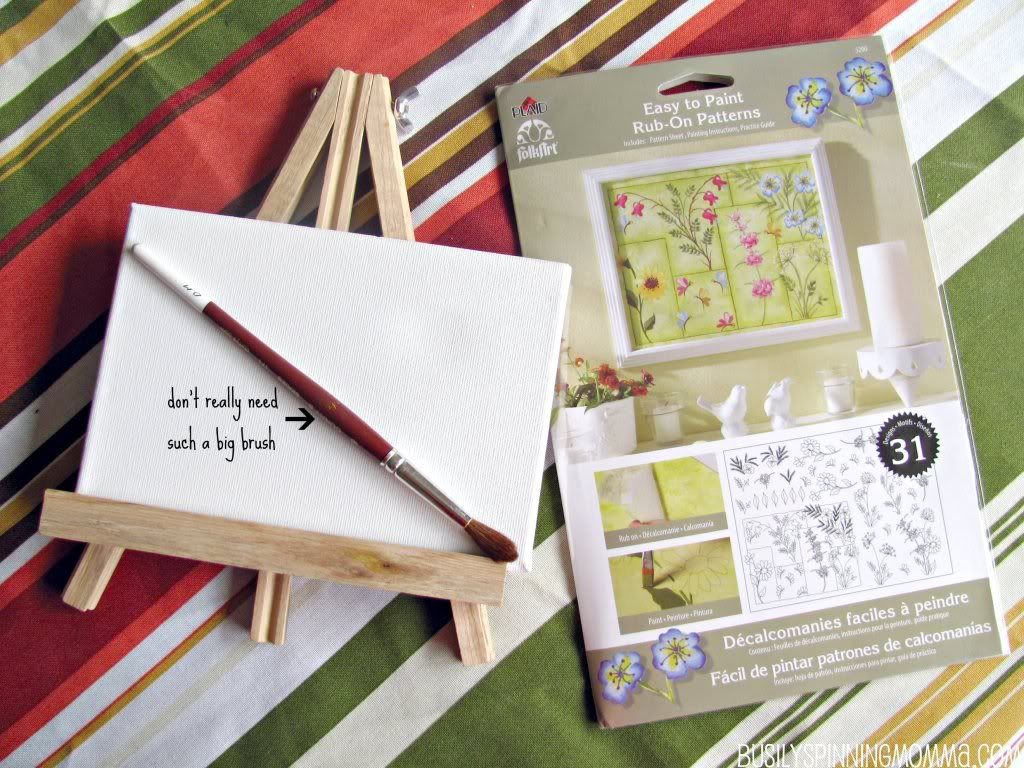
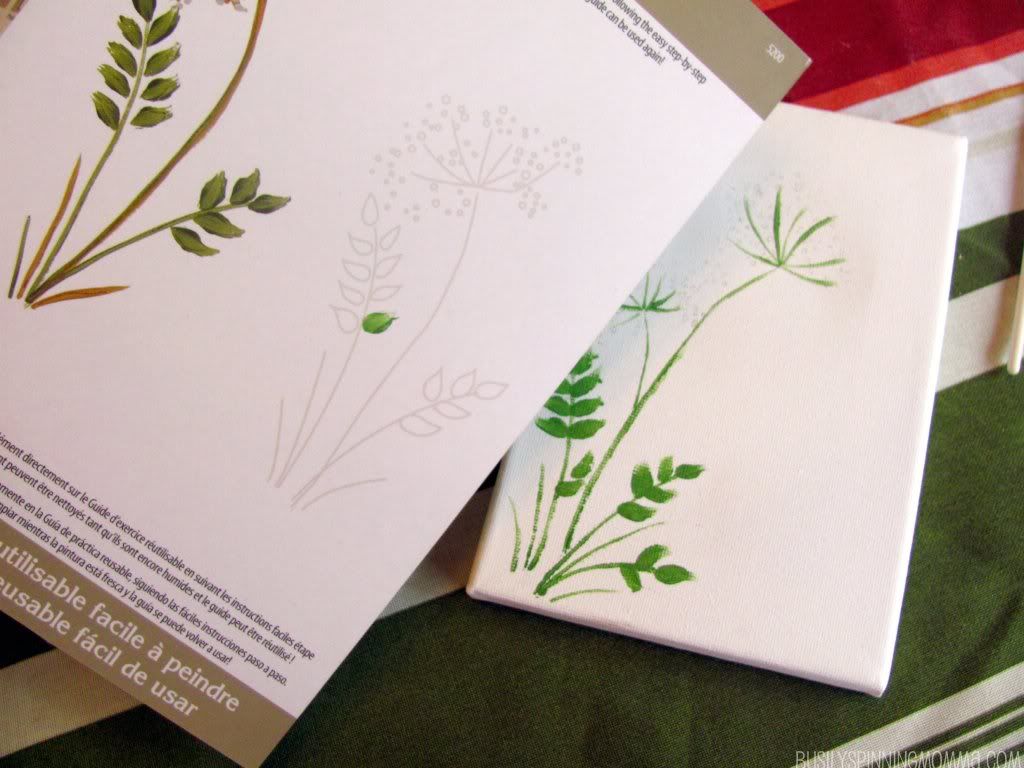
So basically, "Easy to Paint" makes some rub-on patterns that come in a little package full of how-to's with detailed pictures.

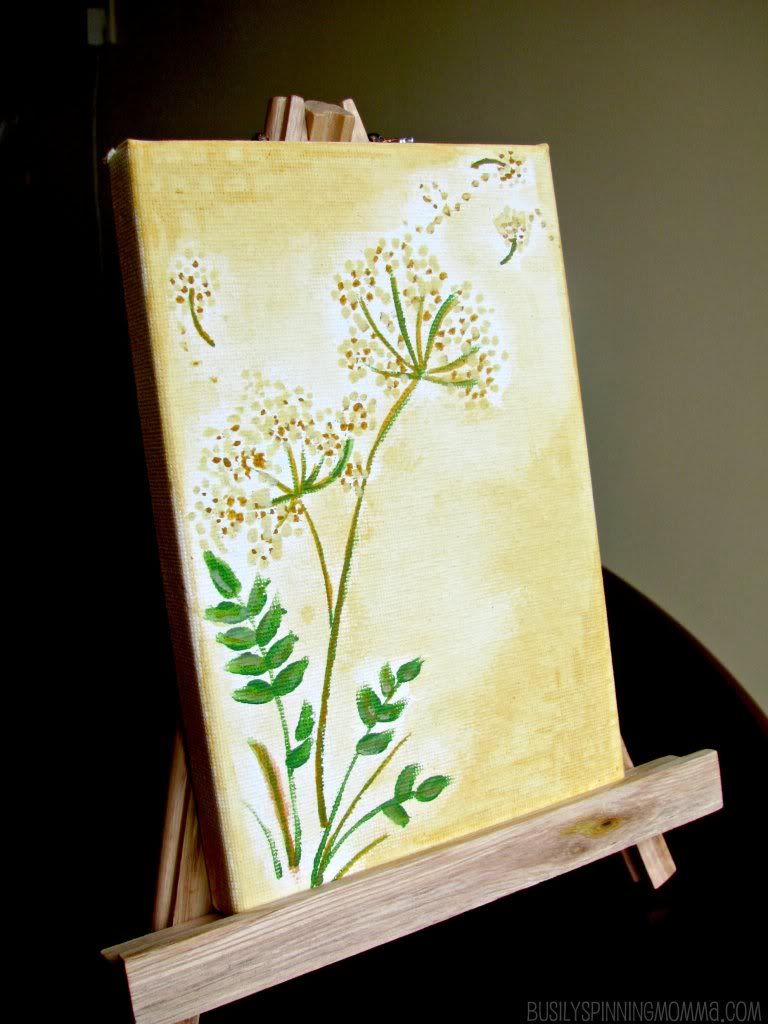
I bought that canvas an easel from the dollar store for 1.25, I think.. 

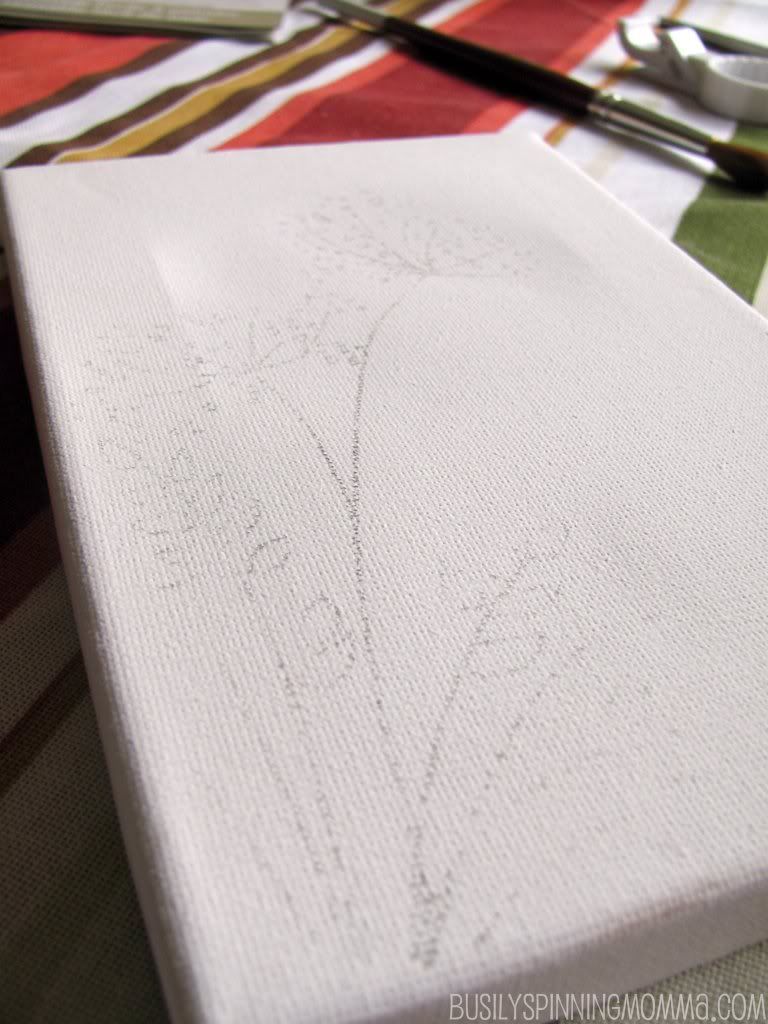
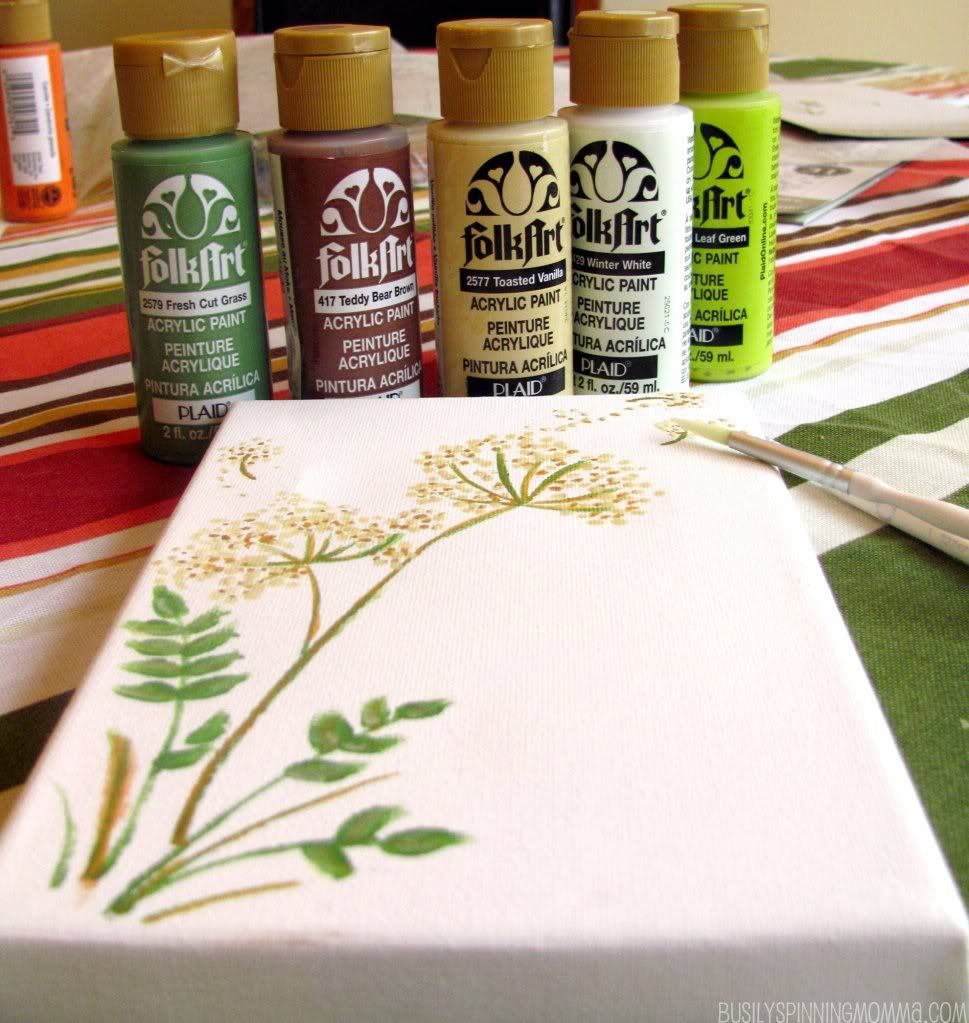
All you have to do is rub-on the flower you want and follow their super easy instructions on how to paint it in. 
When I say easy, youguys, I mean STEP BY STEP instructions. Even on HOW to dip the brush in the paint so you get the right look.

I didn't press down hard enough on the stencil :(
The package comes with a reusable practice sheet where you can practice your strokes before you commit.


I didn't use the exact colours the flower called for, instead I used what I had and mixed my own.

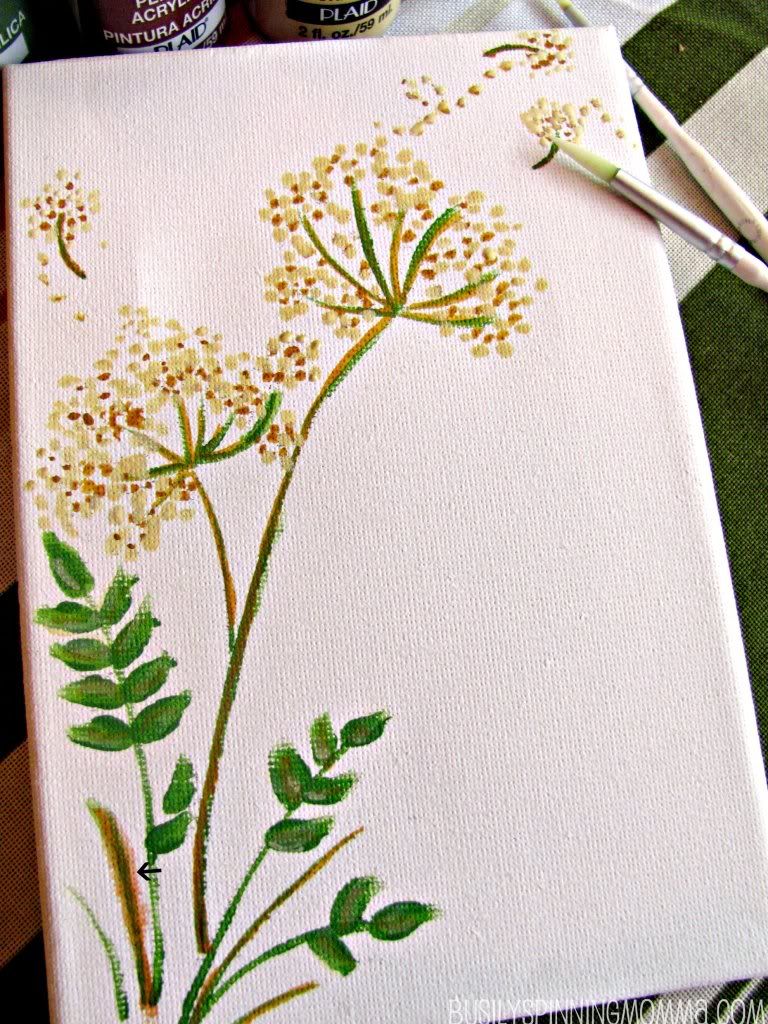
Follow the steps and you get this:
I made a mistake! see the arrow...boo!
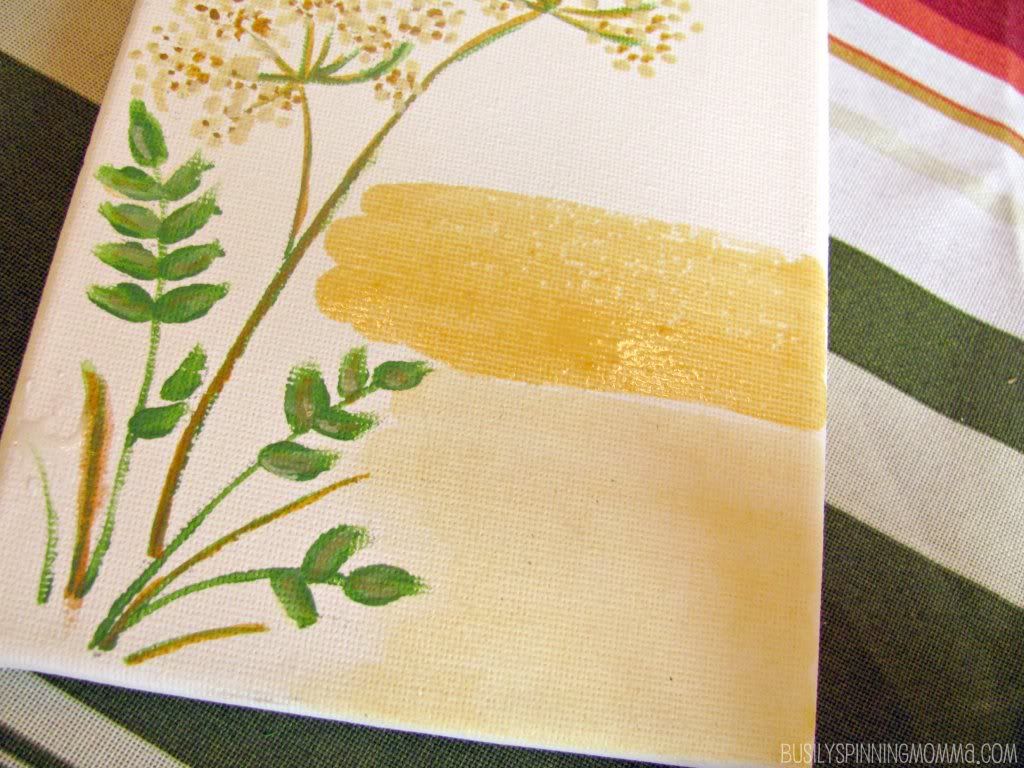
In  hindsight, I think I would have left the canvas white. Instead I used the widest brush and watered down some paint and gave it a stained effect. Please note...I am NOT a painter. I'm not. I wish I was. I don't know if this is the technical way to do it, but this is what I did. I watered down some paint, brushed it on, then used a paper towel to wipe it off. I just wanted a very light stain.


The weather is horrible rainy today, so please pardon the dark pictures.
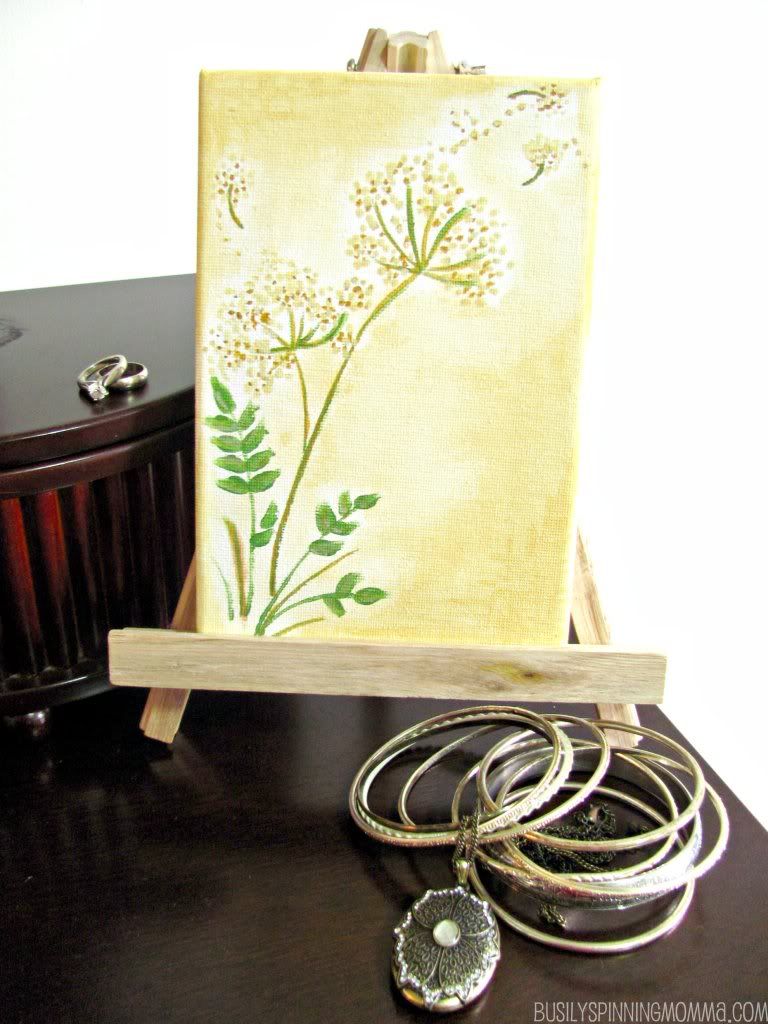
This is what I finished with:

I have to say, I like it. It was really easy, the results look better than I expected, and it's kinna addictive. I want to paint some more, now that I'm actually okay at it! LOL! It also made me feel like an artist ;), and THAT is always a good thing.


I plan to write a sweet little something on it, when the paint dries completely. I think I'm going to go with 
"Charm is deceptive, and beauty does not last; 
but a woman who fears the LORD will be greatly praised"
And leave it there on my vanity, where I do my makeup, as a reminder that even on those days that I look like something from a horror film, it doesn't matter. HE matters. 
Or I'll give it as a gift...Christmas is coming up :)

Thank you so much for reading! Have a great weekend :)
xoxo, Dorian
P.S 
Hate doing this, but here's the fine print: I was provided with the Easy To Paint Rub-Ons, as well as paint, for this review. I received no monetary compensation, and all opinions expressed are solely mine
P.P.S
If you want to keep up to date with the latest in Plaid, you can visit their blog or "like" them on facebook.


October 13, 2011

Two Lips on my Walls - A REVEAL

Hi friends! I have a small reveal today. Mind you, I am NOT at all done, but I wanted to show you part of my bathroom transformation. 
Have you guys ever heard of Royal Design Studio? I'm sure you have. They have THE most incredible wall stencils around! And really, stencils are all the rage now, right? I mean, just LOOK at the one below! WOW!

Pinned Image
via
Anyway, when I was sent their STUNNING  Phoebe Tulips Allover Stencil to try out and review, I was besides myself excited! And, btw, when you get your stencil you also get a tiny flower stencil attached to a "Thank You for your Order" note and a discount off your next purchase...just sayin' nice perks :)

Pinned Image
Phobe Stencil 
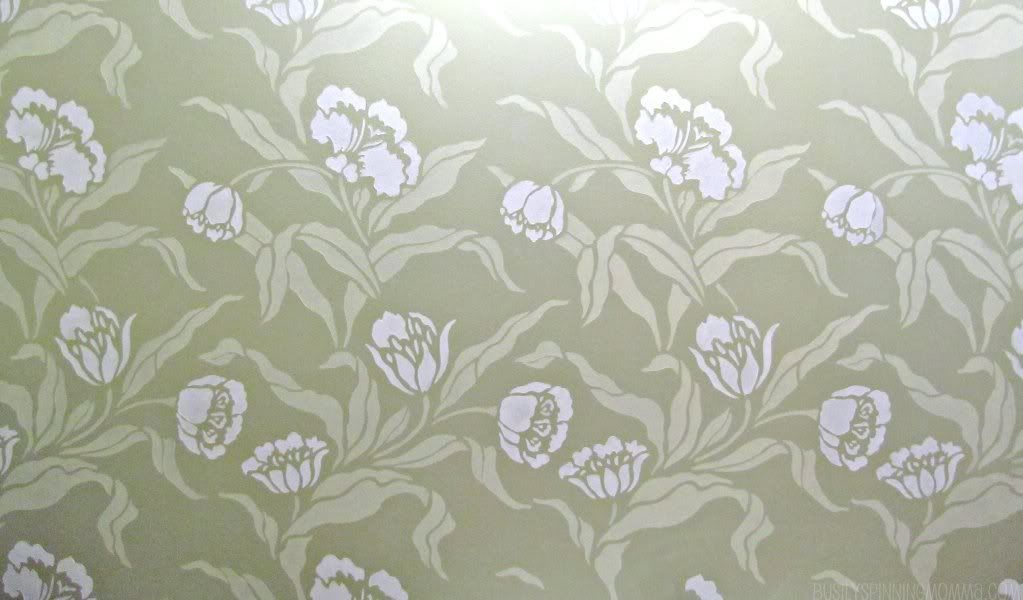
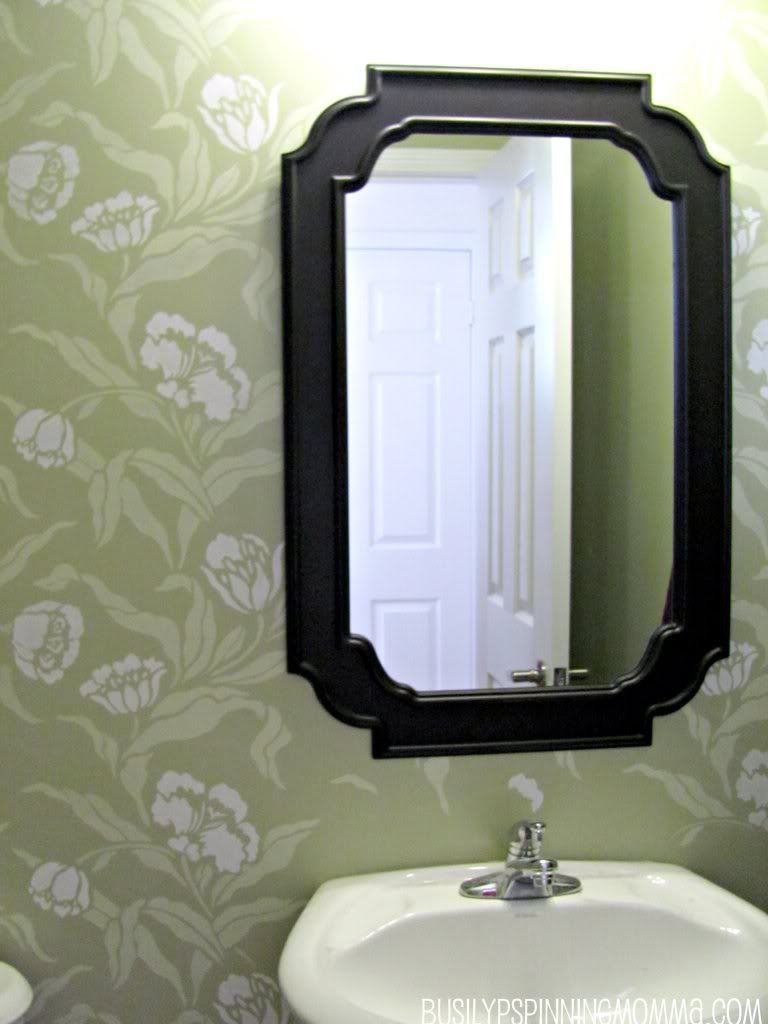
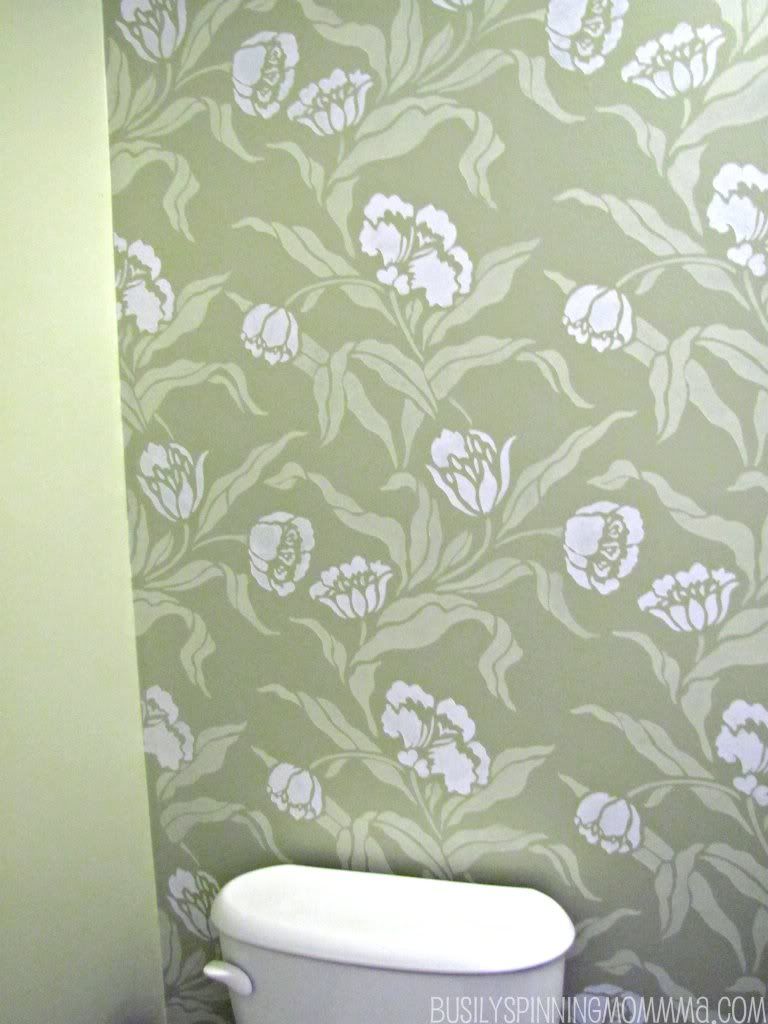
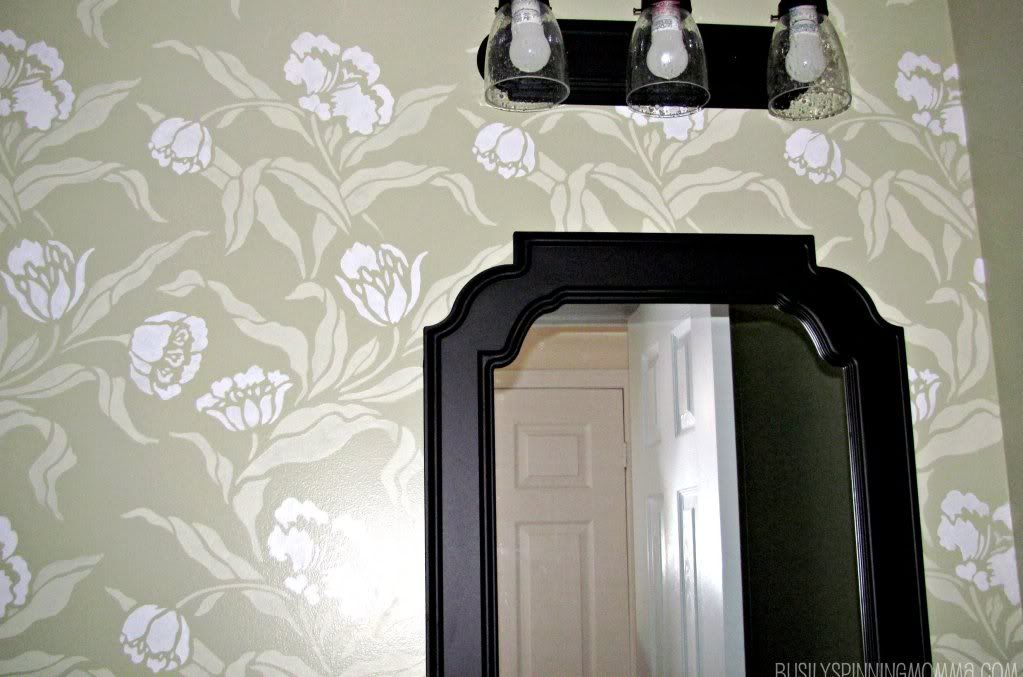
But then when I got it (really quickly, by the way) I got stuck. It was such a beautiful stencil but I had a hard time seeing it in any other colour combo than they one they already did! I will admit, I am THE WORST at deciding on paint colour, it takes me FOREVER. Anyway, Weeks of changing my mind every two seconds and I FINALLY came up with this:

I don't have a before, but imagine the wall a lovely shade of primer white :)


Sorry about the bad pictures, the weather has not been cooperating lately. And also, I get no direct sunlight in this room. Kinna makes it so the first point doesn't matter, huh?

LOVE my new mirror! Don't love my standard pedestal sink.
The washroom is still far from done. We want to replace the sink and add decorative touches here and there. But we'll do that when the budget allows for it :)

The stencil amazed me with how strong and sturdy (yet flexible) it was. And this was really easy to do. I won't lie though, it's time consuming. But the results are so spectacular, that it's well worth it. The hardest thing you'll encounter is the edges (how I loathe you edges!!!) but I found a really easy way to get around that. We'll get to that in a second.

When you receive the stencil it comes with a whole two sheets on how to make it easier to use. I followed that ALMOST  to the "t" and found it soo helpful. One thing you do need is re-positionable spray adhesive (bought mine at Michael's and used the new Martha Stewart/Plaid line of products). I would also highly recommend having (like they say in their how-to's) moist q-tips for quick fixes. As well as painters tape, and GOOD stenciling brushes (I used these).
I didn't use acrylic paint to do the stencils, as is suggested. Instead I bought very small cans of regular paint and used that. To me, it worked just as well. However, I think the adhesive spray and lots of dabbing off the paint had something to do with that. And for those pesky corners, I simple pushed the stencil inward towards to the edges and traced out the shape as best I could and then removed the stencil and painted it in with a small brush. Takes longer but the results are MUCH cleaner.
All in all, I LOVE the outcome and it was easy. And everyone who sees it says "it looks like wallpaper!", which is what I wanted. 


The only downside? Now I have to make the rest of my house just a beautiful as the washroom! Time for more stencils!


So what do you guys think about this stencil trend? 
Pinned Image
Would you like me to do a giveaway? **hint, hint** ;)
Let me know in the comments!!

And, as always, thanks so much for reading!

xoxo, Dorian

Linked to these great parties!

P.S: THE GIVEAWAY IS A GO!!! Enter Here!

October 6, 2011

An Apple a Day...

*THIS IS A POST PREVIOUSLY DONE ON MY OLD BLOG*

I know cloches are SOOO 2010 (even 2009, really), but I thought I'd share in case anyone was interested. Also, it's been a while since I made this and I still love it. Might be repainting it soon though.
I found this little beauty at a local second hand store and bought the candlestick at the dollar store (the miniature apples too)... 

Before:

I then went out and bought (and gathered from around the house) my needed "tools":

-Wood filler
- Primer (optional, I didn't really need it)
- Spray Paint
- Gorilla Glue (LOVE!)
-Sanding paper or block

First I sanded it down to remove the glossy wax-y thingie on top:

Then I used wood filler to fill dents...(ignore the water...I was trying to finish this while my 2 yr. old played in the sprinkler!)

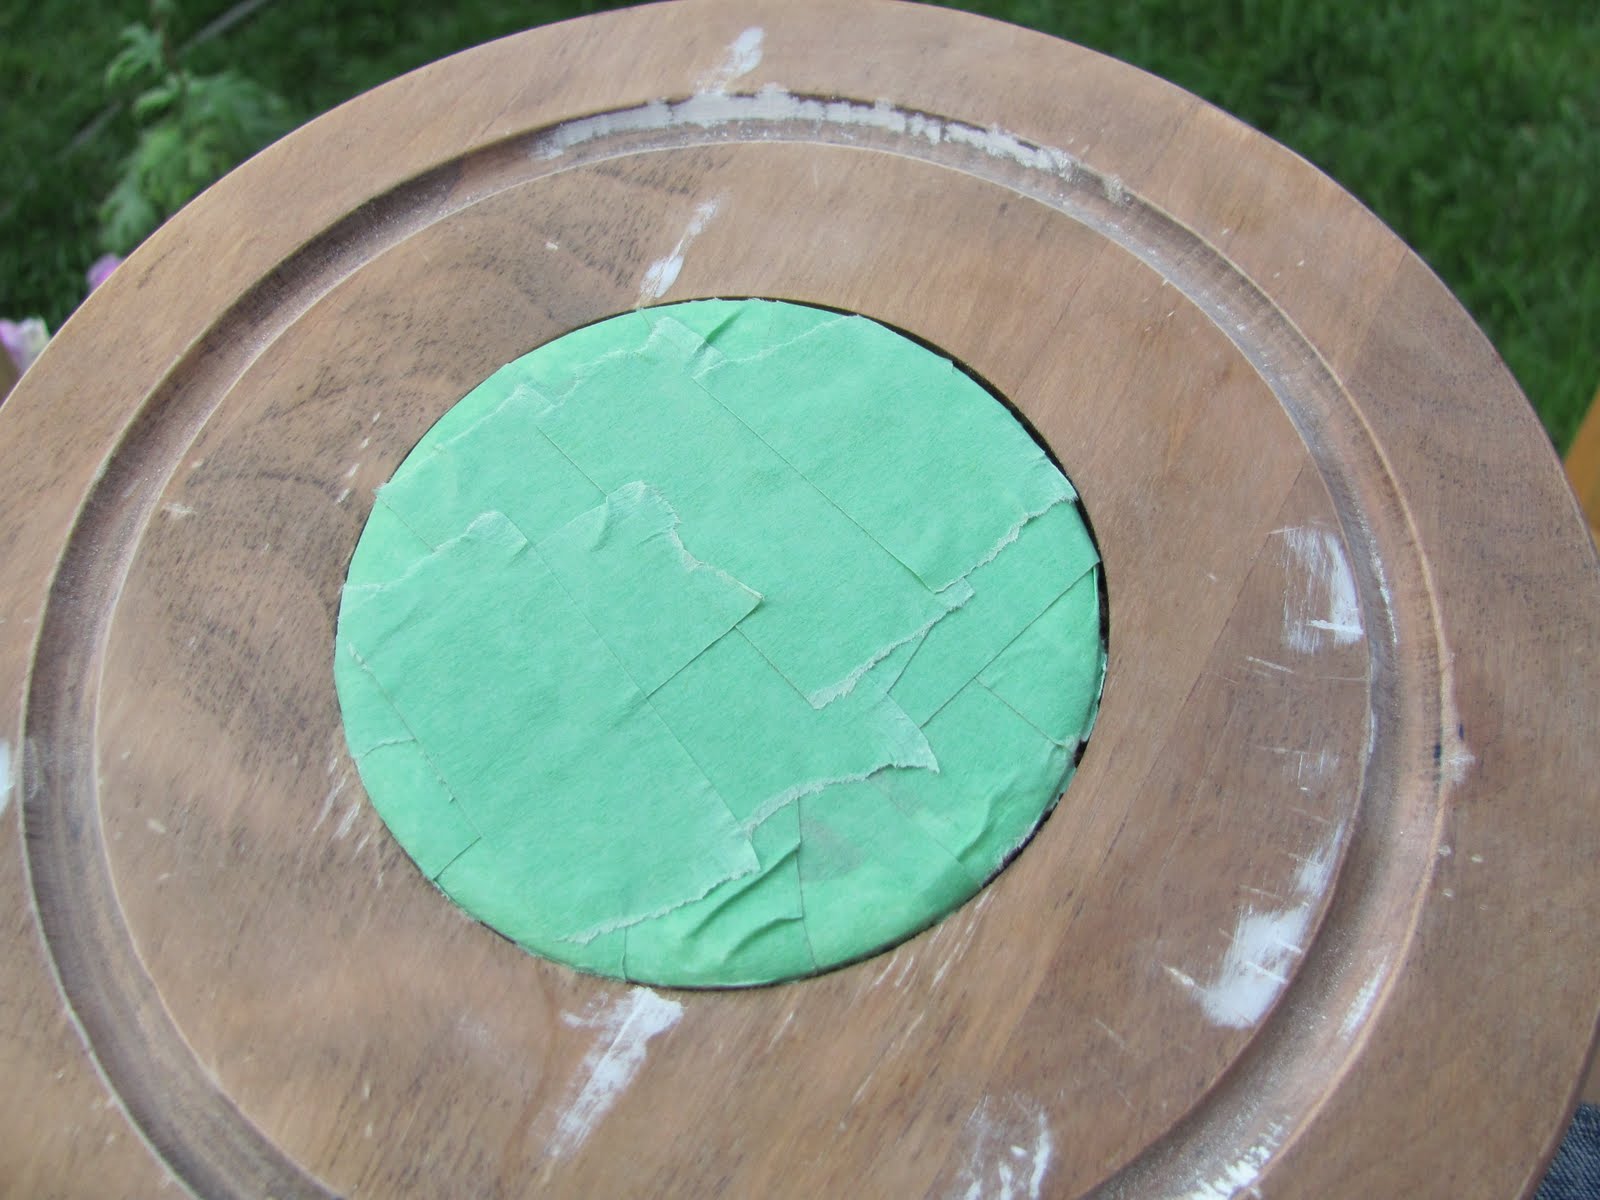
Tape up the ceramic tile centre.I wanted to keep it:

And primed it. But really this step is not needed. Oh, the things we know in hindsight!!!!

Then I painted it with two coats of spray paint. 

I then glued the candlestick on with Gorilla Glue. Lurve Gorilla Glue :)

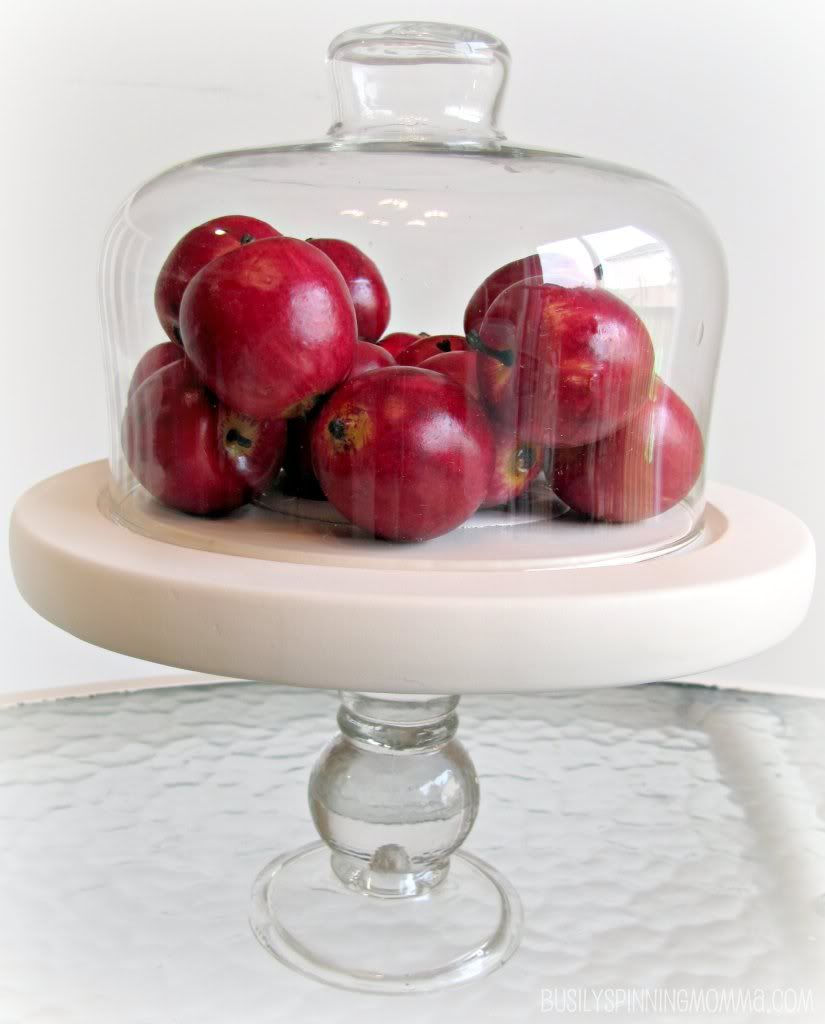
Et, voila, c'est fini! Isn't it the loveliest? I'm so happy with it, I can't wait to find it a home in my home...LOL.


I'm thinking of adding a top coat of shine...what do you think? Would it give it a "crisper" look? I'm also thinking of painting the candle stick, but I'm not too sure???

Anyway, hope you found this post fun. I sure had fun making my lil' cloche!
Thanks for reading!

xoxo, Dorian
Related Posts Plugin for WordPress, Blogger...